Jump to content

Screens From The Frontlines


7 replies to this topic

#1 Tahribator

    Member

  • PipPipPipPipPipPipPipPip
  • Fire
  • Fire
  • 1,565 posts

Posted 30 November 2016 - 09:29 AM

The Inner Sphere is a space engulfed in war and destruction. However the humble citizens of our houses living far away from the conflict zones, do not always appreciate how it actually is to be at the frontlines.

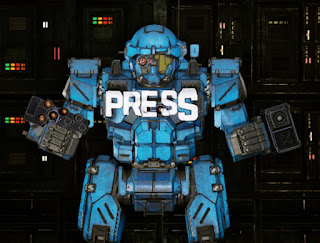
In order to raise awareness for thousands of 'MechWarriors fighting for their security and wealth, we as Rak's Armory decided to do our part. We've sourced a couple of Commando type 25T 'Mechs, equipped them with advanced photography optics and sent them along with units and mercenaries to the battlezones to bring their story.

These 'Mechs are clearly marked as PRESS both visually and in IFF. According to the treaties of war they should be considered neutrals. However, we're sad to report that these 'Mechs were usually shot upon without discrimination.

Posted Image


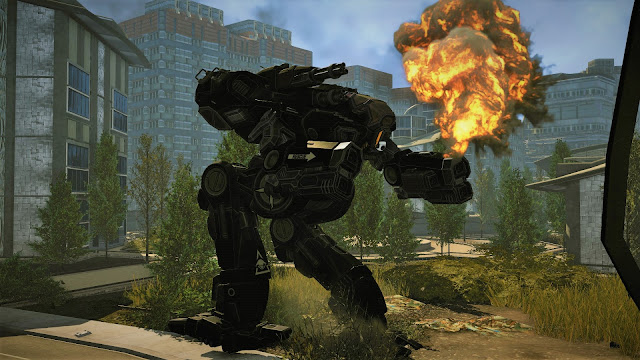
Battle rages on Septimus II

Embedded with a Clanner mercenary unit, our correspondent dropped to the hot conflict zone of the Septimus II, a mineral rich volcanic planet that has been the battleground between two periphery tribes.

Posted Image
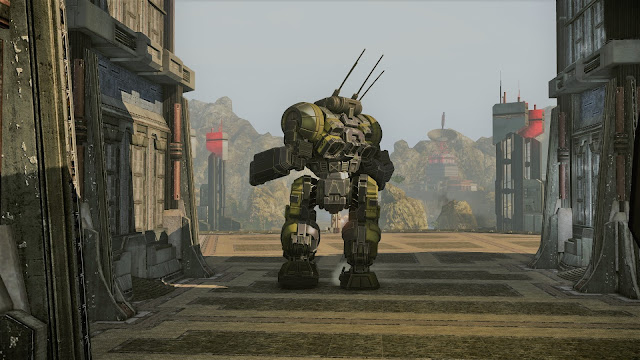
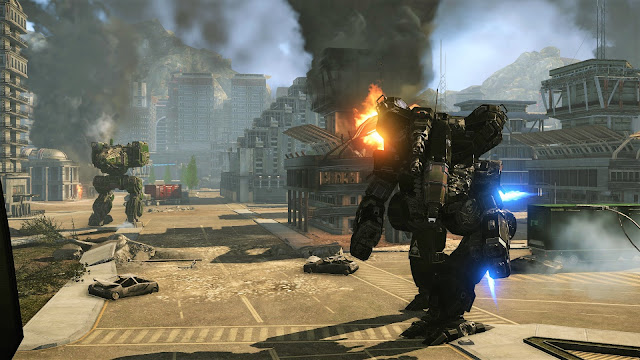
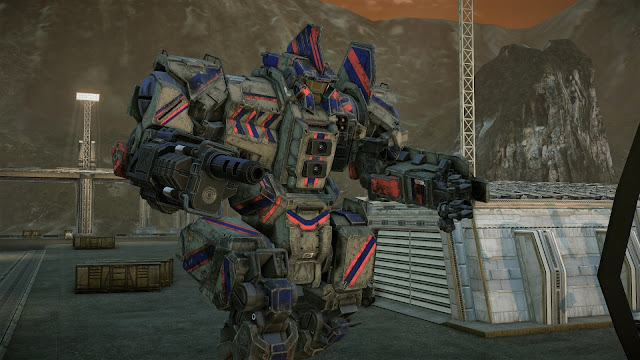
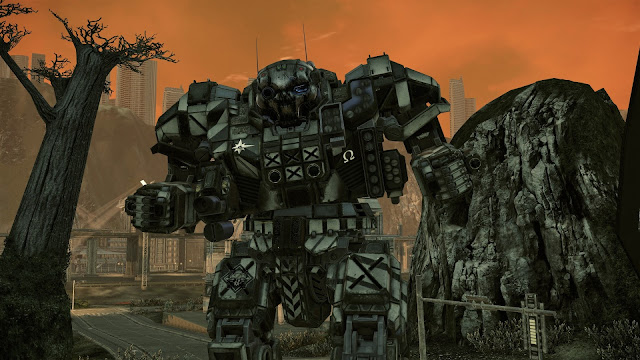
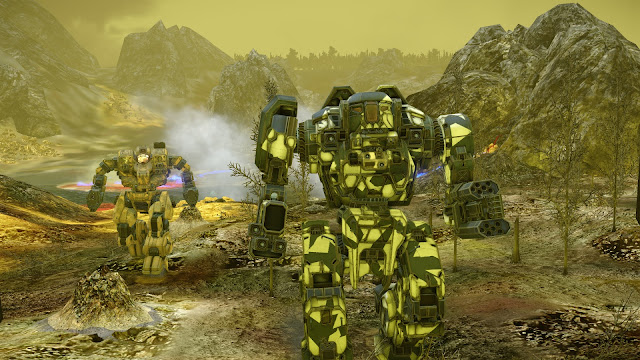
The Executioner type Assault 'Mech formed was the pride of the group.
Posted Image
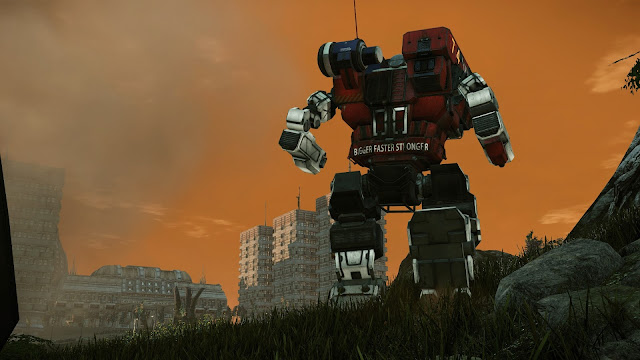
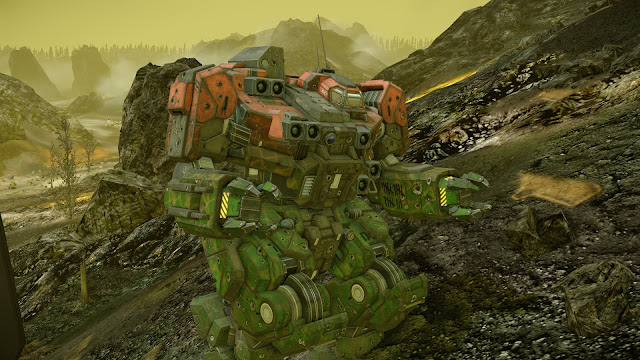
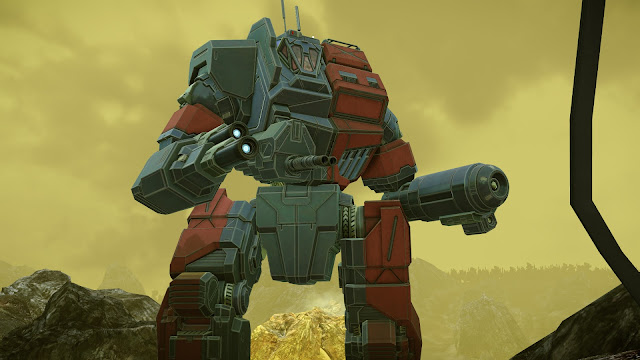
The group was led by J.C Howard, who used a salvaged Thunderbolt type 'Mech. 15 killmarks decorate its exterior while the 'Mech clearly shows battle wounds.
Posted Image
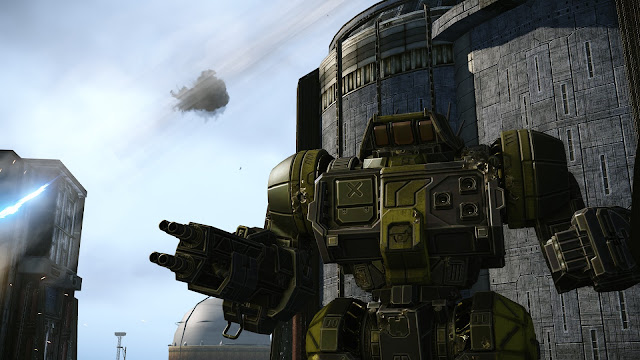
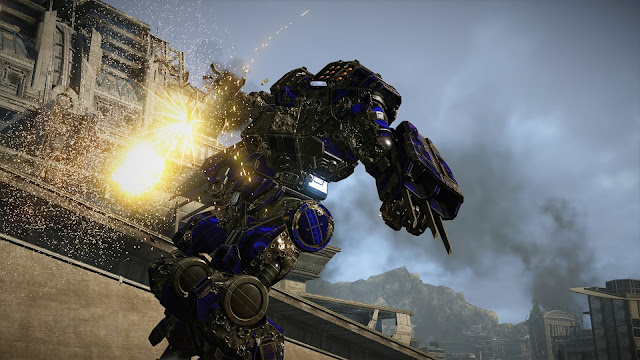
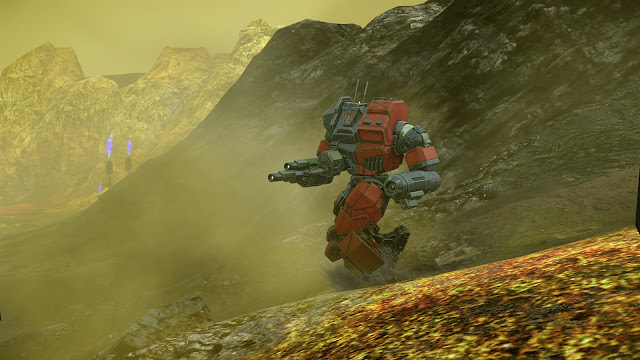
An Orion MK IIC advanced heavy 'Mech formed the spearhead of the group.
Posted Image

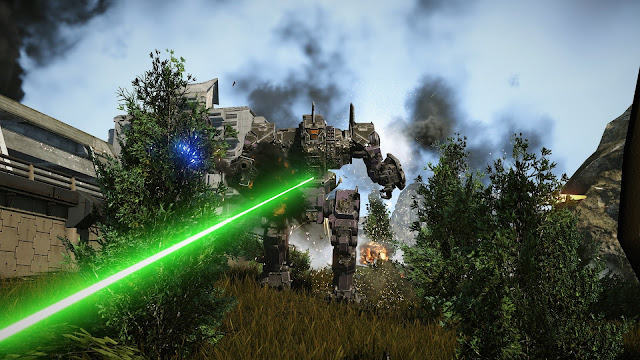
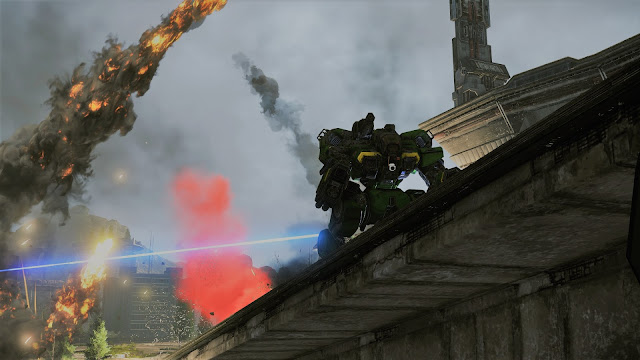
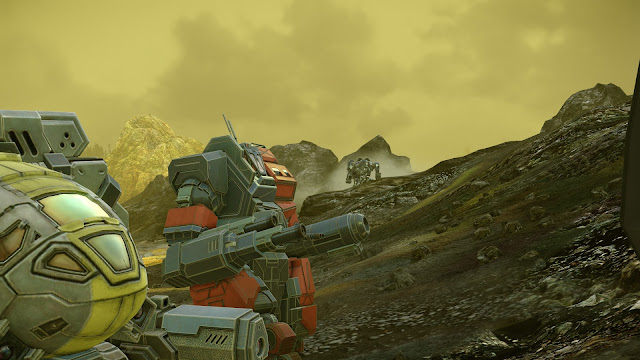
Sloped terrain of the operation area posed no difficulties for the advanced Clan 'Mechs.
Posted Image
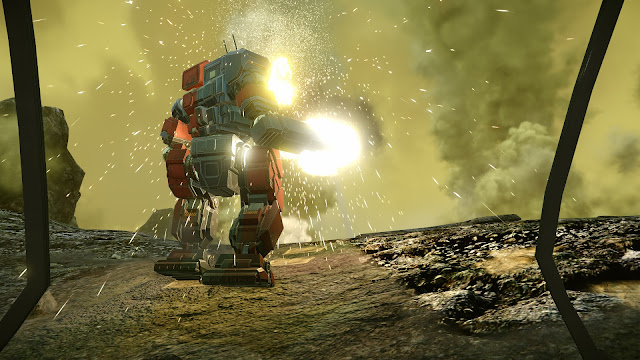
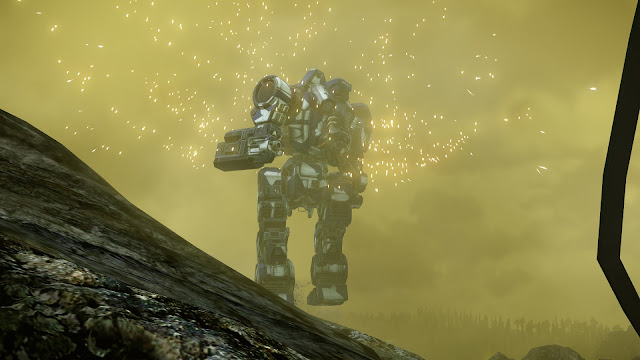
Enemy contact!
Posted Image
The Orion comes under heavy fire as the contact with the enemy is established.
Posted Image
Everybody holds their breath as the Executioner is also hit with a Gauss round. However the pilot reported no major damage this time.
Posted Image
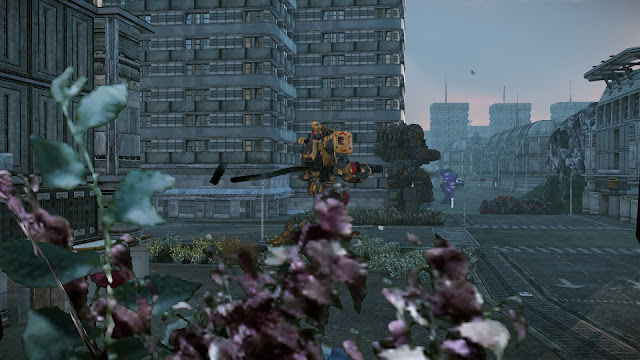
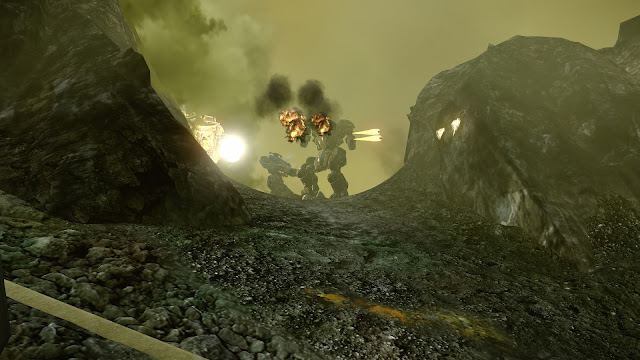
Risking his life, our correspondent catches a glimpse of the enemy fireline. A super heavy King Crab and a salvaged Clan Night Gyr is visible. Note the Rifleman in the background, seemingly changing position.
Posted Image
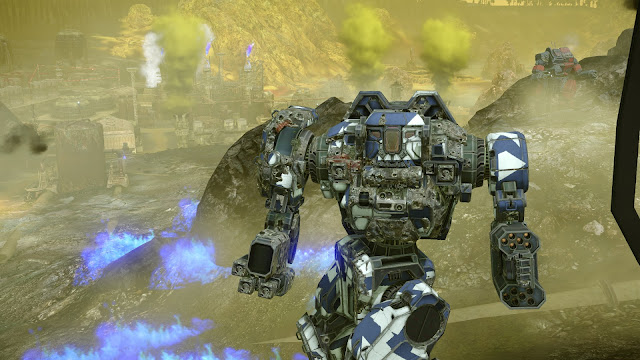
The situation gets dire: The Executioner reports massive damage to its armor. The whole operation is in danger.
Posted Image
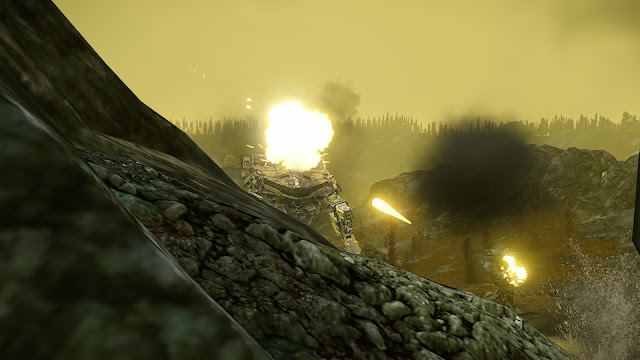
As the Clanner line is wavering, the enemy King Crab and Night Gyr presses the advantage!
Posted Image
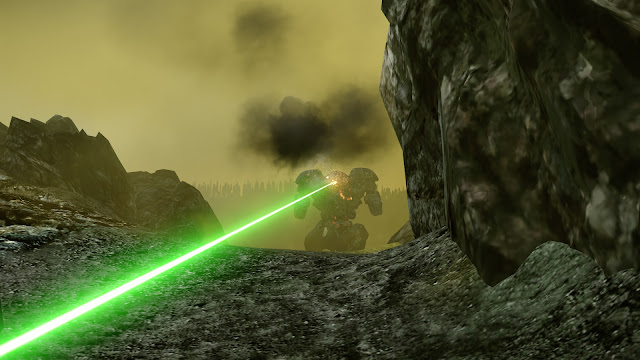
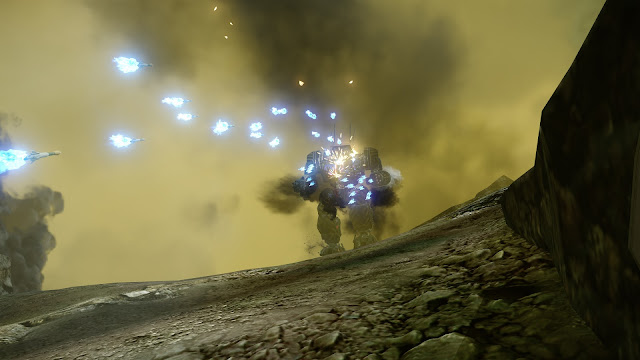
This Night Gyr comes under fire as it examines our correspondent's 'Mech.
Posted Image
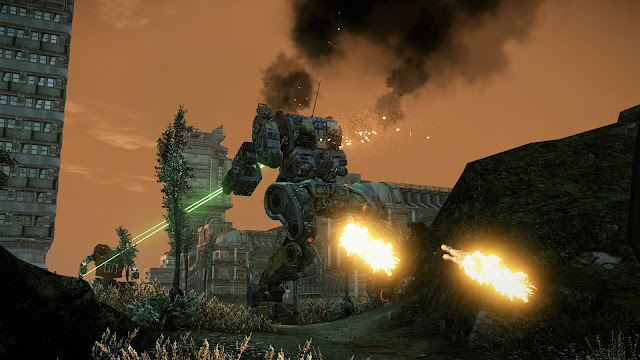
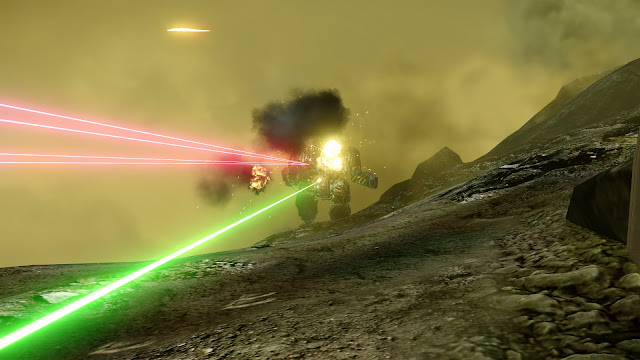
Ambush! The whole group rallies to respond to this new threat coming from behind. Massive LRM exchange ensues.
Posted Image
The gigantic Highlander IIC reels under combined firepower of the group and slides back into cover.

The result of the battle was inconclusive. Fearing a costly battle after massive damage to their expensive Assault 'Mechs, both sides disengaged shortly after.

(more like we got steamrolled, lul)


Operation Shattered Crystal


The natural wonders of the planet Albiero II are now under threat as Clan Ghost Bear turns to brute force after negotiations with the Draconis Combine comes to a halt.
Posted Image
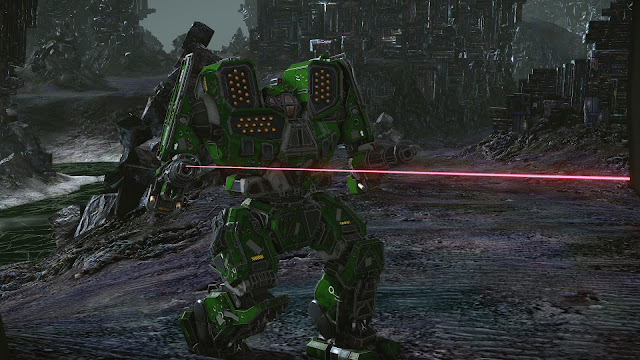
This Mauler type heavy assault 'Mech pilot by a mercenary accompanied the invading Ghost Bear party. A mercenary operating for the CGB can hope to earn up to 200.000 CBills per operation.
Posted Image
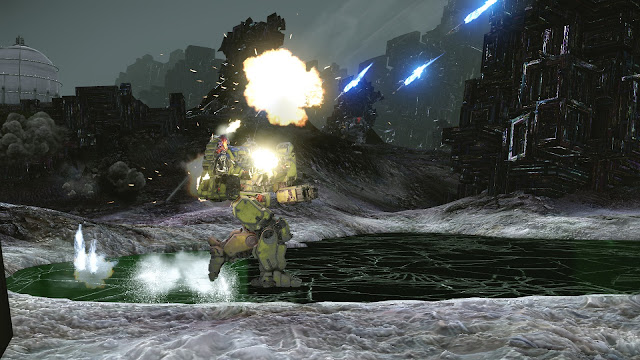
A Battlemaster comes out of nowhere and charges into the group! Hectic comms ensue with calls for backup.
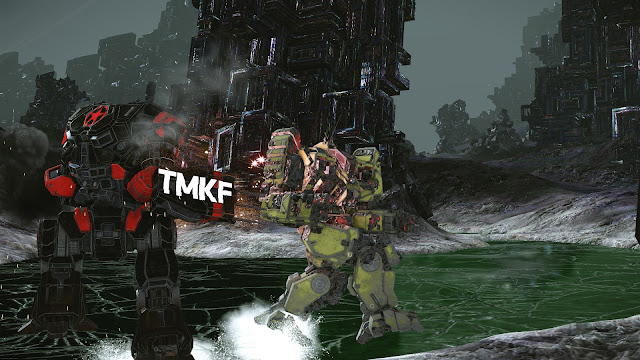
Posted Image
A massive Kodiak takes the challenge and charges in! A terrifying roar can be heard blasting from its external speakers. It takes off the BLR's side torso with a powerful swipe of its claws and finishes it off with terrible ultra autocannon blast.
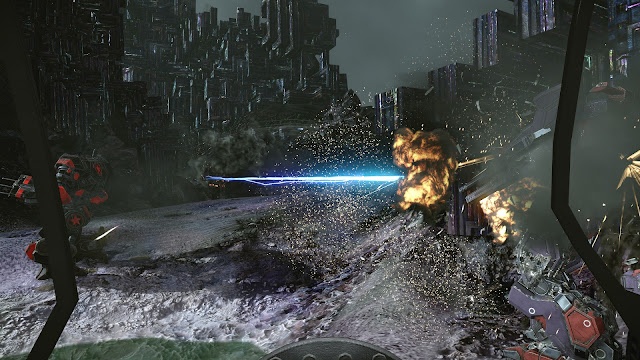
Posted Image
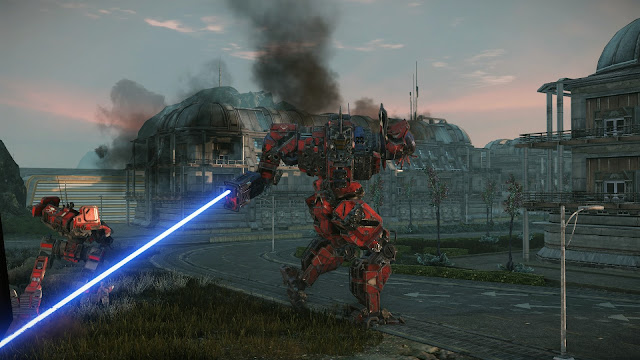
A Draconis Rifleman goes limp as it is pierced by an ERPPC blast.
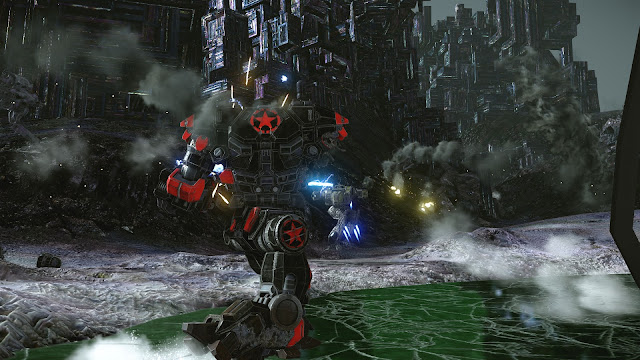
Posted Image
A merc Shadowcat challenges the Kodiak. It proves too fast for the massive Kodiak to handle.
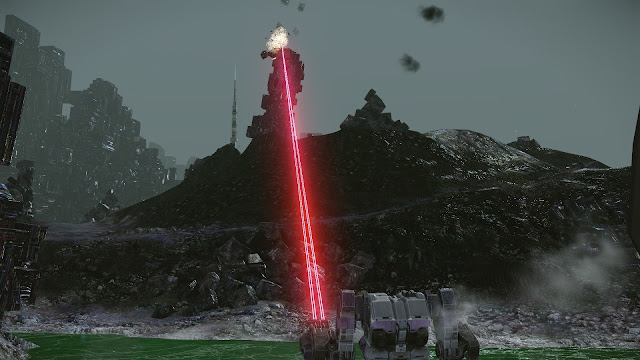
Posted Image
However a Stormcrow rushes in for the rescue: the threat is promptly removed.

This operation was an easy victory for the CGB forces, but Draconis Combine still operates a sizable force in the area. CGB leadership reckons it'll take months of fighting to isolate and destroy them. However despite the cost, access to abundant Bismuth deposits remains high on the War Council's agenda.

Battle for the Iron Bay

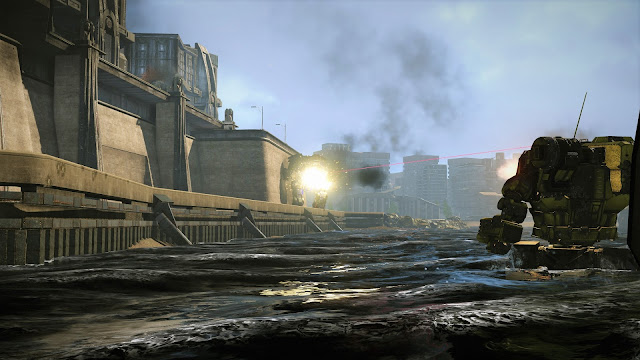
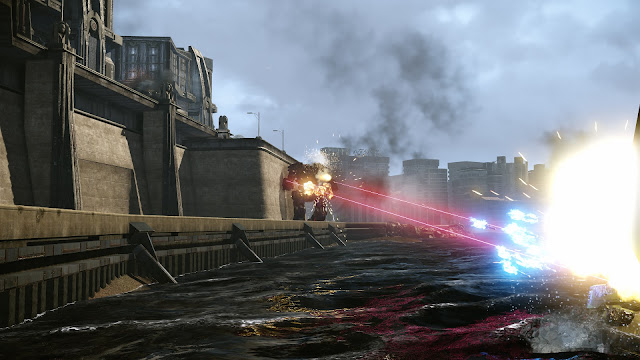
New India's Iron Bay was also the scene of brutal fights against Steiner forces and rebels from periphery.
Posted Image
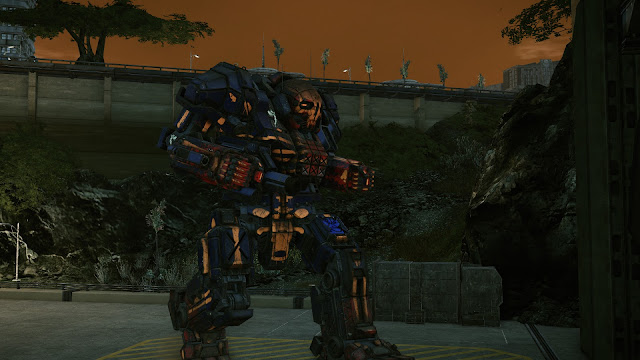
A Steiner super assault Atlas is seen making its way to the frontlines. Note the Angel symbol on its arm and shoulder, which indicates it belongs to the 21st TCA Corps.
Posted Image
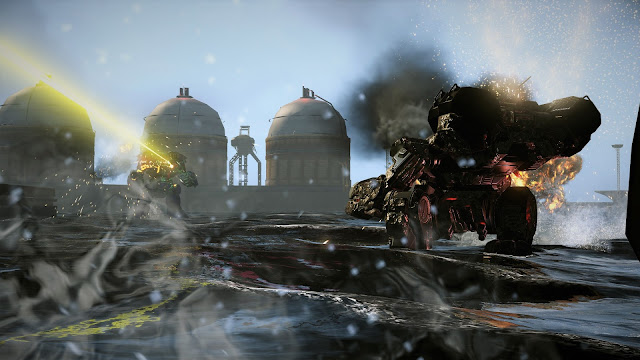
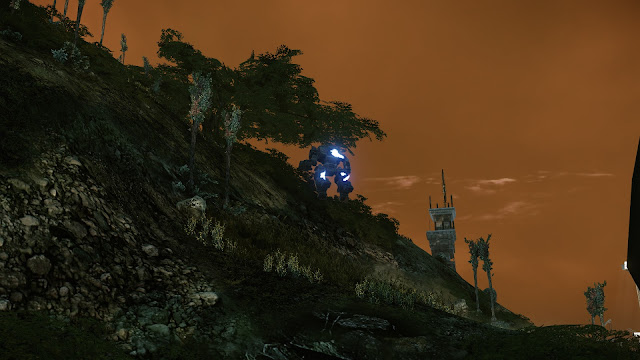
A local garrison Summoner is seen making its way towards the enemy. It caused much damage to its surroundings as it made its way up to the dock storage.
Posted Image
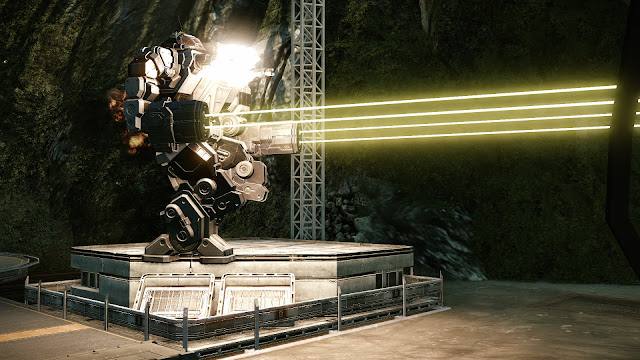
Contact! The Summoner pilot reports good hits on an enemy Zeus.
Posted Image
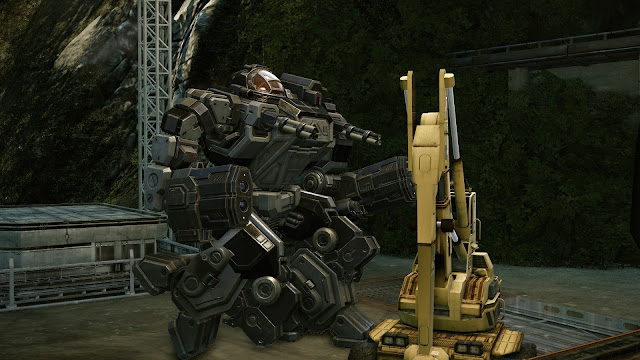
It takes cover behind a dock crane as its weapons finish their cycle.
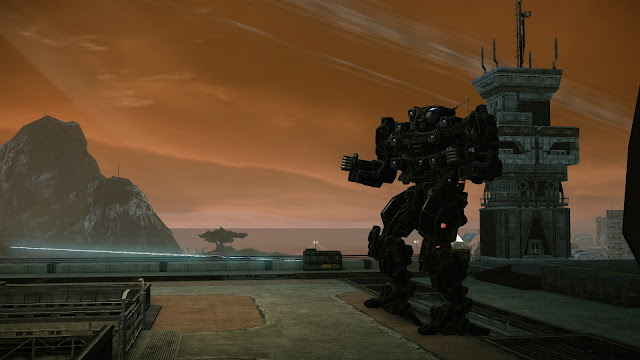
Posted Image
A Grasshopper belonging to segment C scans for targets.
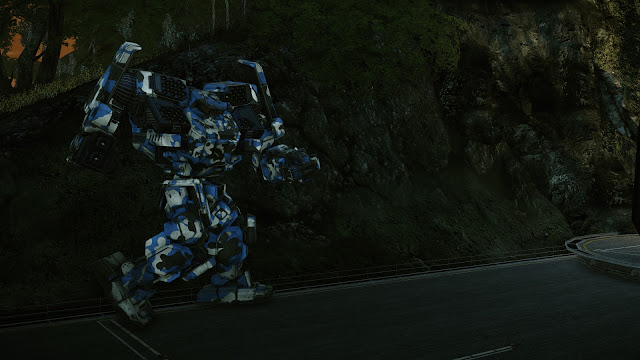
Posted Image
A Steiner Awesome is seen in the dock area . . .
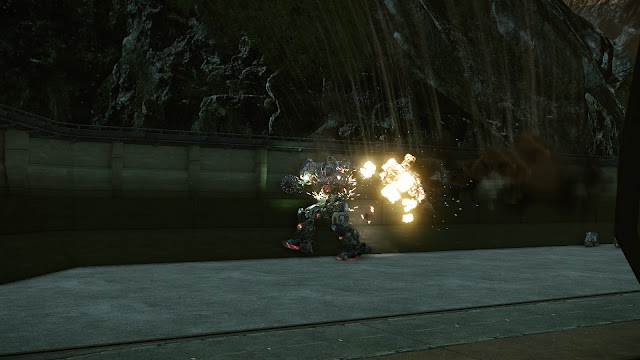
Posted Image
. . . and the enemy Zeus taken under massive LRM fire. It quickly died after a spectacular explosion. Confusion takes over the rebel lines in face of the superior Steiner firepower.
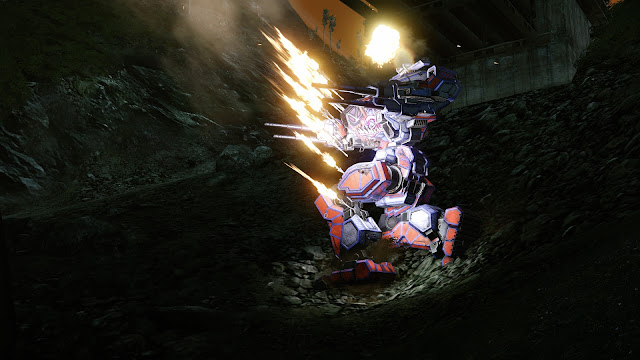
Posted Image
A rebel Rifleman suffers the same fate.
Steiner forces landed a swift victory over the rebels during this operation.

#2 process

    Member

  • PipPipPipPipPipPipPipPip
  • Star Colonel II
  • Star Colonel II
  • 1,667 posts

Posted 30 November 2016 - 01:31 PM

View PostTahribator, on 30 November 2016 - 09:29 AM, said:


Posted Image
An Orion MK IIC advanced heavy 'Mech formed the spearhead of the group.


This is really stands out. It has such a strong, chunky silhouette against the sky.

#3 Tahribator

    Member

  • PipPipPipPipPipPipPipPip
  • Fire
  • Fire
  • 1,565 posts

Posted 01 December 2016 - 03:23 AM

Heavy city fighting on Port Moseby
Port Moseby, the former economic power house of the Lyran Commonwealth, was the scene of heavy fighting last week. Aftering suffering bitter losses in the open plains surrounding the wealthy city, Third Royal Guards of the Federated Commonwealth chose to fall back to the city. The invading Lyran Arcturian Guards are pushing hard to liberate their ancient city, which sits in a strategic economic crossroad.


Posted Image
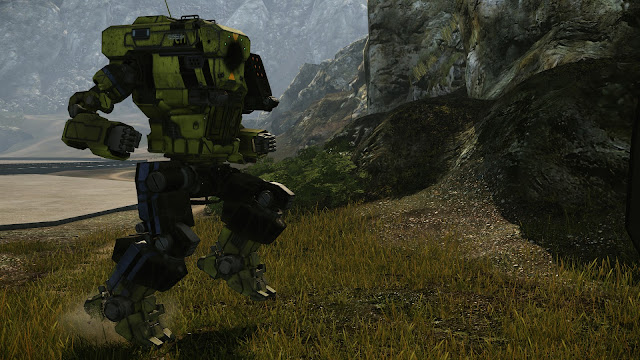
A Lyran 50T class Hunchback is seen sprinting towards the city as the operation gets on its way. These new "Grid Iron" type Hunchbacks are now a common sight in the Inner Sphere as the manufacturer made major deals with 5 major houses.

Posted Image
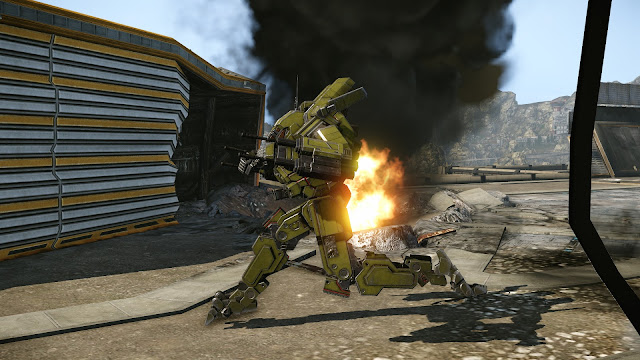
A Lyran Stalker is seen lumbering in the outskirts of Port Moseby. Civilians were seen cheering from windows as the liberators set foot on the ancient city. Note the traditional green Lyran camo.

Posted Image
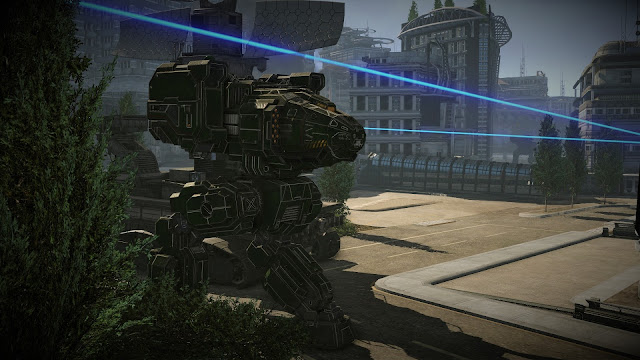
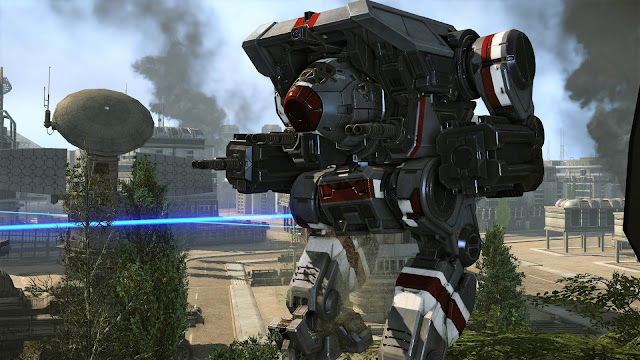
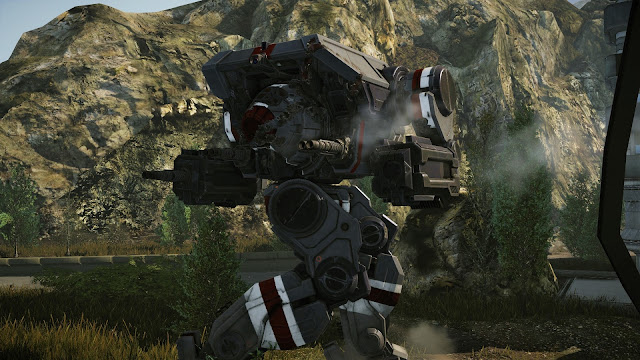
Marauders in low visibility camouflages formed the first line of offense. Still no sign of the defenders. Calls for vigilance are heard on comms.

Posted Image
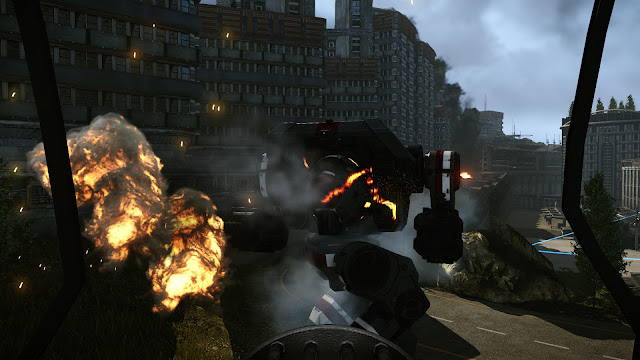
Massive autocannons start spitting fire as the first contact is made.

Posted Image
Both sides make heavy use of Clan tech as the arms race accelerates in the wake of the Clan invasion. Here, a Highlander IIC of the Arcturian Guards is seen.

Posted Image
Lyran forces take cover as Steiner begins an LRM barrage, marking the beginning of a counter-attack.

Posted Image
A Dire Wolf belonging to Capt. James Keen is moving towards the battle as Lyrans put their reserves in action.

Posted Image
We encounter a defender BattleMech which engages our corresspondent's 'Mech in an indiscriminate action.

Posted Image
Capt, Keen immediately intervened and saved our correspondent.

Posted Image
Another killmark for superficial damage.

Posted Image
The urban combat also saw heavy use of light 'Mechs on both sides as mobility and reconnaisance gained importance.

Posted Image
Uncontrollable fires raged in the city as the fighting intensified.

Posted Image
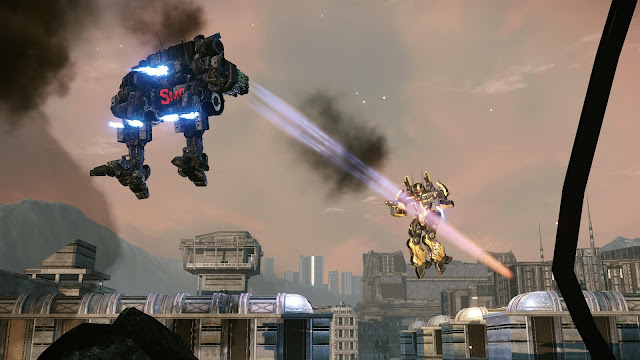
A defender is seen moving through heavy Lyran artillery barrage.

Posted Image
Steiner forces also move forth their reserves and the battle rages at close range.

Posted Image
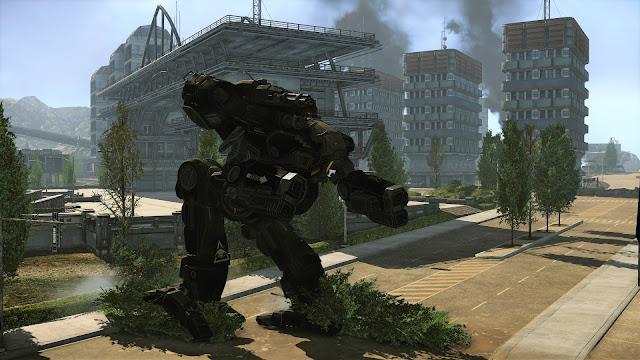
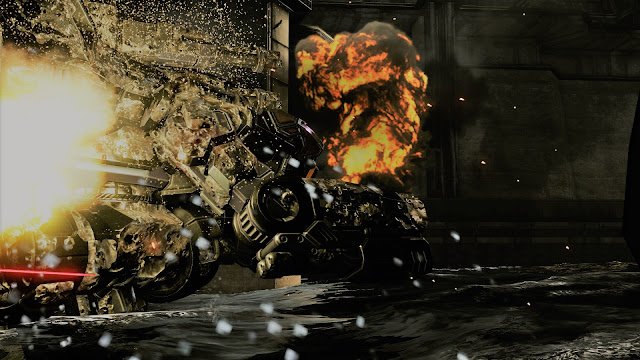
This is the last shot of the black Marauder seen in the previous photos. Unfortunately the pilot drowned after the 'Mech suffered a reactor breach.

Posted Image
The loss of the Marauder intensifies emotions on the Lyran side as a Hunchback lurches forward to take its place.

Posted Image
Unfortunately the Kodiak claims another victim. Calls for focus fire is heard on the Lyran comms.

Posted Image
Kodiak down! Cheers can be heard on radio as Capt. Keen's Dire Wolf arrives just in time and proves a match for the Steiner Kodiak.

With the last defender 'Mechs put out of action, the Lyran forces began an intensive infantry sweep of the city. As the Lyran command wants the city intact, pockets of resistance have to be neutralized by bitter close range combat without the use of heavy weaponry.


Mercenaries infight on Huntington

In a peculiar turn of events, a mercenary corporation was split in two bitterly opposed factions as the management could not agree on pay with its union pilots. As the talks broke down, calls for brute force took over cool heads. As the disgruntled mercenaries called for action, civilians were seen fleeing the city.

Posted Image
A union Centurion is seen heading towards the headquarters.

Posted Image
To ensure victory the union even broke into the Merc. depot and activated this Atlas for the fight.

Posted Image
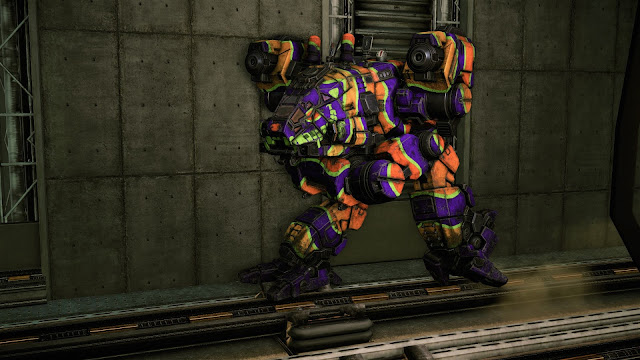
Colorful camouflage patters are common in mercenary units. Here, a Catapult is seen.

Posted Image
Another Grid Iron is seen.

Posted Image
The battle is joined with the management forces.

Posted Image
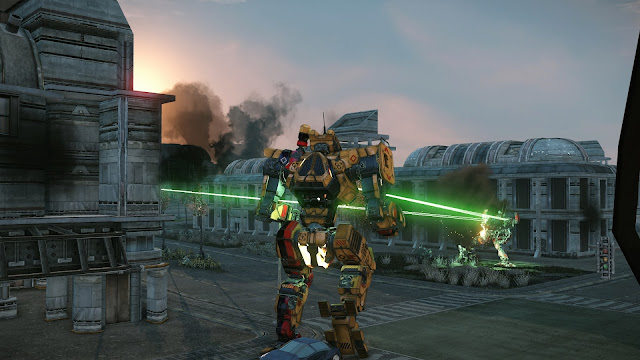
Even the skies were full of fury. Note the use of flamers by the management forces, which is forbidden in urban use by war regulations.

Posted Image
A management Centurion is under attack by union pilot Anna Flessner, which is said to be "an absolute pest" with the 'Mech.

Posted Image
The Centurion can not keep up and suffers an armor breach from the rear. Union mercs cheer on comms as the last defender falls down.

Posted Image
The mood quickly changes as distant rumbling is heard. Unknown forces approach the city.

Posted Image
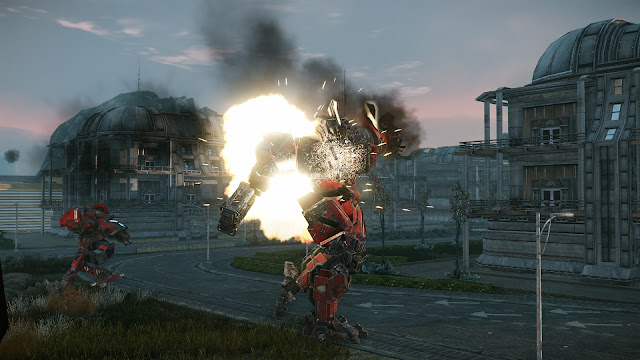
This Wolfhound makes quick work of Anna's Locust as it suffers a broken leg. Unknown forces reveal themselves as a rival mercenary corp taking advantage of the infighting.

Posted Image
This is the last image transmitted from our press Commando as it's brutally murdered after refusing to hand over the images by the rival corporation.
#4 AngrySpartan

    Member

  • PipPipPipPipPipPip
  • Bad Company
  • Bad Company
  • 349 posts

Posted 01 December 2016 - 06:02 AM

Wonderful shots & nice stories! Those little pieces of lore made battletech such an appealing universe.

RIP Marauder pilot.


#5 Ozzy Stormlight

    Member

  • PipPipPipPipPip
  • Elite Founder
  • Elite Founder
  • 144 posts
  • LocationStormlight's Castle.........if your in the know..

Posted 01 December 2016 - 06:48 AM

this is cool :)

I hear a war-time type narrator in my head whilst reading :)

GOOD STUFFS !!

... poor commandos...

I sympathize :)

#6 Agent Cooper

    Member

  • PipPipPipPipPipPip
  • Ace Of Spades
  • Ace Of Spades
  • 437 posts
  • Locationbottom left of canaduh

Posted 04 December 2016 - 10:37 PM

#neverforget

#7 AWOL 01

    Member

  • PipPipPipPipPipPip
  • Little Helper
  • Little Helper
  • 347 posts
  • LocationWisconsin

Posted 12 December 2016 - 01:20 PM

These are absolutely beautiful, and the stories really pull it all together. Can't wait to see more!

#8 Luscious Dan

    Member

  • PipPipPipPipPipPipPipPip
  • The Privateer
  • The Privateer
  • 1,146 posts
  • Twitter: Link
  • LocationEdmonton, AB

Posted 15 December 2016 - 11:07 AM

Nice post, this was a fun read and I have one of the shots as my wallpaper at work now :D


1 user(s) are reading this topic

0 members, 1 guests, 0 anonymous users