Jump to content

My latest two mini's


15 replies to this topic

#1 Slade Deleportas

    Member

  • PipPipPipPipPip
  • 144 posts
  • LocationPennsylvania

Posted 25 December 2011 - 11:29 AM

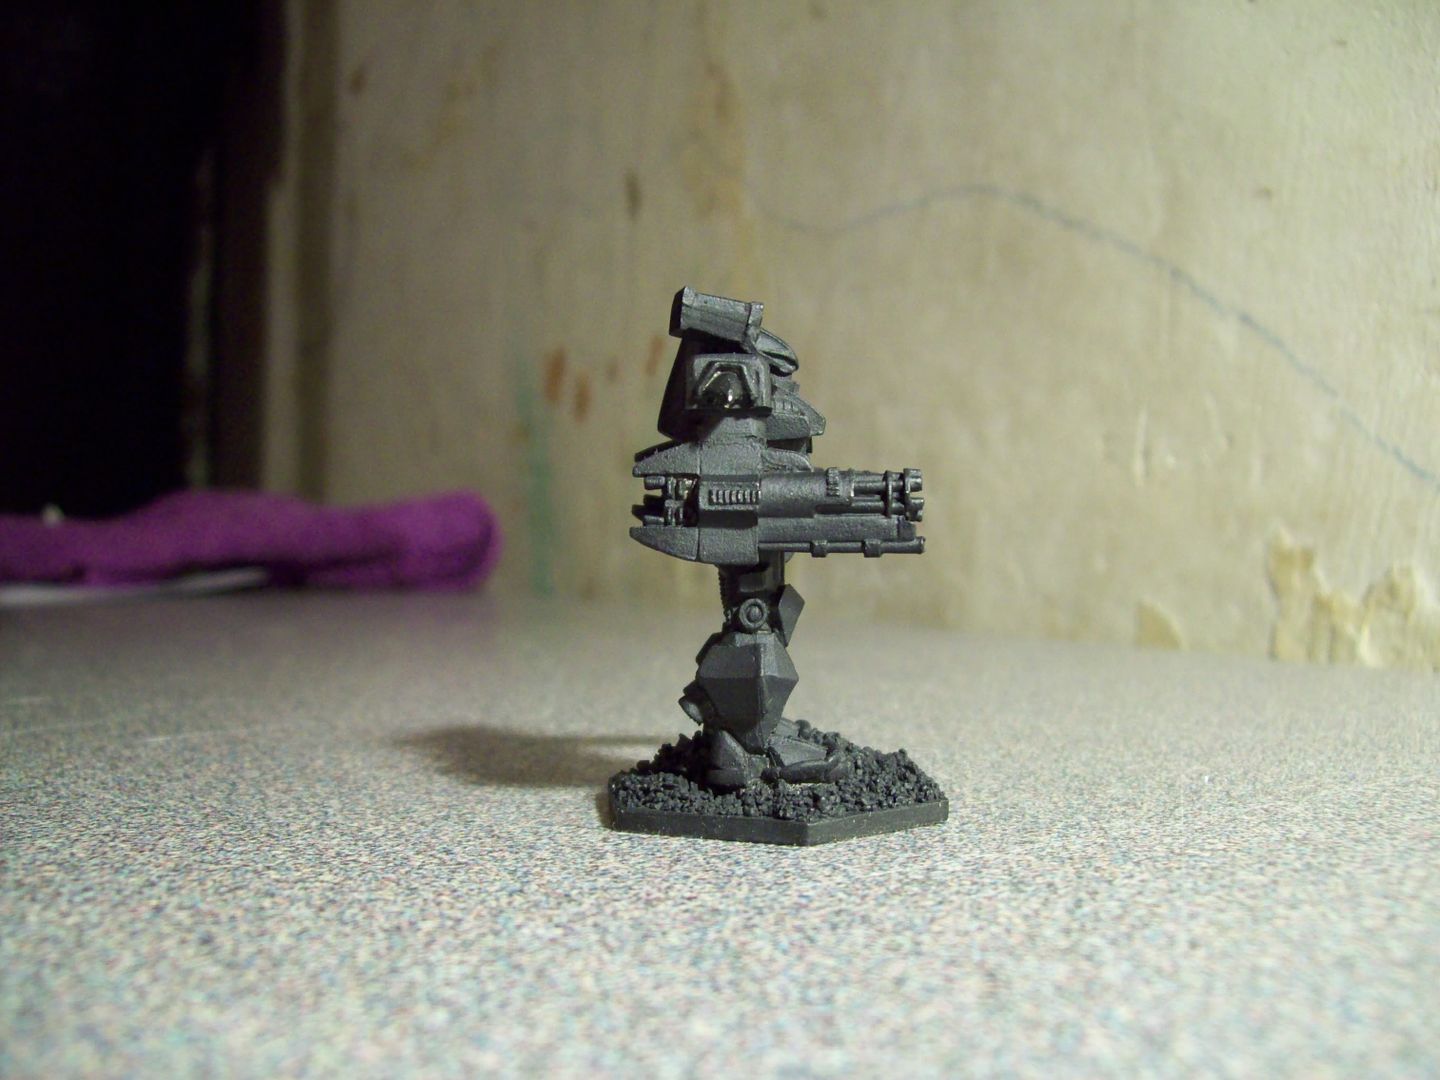
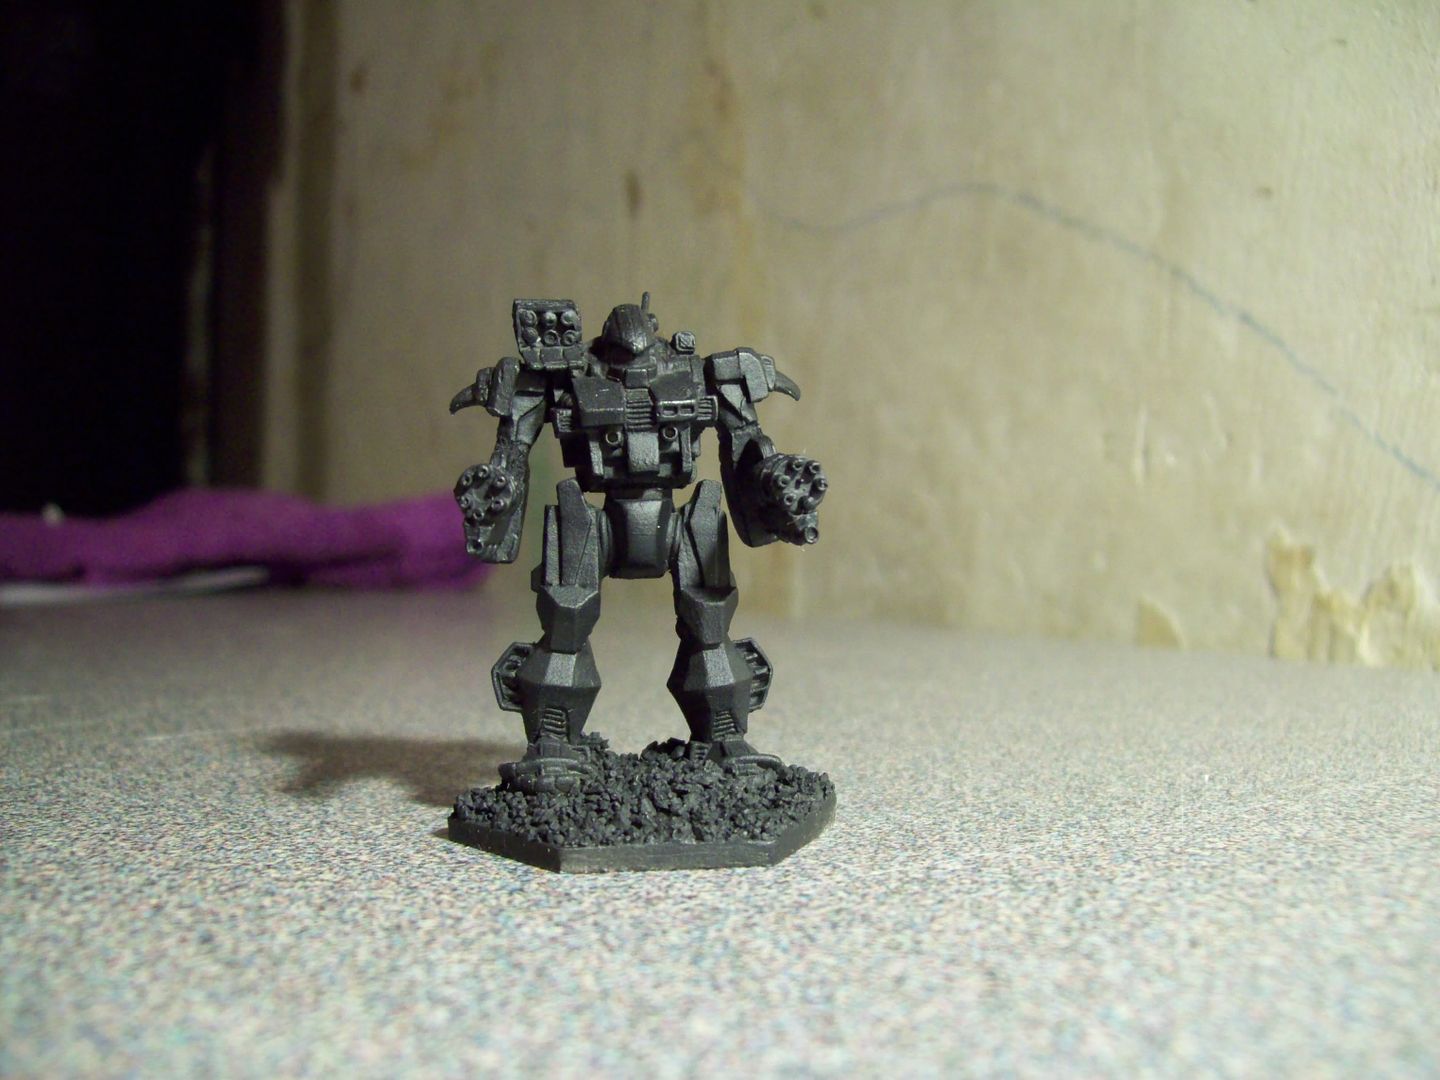
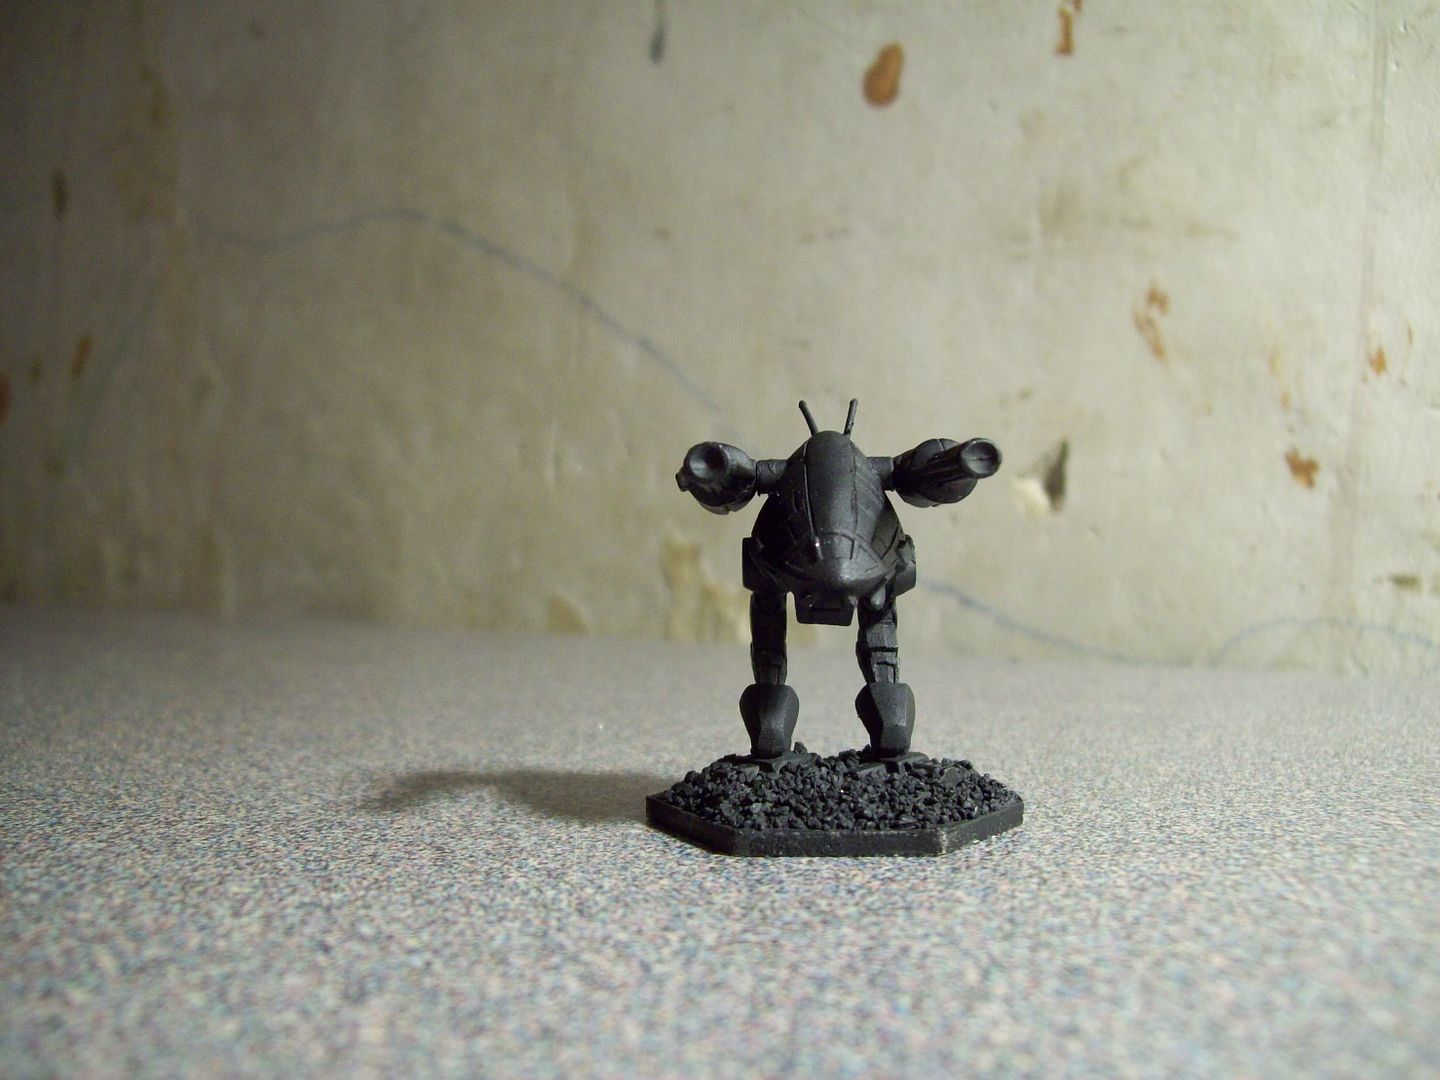
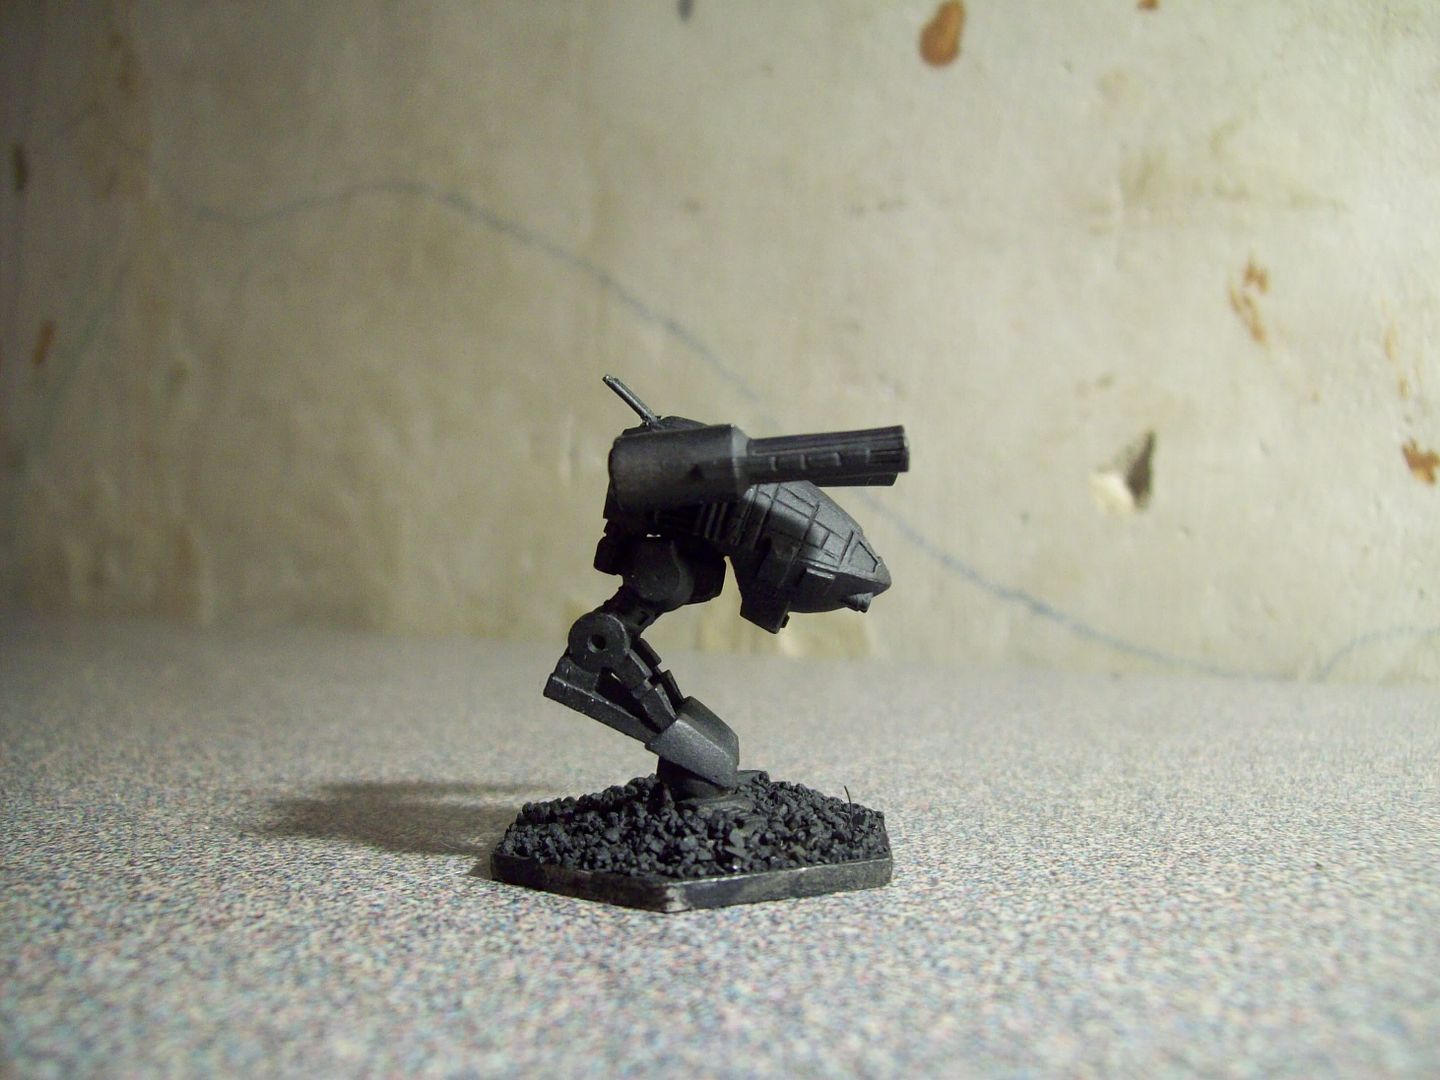
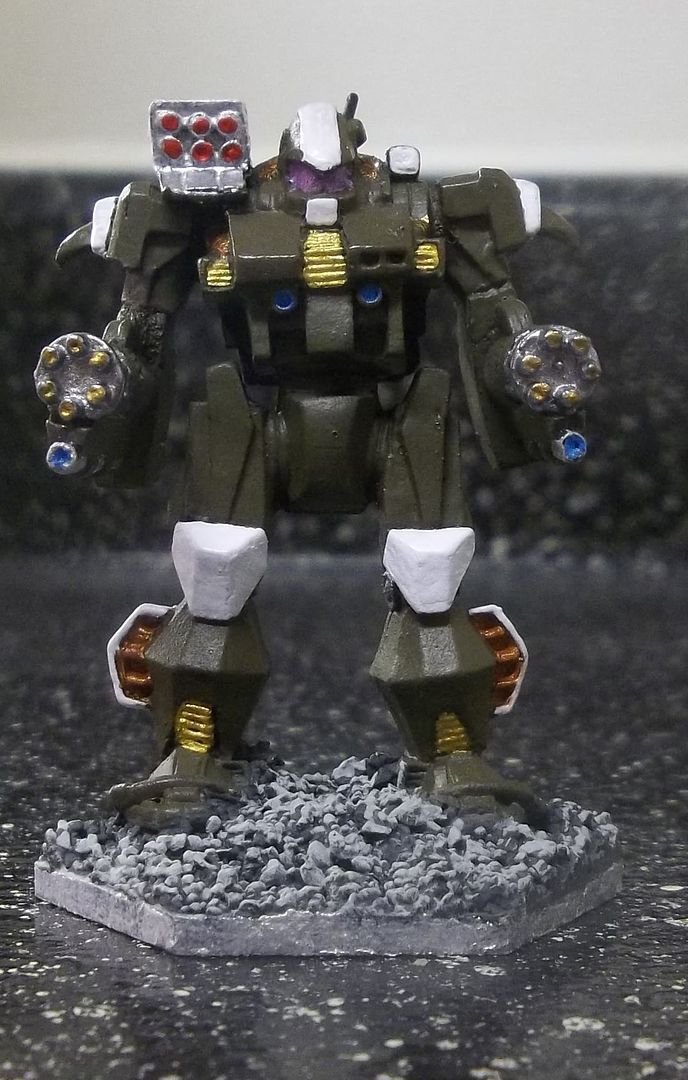
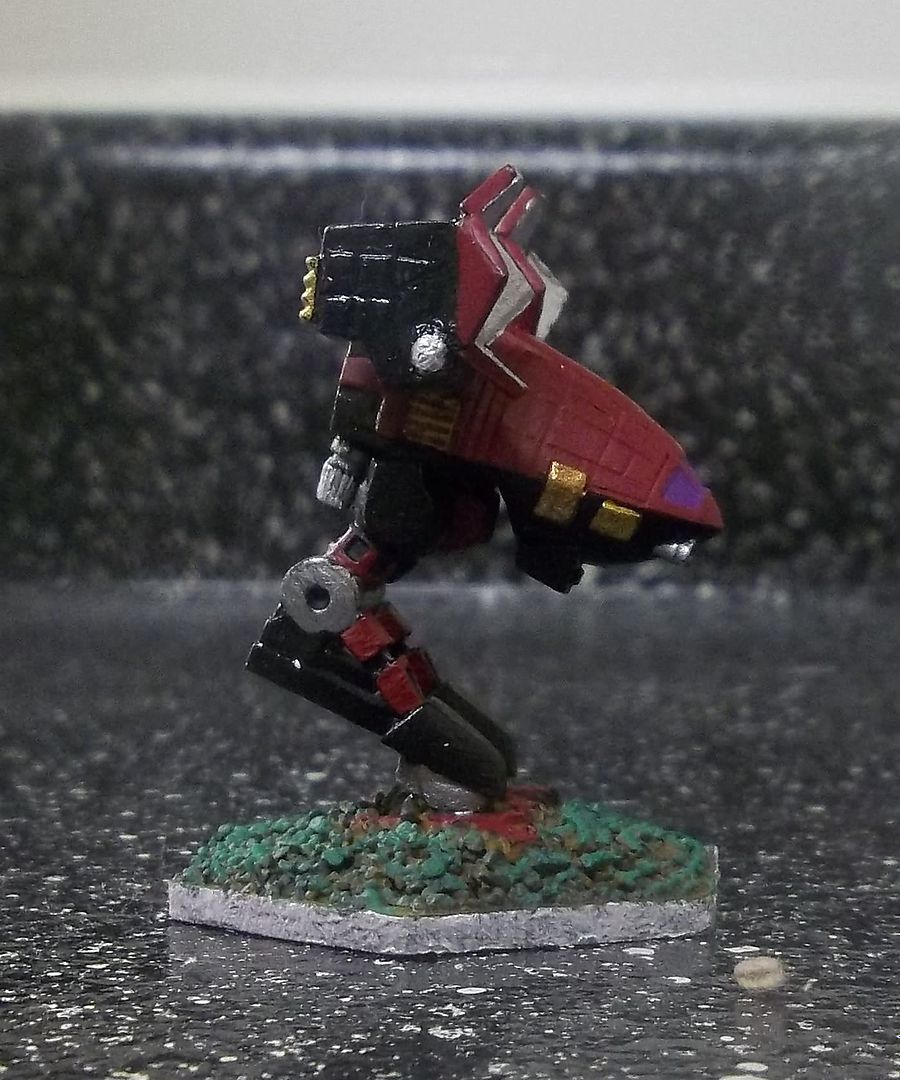
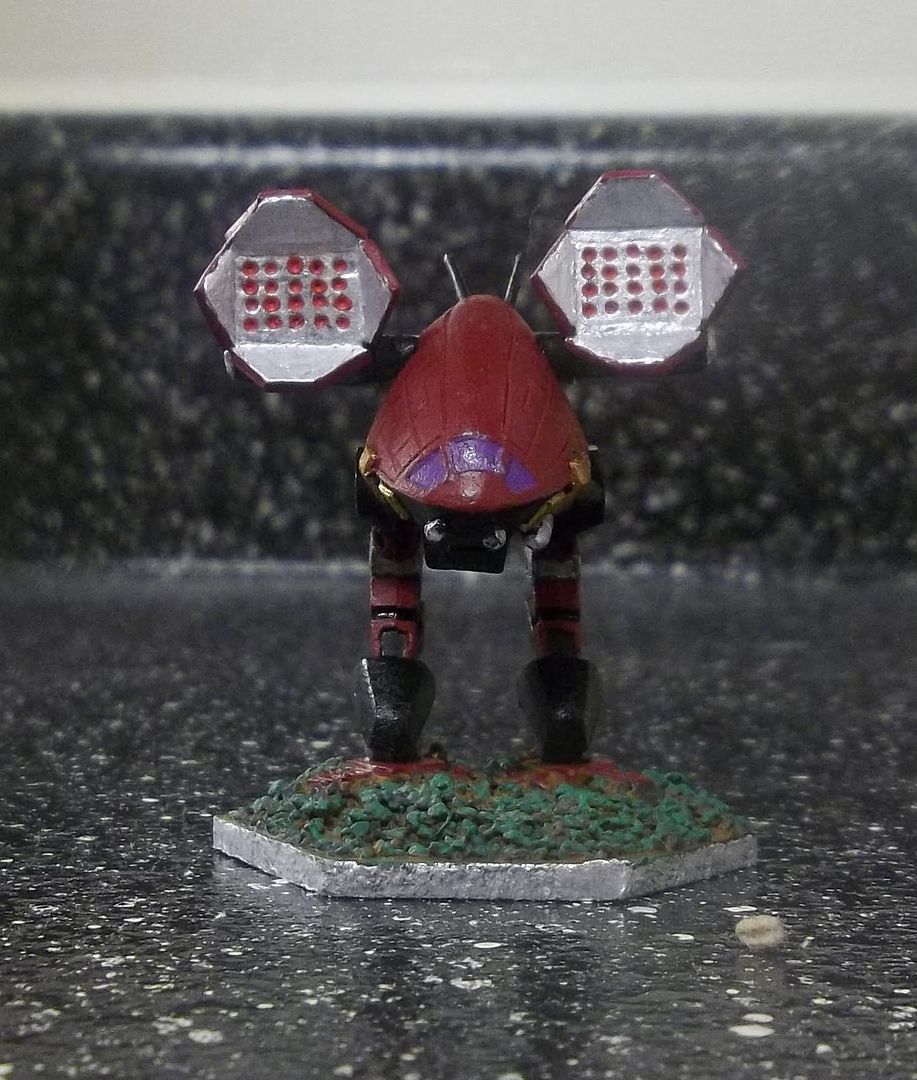
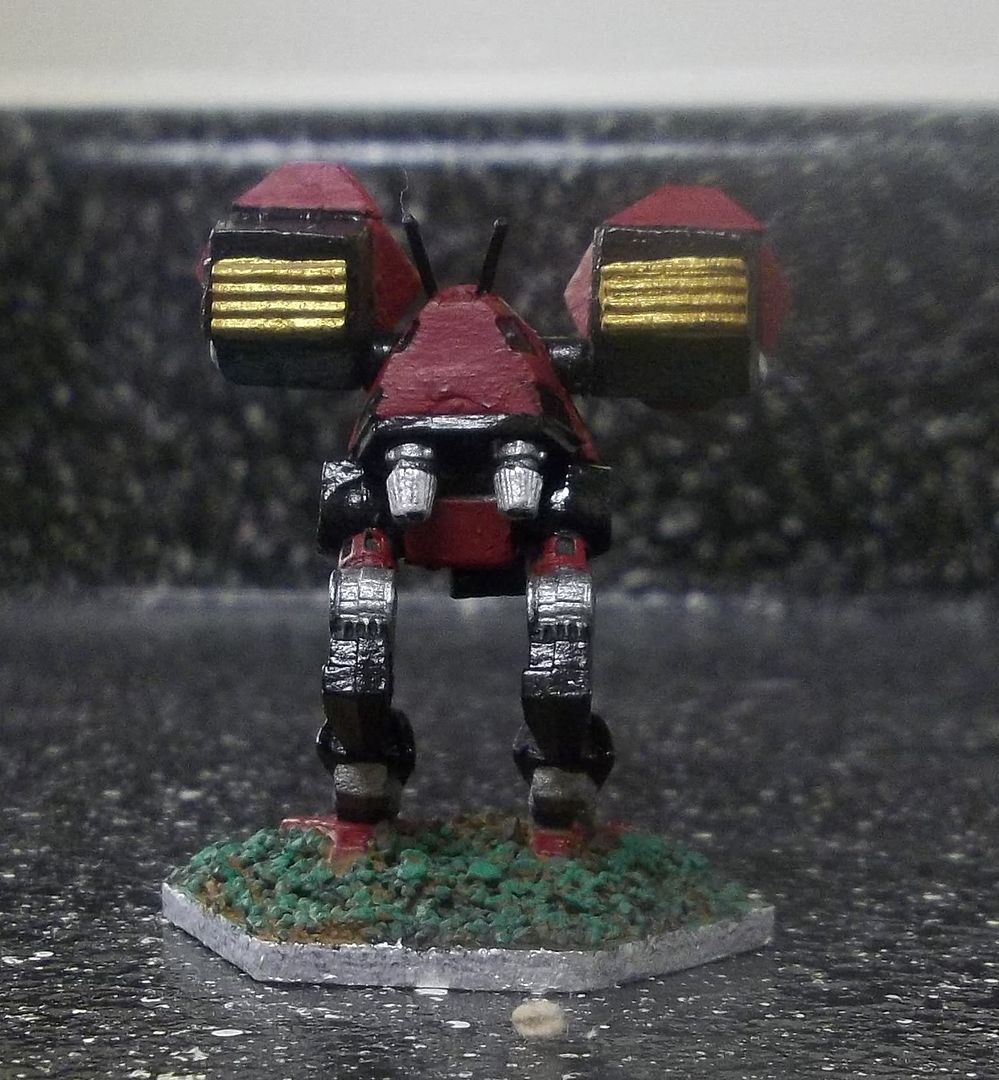
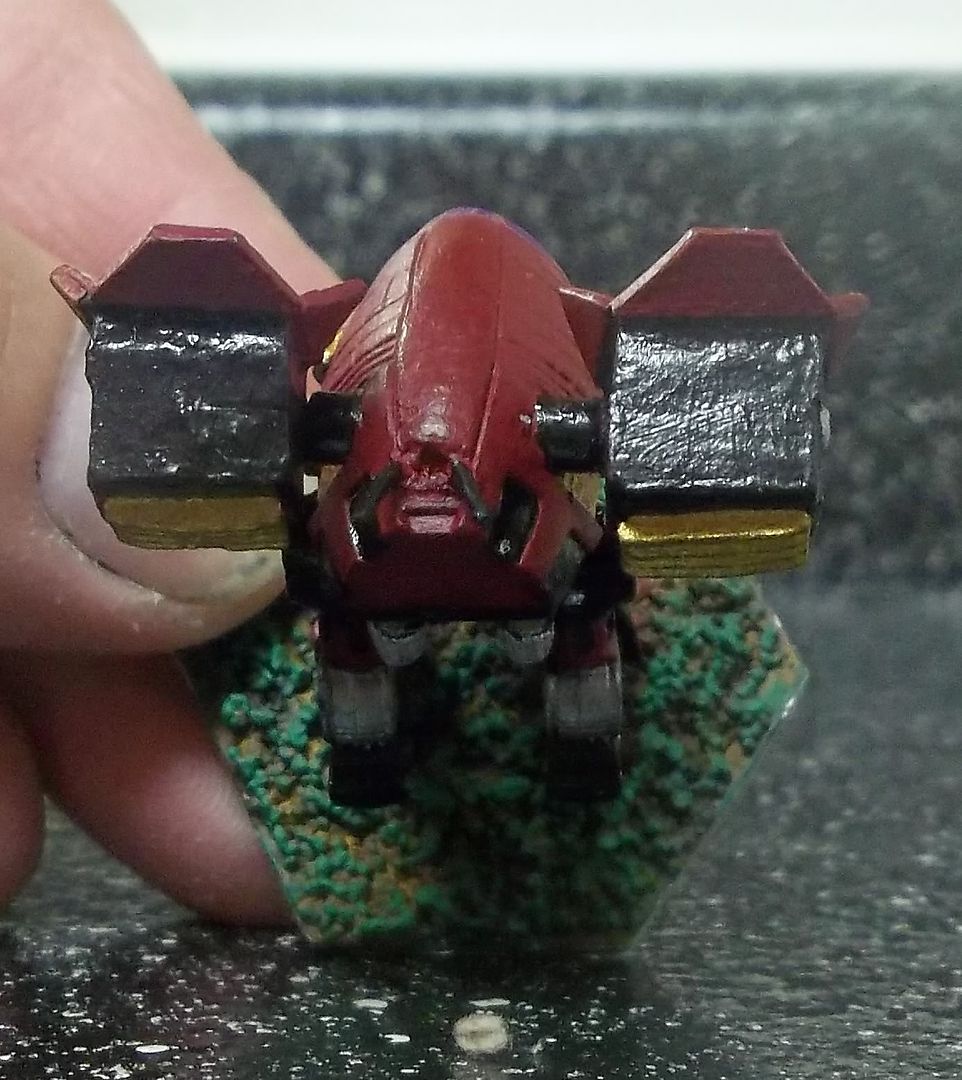
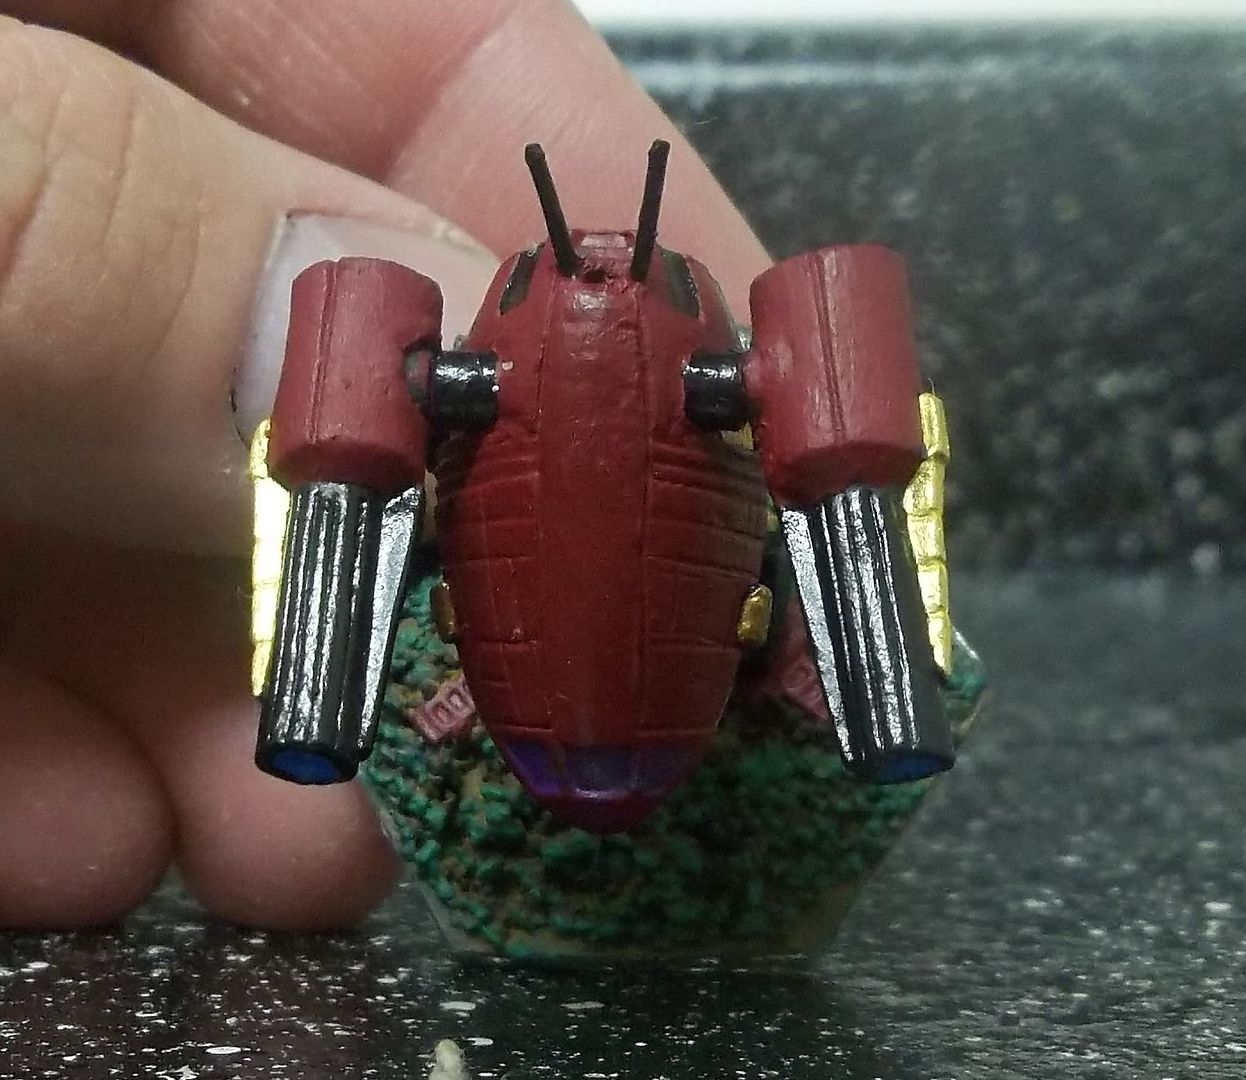
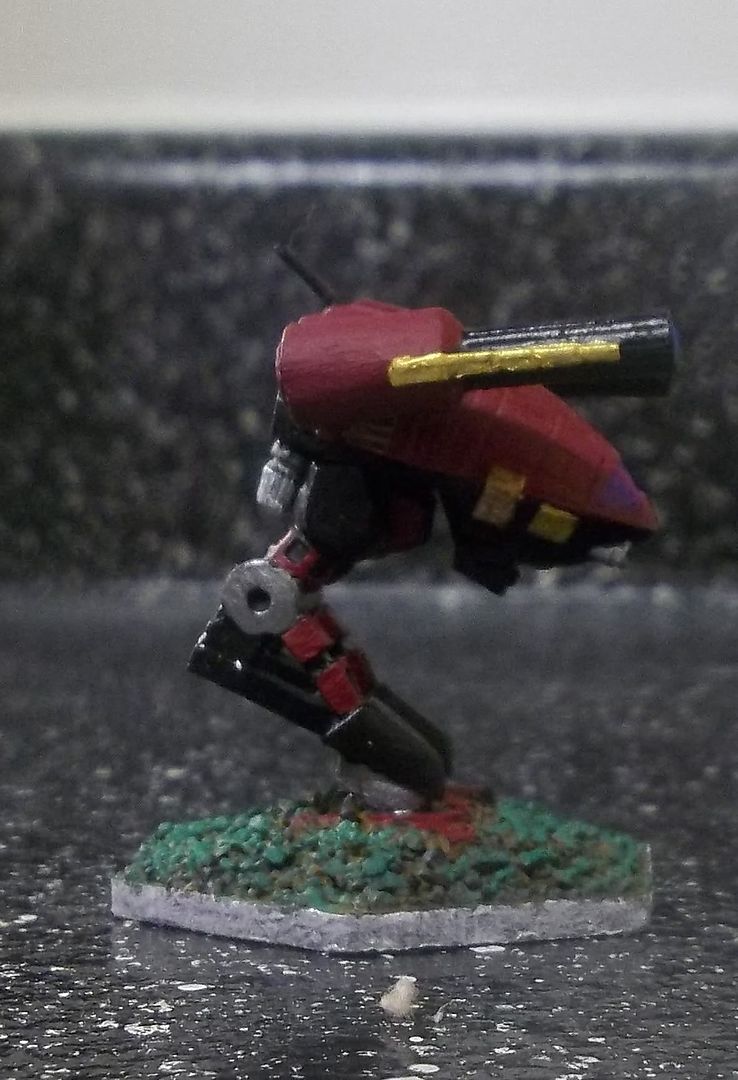
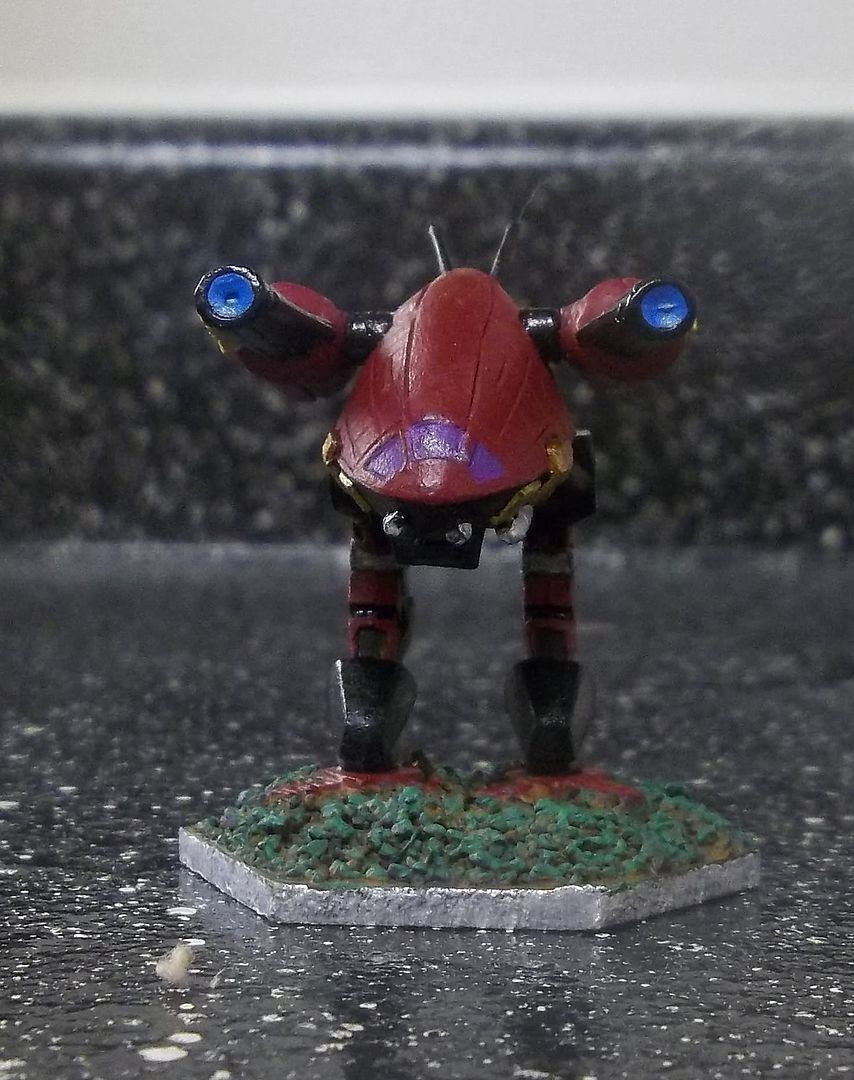
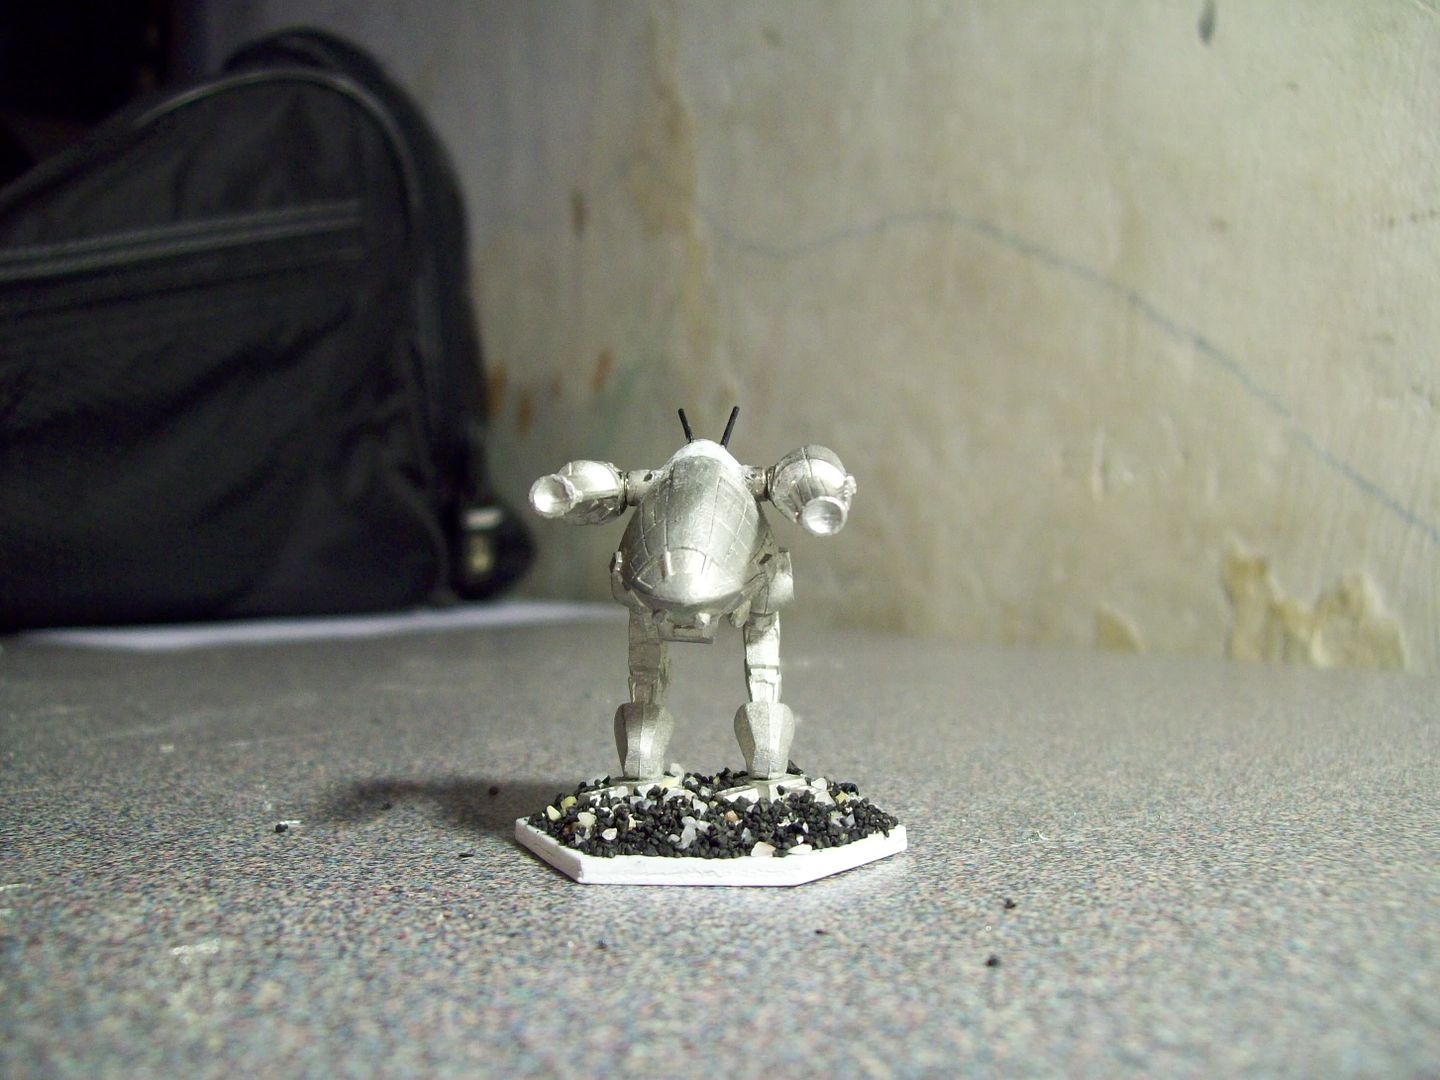
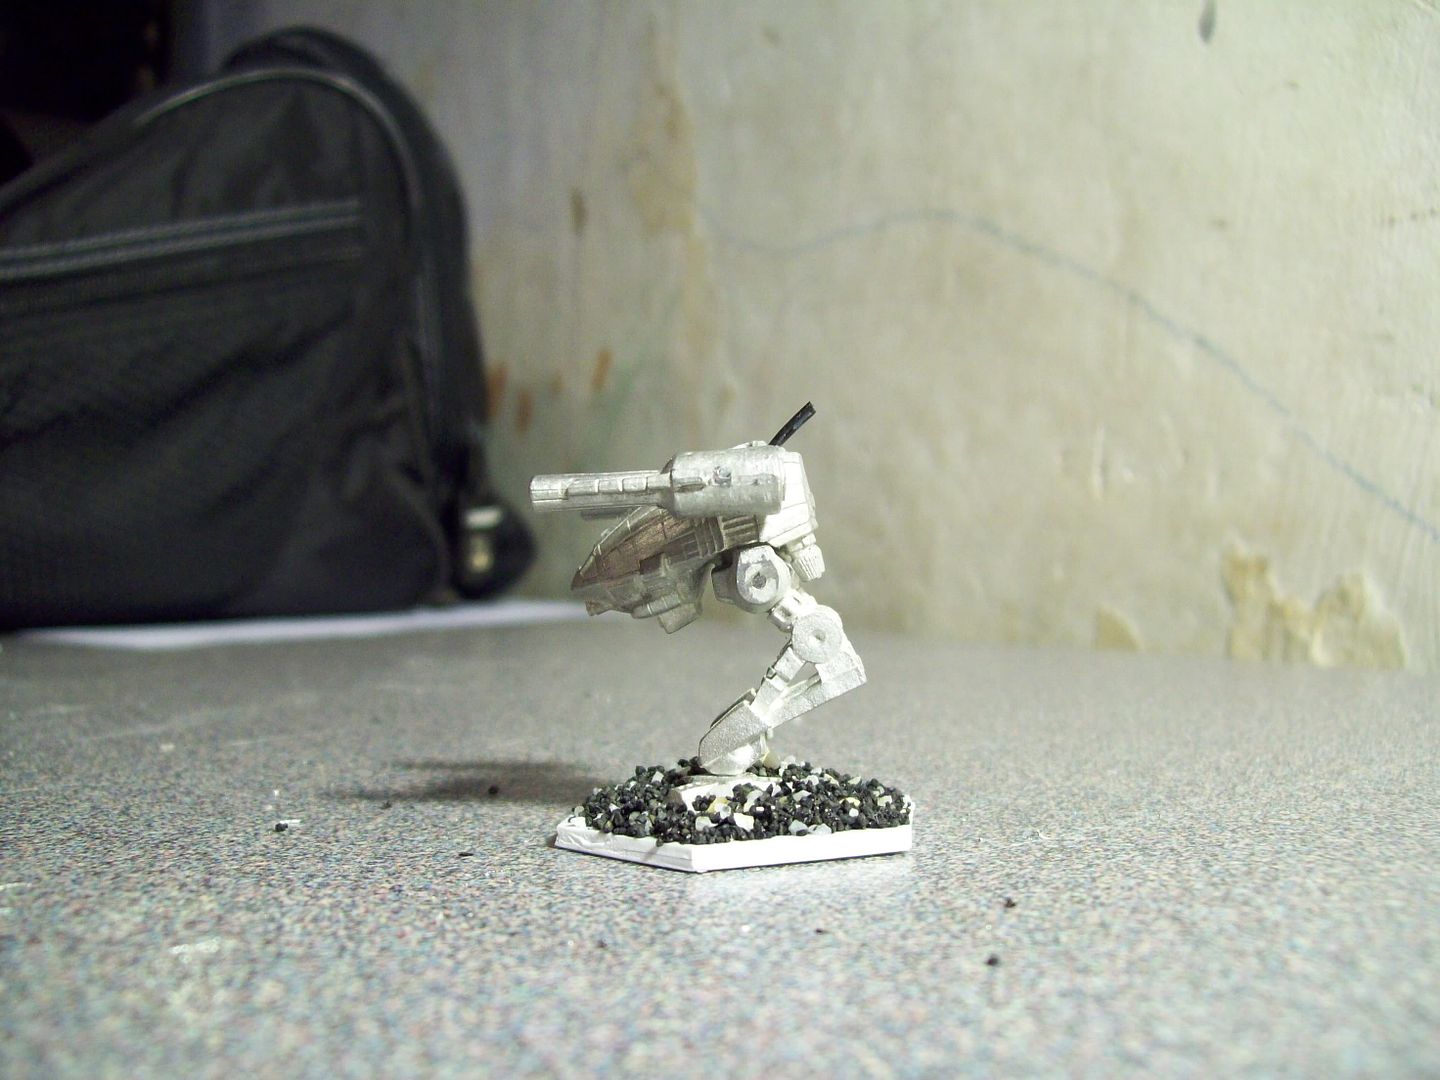
I recently purchased a Hammerhands and a Catapult. With some magnets I am now able to swap the Catapult from the standard to a Catapult-K. The PPC's are actaully the lower arms from the Hammerhands, since I bought the Rifleman arms to replace the stock arms.

Now for pics:
Hammerhamds:
Posted ImagePosted Image

Catapult-C
Posted ImagePosted Image

Catapult-K
Posted ImagePosted Image

Thoughts/suggestions?

#2 Naughtyboy

    Member

  • PipPipPipPipPipPip
  • 235 posts
  • LocationSweden

Posted 25 December 2011 - 11:43 AM

intresting approach to use magnets,what model of PPCs are you using? is it normal,ER or Heavies?

i cant wait to see you paint them ;)

#3 Slade Deleportas

    Member

  • PipPipPipPipPip
  • 144 posts
  • LocationPennsylvania

Posted 25 December 2011 - 11:49 AM

For now since my group is in 3048 era just normal PPC's hehe.

#4 RangerRob

    Member

  • PipPipPipPipPipPip
  • 325 posts
  • LocationEarthworks Inc., Cataphract Plant, Tikonov

Posted 27 December 2011 - 09:13 AM

Nice work with the magnets! I've used them before...just not on mechs.

Your Catapult -K looks great. Much better than he one I made with the Plastic one from the new box set and a pair of Jager III arms.

Well done Sir!

#5 Slade Deleportas

    Member

  • PipPipPipPipPip
  • 144 posts
  • LocationPennsylvania

Posted 01 January 2012 - 09:52 AM

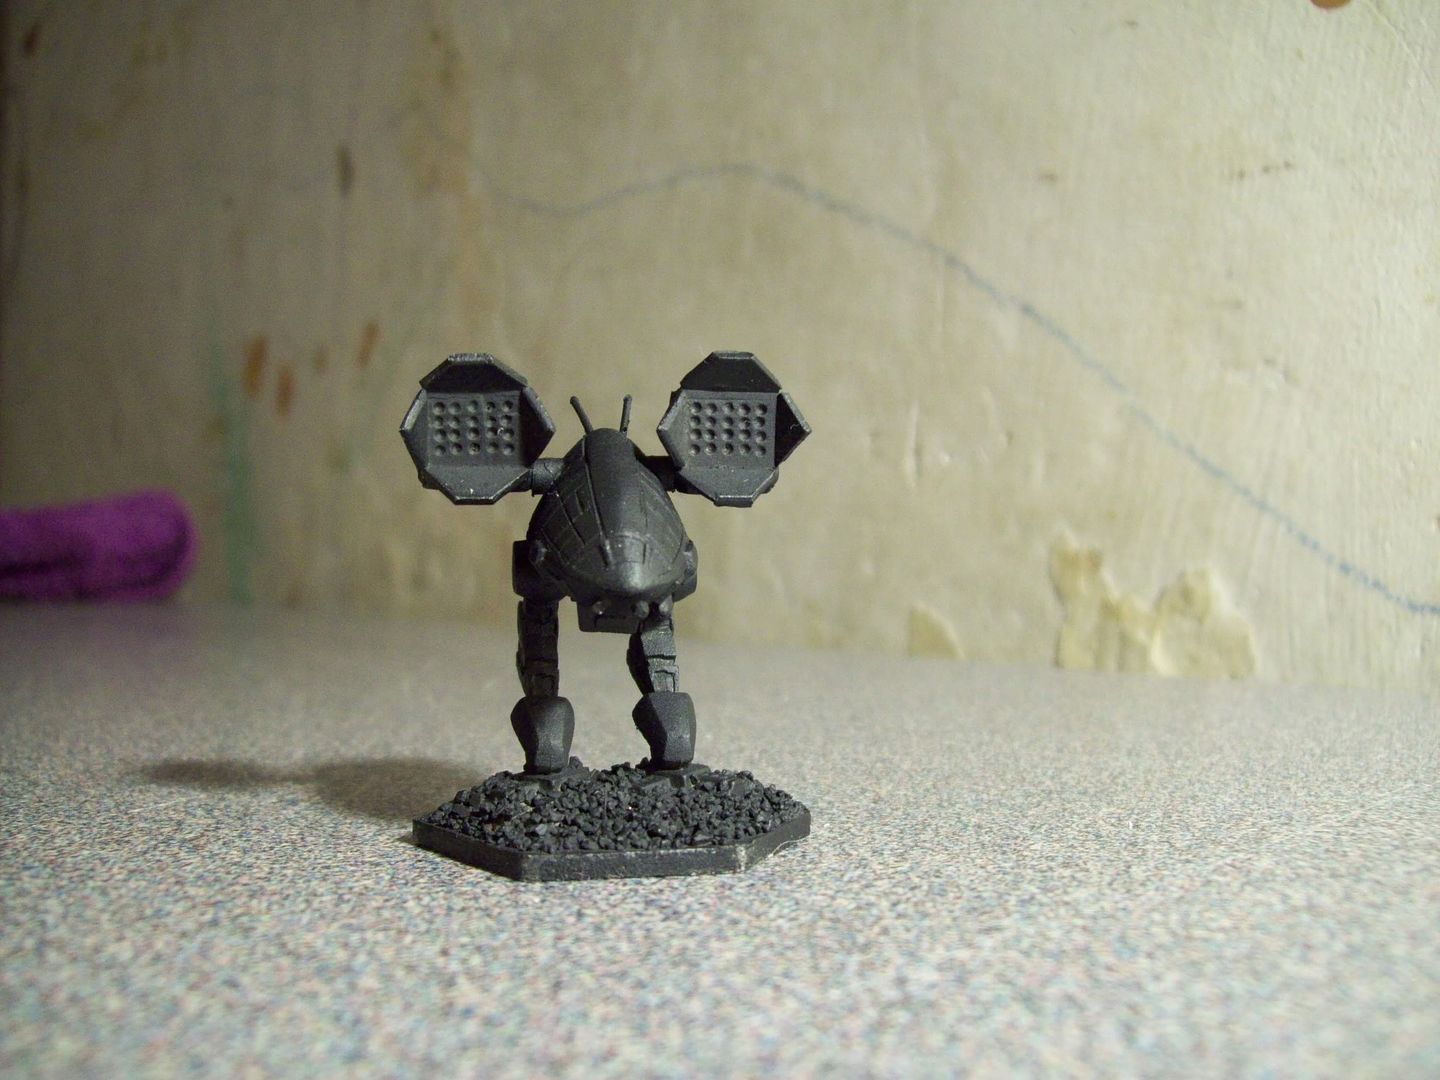
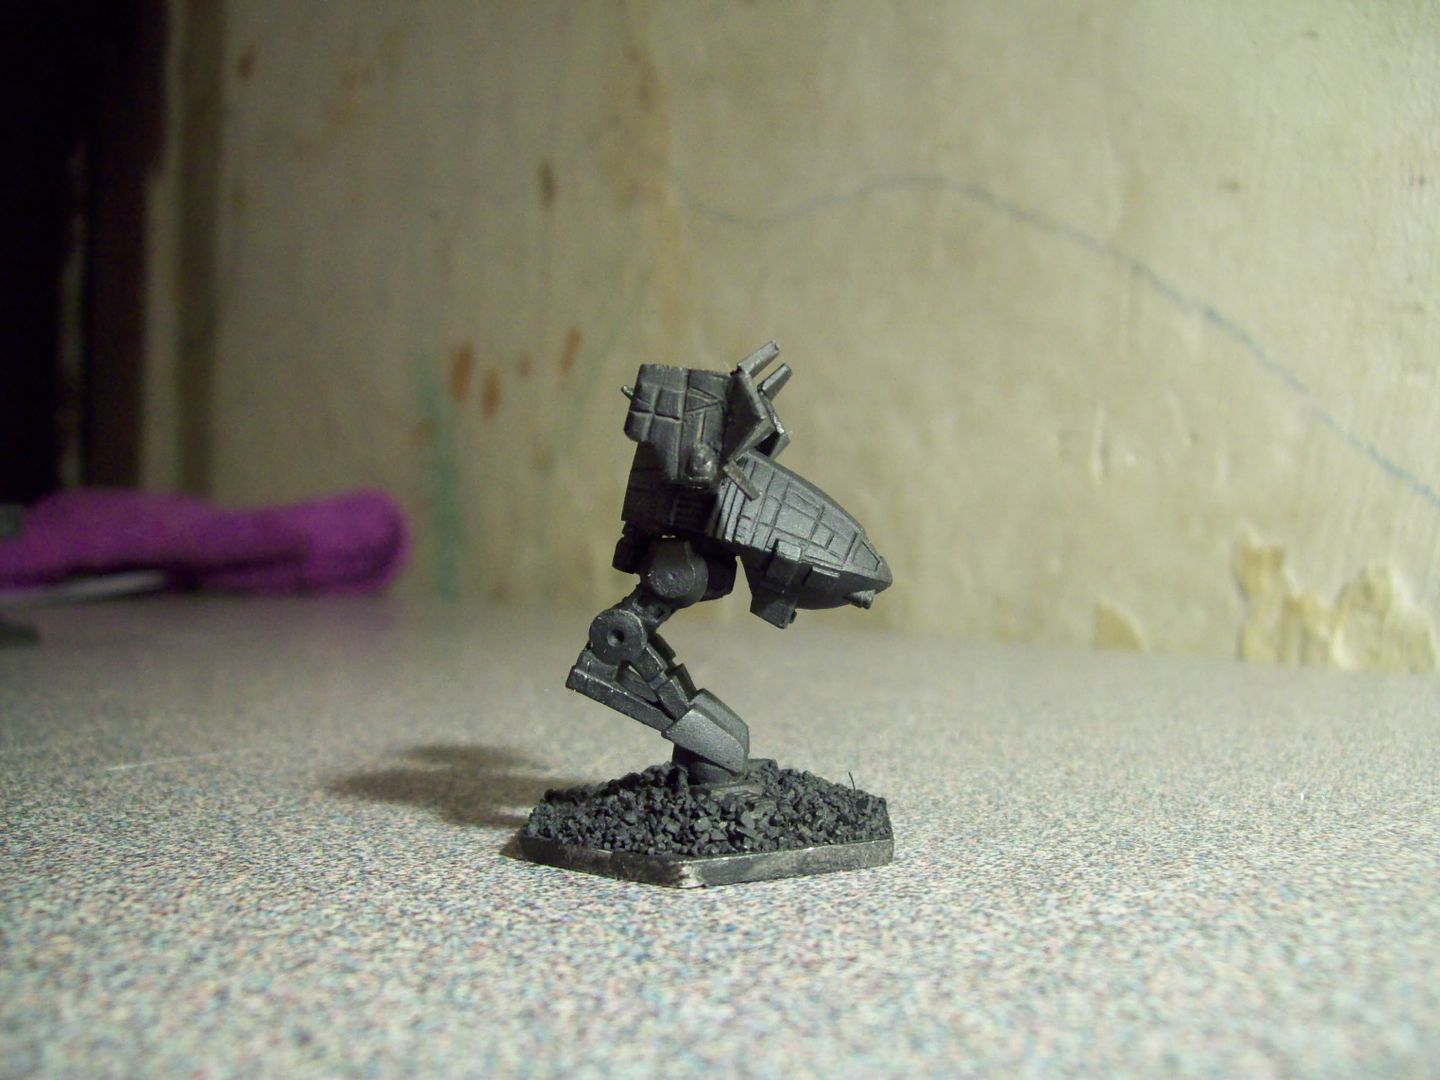
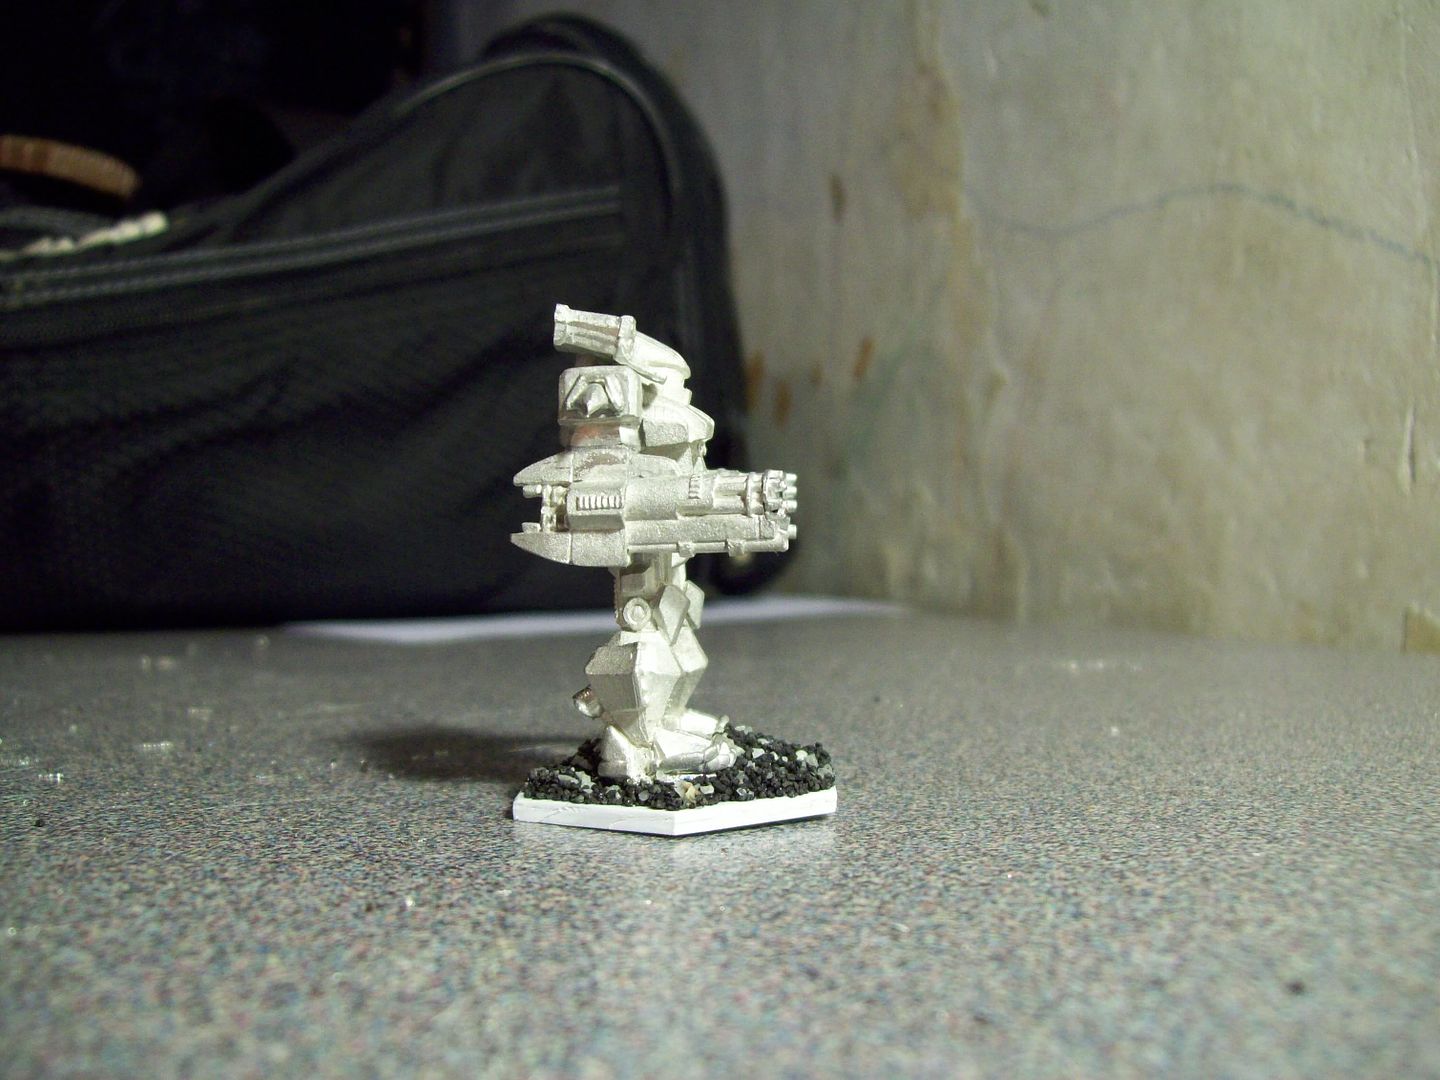
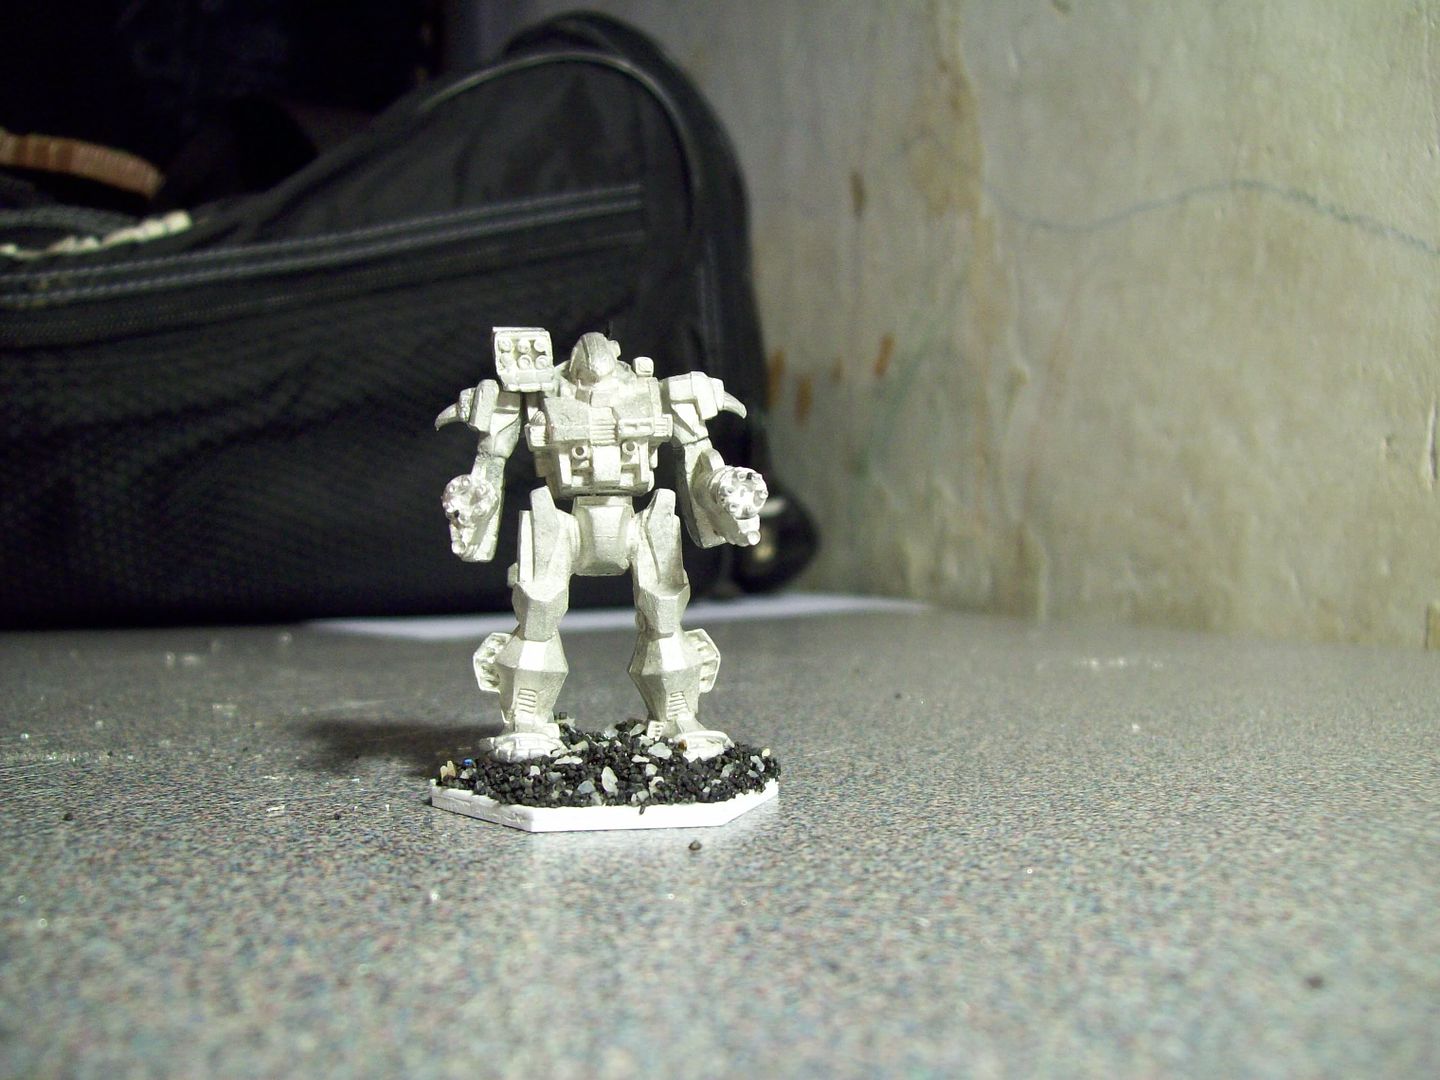
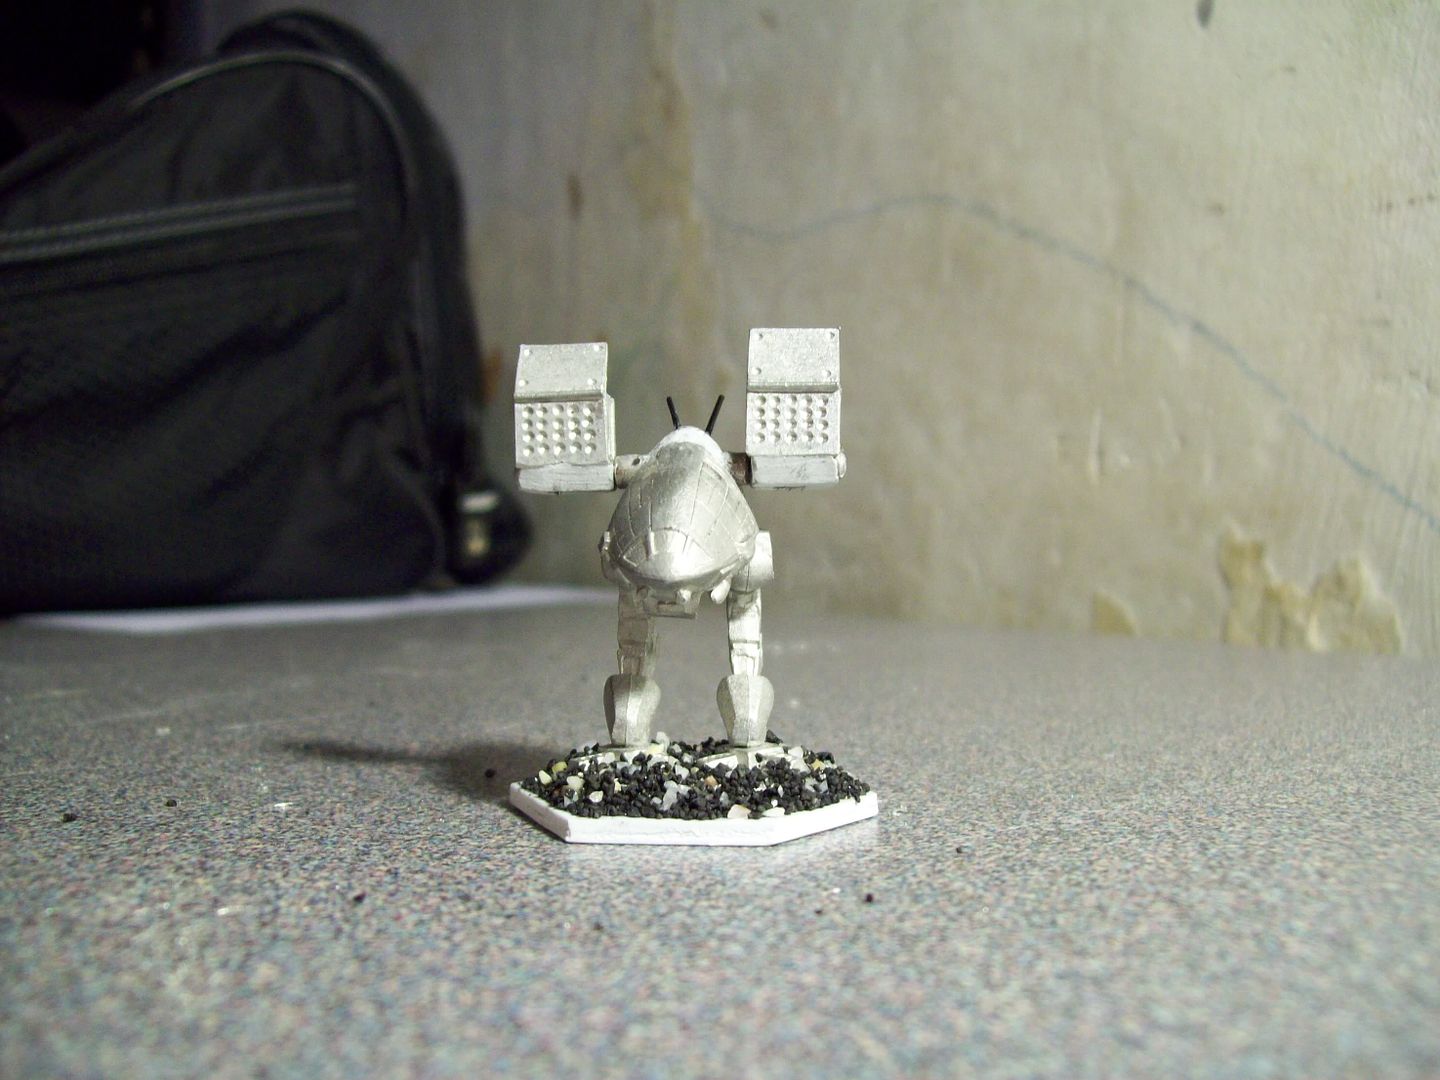
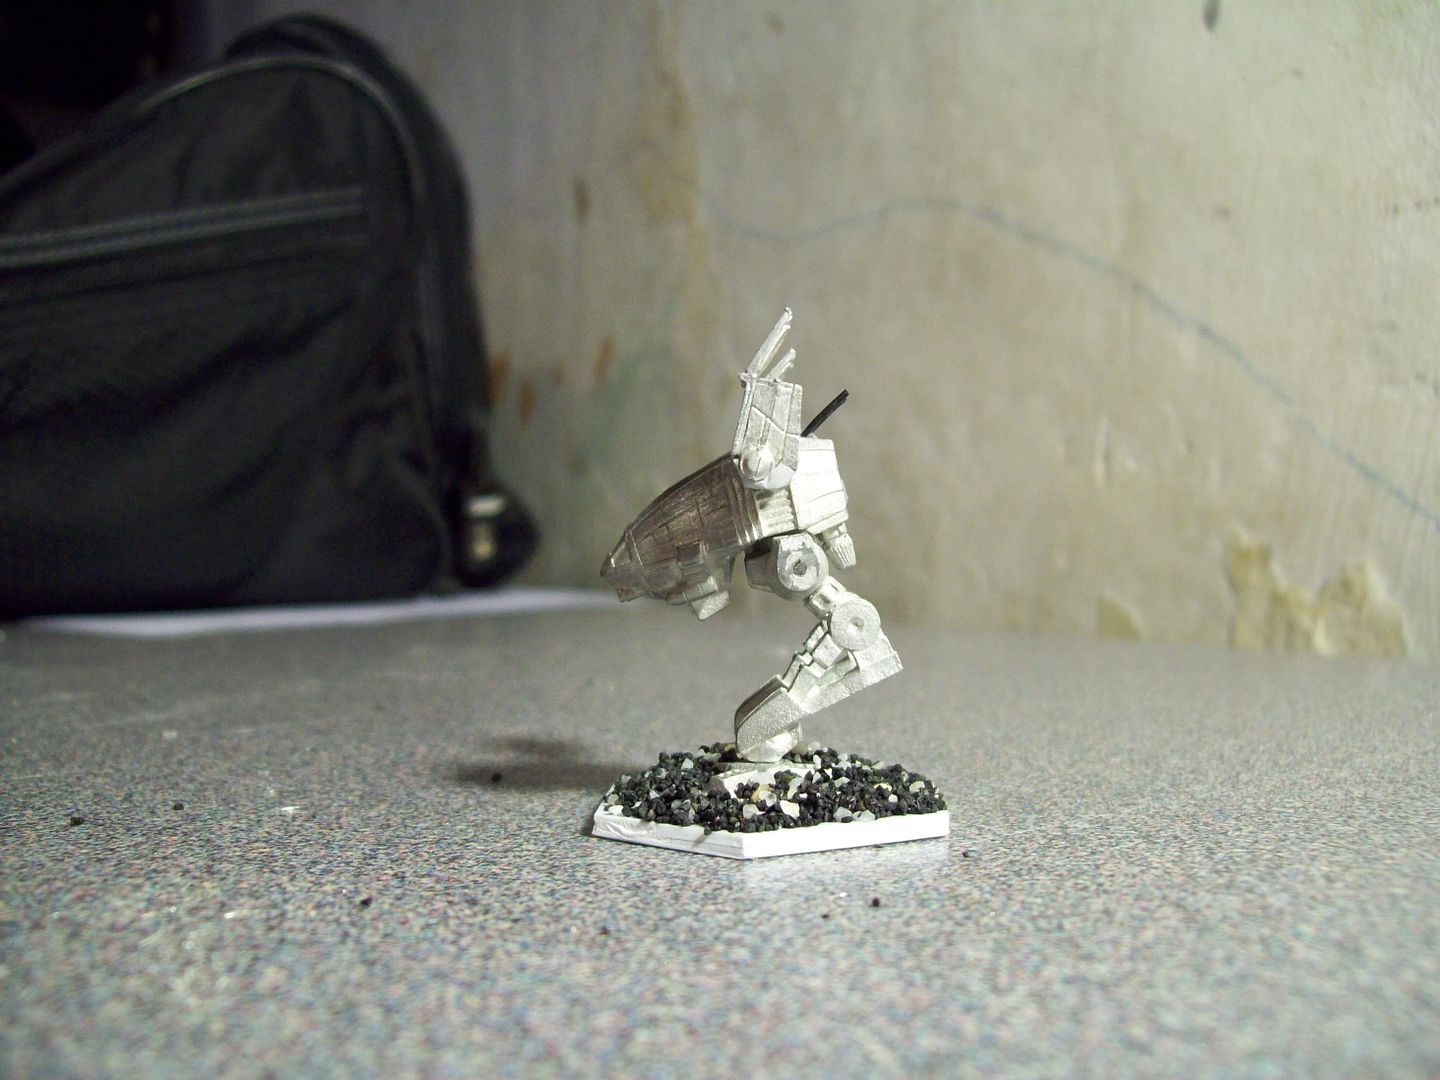
Some more work on these two minis. A few more mods to the Catapult and primered.

Posted ImagePosted ImagePosted ImagePosted ImagePosted ImagePosted Image

#6 RoundTop

    Member

  • PipPip
  • 48 posts
  • LocationVancouver, BC, Canada

Posted 02 January 2012 - 09:39 AM

Not sure if I am a fan of the big AC/10 hands from the hammerhands becoming PPCs on the CPT. They just seem a little too big for my taste.

One of the interesting (and fast) arm changes you can make is from an Owens to a Raptor (both DCMS) as the arms swap very easily and they each have a config that it represents accurately.

#7 Slade Deleportas

    Member

  • PipPipPipPipPip
  • 144 posts
  • LocationPennsylvania

Posted 02 January 2012 - 03:18 PM

Are you saying they are too big on the Hammerhands? or the Catapult K.

If the Hammerhands Im thinking they are UAC-10's (easily doable during Clan Invasion)

#8 Vincent Vascaul

    Member

  • PipPipPipPipPipPipPip
  • 858 posts
  • LocationEverett, Wa

Posted 02 January 2012 - 09:09 PM

The hammerhands is one of my all time favs! Very nice man cant wait to see them all painted out.

#9 Adridos

    Member

  • PipPipPipPipPipPipPipPipPipPipPip
  • Bridesmaid
  • 10,635 posts
  • LocationHiding in a cake, left in green city called New A... something.

Posted 03 January 2012 - 02:08 AM

Those new launcher "doors" you've made on Catapult are cool. B)

#10 Slade Deleportas

    Member

  • PipPipPipPipPip
  • 144 posts
  • LocationPennsylvania

Posted 05 January 2012 - 04:57 PM

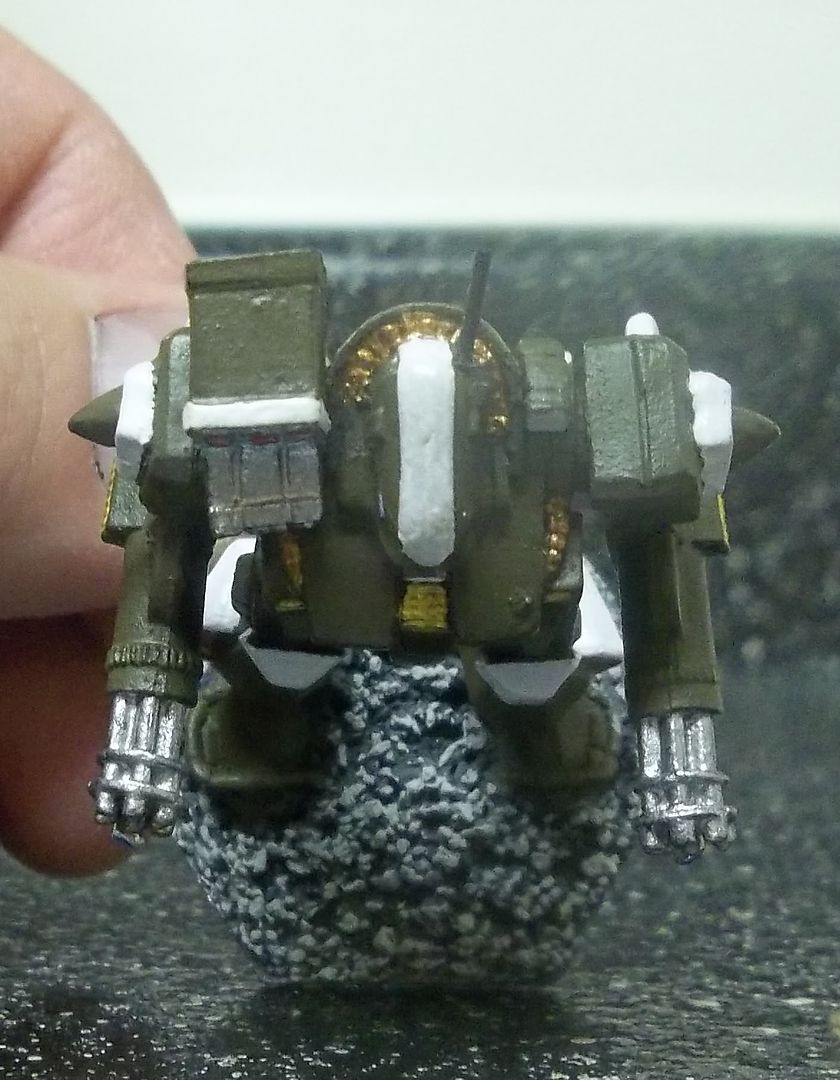
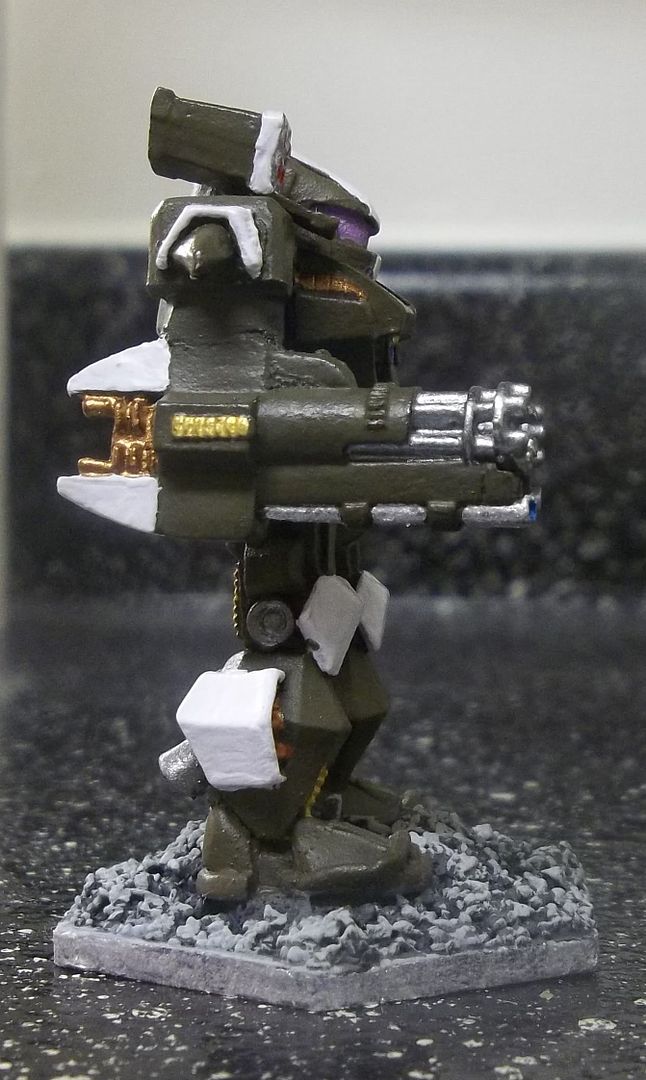
There, they are all done now. :P


Posted ImagePosted Image


Posted Image


Posted ImagePosted ImagePosted ImagePosted ImagePosted ImagePosted ImagePosted Image

#11 Zendric

    Member

  • PipPipPipPipPipPip
  • 206 posts

Posted 06 January 2012 - 01:29 PM

Great work so far, but if I can offer some advice, thin your paints.

It will help the overall appearance, another thing you may want to look into are Reaper washes, they can add a lot of depth to panel lines, and give 'Mechs a more worn appearance that I personally adore.

Edited by Zendric, 06 January 2012 - 01:30 PM.


#12 Mason Grimm

    Com Guard / Technician

  • PipPipPipPipPipPipPipPipPip
  • Bad Company
  • Bad Company
  • 2,886 posts
  • Facebook: Link
  • LocationToronto, ON

Posted 06 January 2012 - 06:38 PM

I've had luck with GW "Badab Black" as my wash ;)

Yes, thin your paint and go in layers if you need to! Less is more in this case.

Good work so far!

#13 Demi-Precentor Konev

    Member

  • PipPipPipPipPipPip
  • Knight Errant
  • Knight Errant
  • 386 posts
  • LocationDnepropetrovsk, Galedon Military District

Posted 07 January 2012 - 05:28 AM

View PostMason Grimm, on 06 January 2012 - 06:38 PM, said:

I've had luck with GW "Badab Black" as my wash ;)

Yes, thin your paint and go in layers if you need to! Less is more in this case.

Good work so far!


Badab Black is the best thing that ever happened to me as a painter! I can't recommend it highly enough.

#14 Mchawkeye

    Member

  • PipPipPipPipPipPipPip
  • 883 posts

Posted 07 January 2012 - 02:58 PM

View PostMason Grimm, on 06 January 2012 - 06:38 PM, said:

I've had luck with GW "Badab Black" as my wash ;)

Yes, thin your paint and go in layers if you need to! Less is more in this case.

Good work so far!


This.

you've got a good start here, but thin paints, a nice wash of something darker; sometimes black is a bit much (also think in terms of a darker version of your base colour; just mix it with black, in other words), but it's a great (and quick) way to really pull details from the background. Also a black wash on top of metallics can also be really effective.

A good dry brushing can all pop details in double quick time.

#15 Slade Deleportas

    Member

  • PipPipPipPipPip
  • 144 posts
  • LocationPennsylvania

Posted 08 January 2012 - 01:31 PM

Ok, throw me some quick pointers on how to use washes please. ^_^ I've never had luck with washes or dry brushing really. One reason I've stayed away from it I guess.

#16 Mchawkeye

    Member

  • PipPipPipPipPipPipPip
  • 883 posts

Posted 08 January 2012 - 02:31 PM

Washes. Big subject.

Right!

The first and obvious wash is a bought one, like a Citadel wash. I hear these are quite good, dry matt and dry reasonably quickly.
Next on the list is ink. This is old school; I used inks for year and somewhere in the back of the batcave I still have some C1990 citadel inks. inks tend to gloss, but the depth of colour, I find, tends be be greater than a bought wash. The hard gloss surface it creates can be killed with matt varnish. I haven't used inks in years.
Third choice: homemade washes. now, you can just water down some paint, and it;ll work to a point. but if you add a solution like Johnsons Klear, or airbrush thinners, it will kill the surface tension in the paint mix and allow the wash to work into fine detail much, much more effectively. you can also use alcohol to kill surface tension amongst others, but worst case scenario, you can use washing up liquid. just a dab mind, any more and you'll have foamy paint. The main advantage to this (and this is what I use mostly) is that you can colour washes to your exacting requirements. these also tend to wards a satin/slightly gloss finish, but I always matt varnish.
Last on my list, and I'm sure I have missed something, is Army Painter. it's a system of top coat washes that instantly pull detail though heavy shading. these tend to be used for mass producing rank and file dead quick, but i have seen people use it as an effect wash, worked on top of.

Washes are like any other aspect of figure painting; how much time have you got? using a big brush, fill it with a decent amount of wash, apply it carefully but generously to the area you wish to paint. it should run into the cracks and details (good for panel lines). chances are it'll also colour the main body of the work too; some people like this, some people knock it back with a top highlight drybrush or similar.
if you have a bit more time, thin your wash down and build it up in layers (like normal paint, more layers;greater depth of colour), or use a smaller brush and apply it directly to the areas you want to shade. This takes a lot longer, but can be, as with any process with more control, more effective.

The one thing you want to avoid is pooling, where the wash pools in a spot on the top surface. if you are quick, you can fix this with a brush dipped in a little water, which will thin the wash and (assuming your brush isn't full) suck up the excess. if you aren't quick, just paint over it once it is fully dry.

I tend towards a couple of thin coats of homemade wash, normally a brown or a black (depending), then a top coat to re-pop the main colour. sometimes a dry brush (especially on metallics) sometimes I'm more careful.

Don't just take my word for it; everyone here will do it differently.

Drybrushing...Big subject.

Take a reasonable sized brush, depending on the object of your drybrushing. pull some paint (normally a highlight colour) onto your pallet, add a little to your bush (do not fill the bush) and then wipe it, back and front, on some bog roll, several times. Let the paint wear out until a thin, dry, broken trail results.
Now gently flick this over the raised detail you wish to highlight, back and forth, building up the layer of colour. it you splurge or do to much, just run a little wash over it and knock it back.

It's better to have a brush to dry than other wise; it's easier (and more effective) to add more drybrushing than to kill a splurge of colour.

Just take it easy, build it up slowly. you can also apply drybrushing to larger areas using a bigger brush, but again it's all about building up the layers of colour.


As with everything, I/we can only type so much, just experiment, work it out and try it out. it'll go wrong over and over again, no doubt, but it'll make sense eventually.
1 user(s) are reading this topic

0 members, 1 guests, 0 anonymous users