 Valcrow, on 21 October 2013 - 02:05 PM, said:
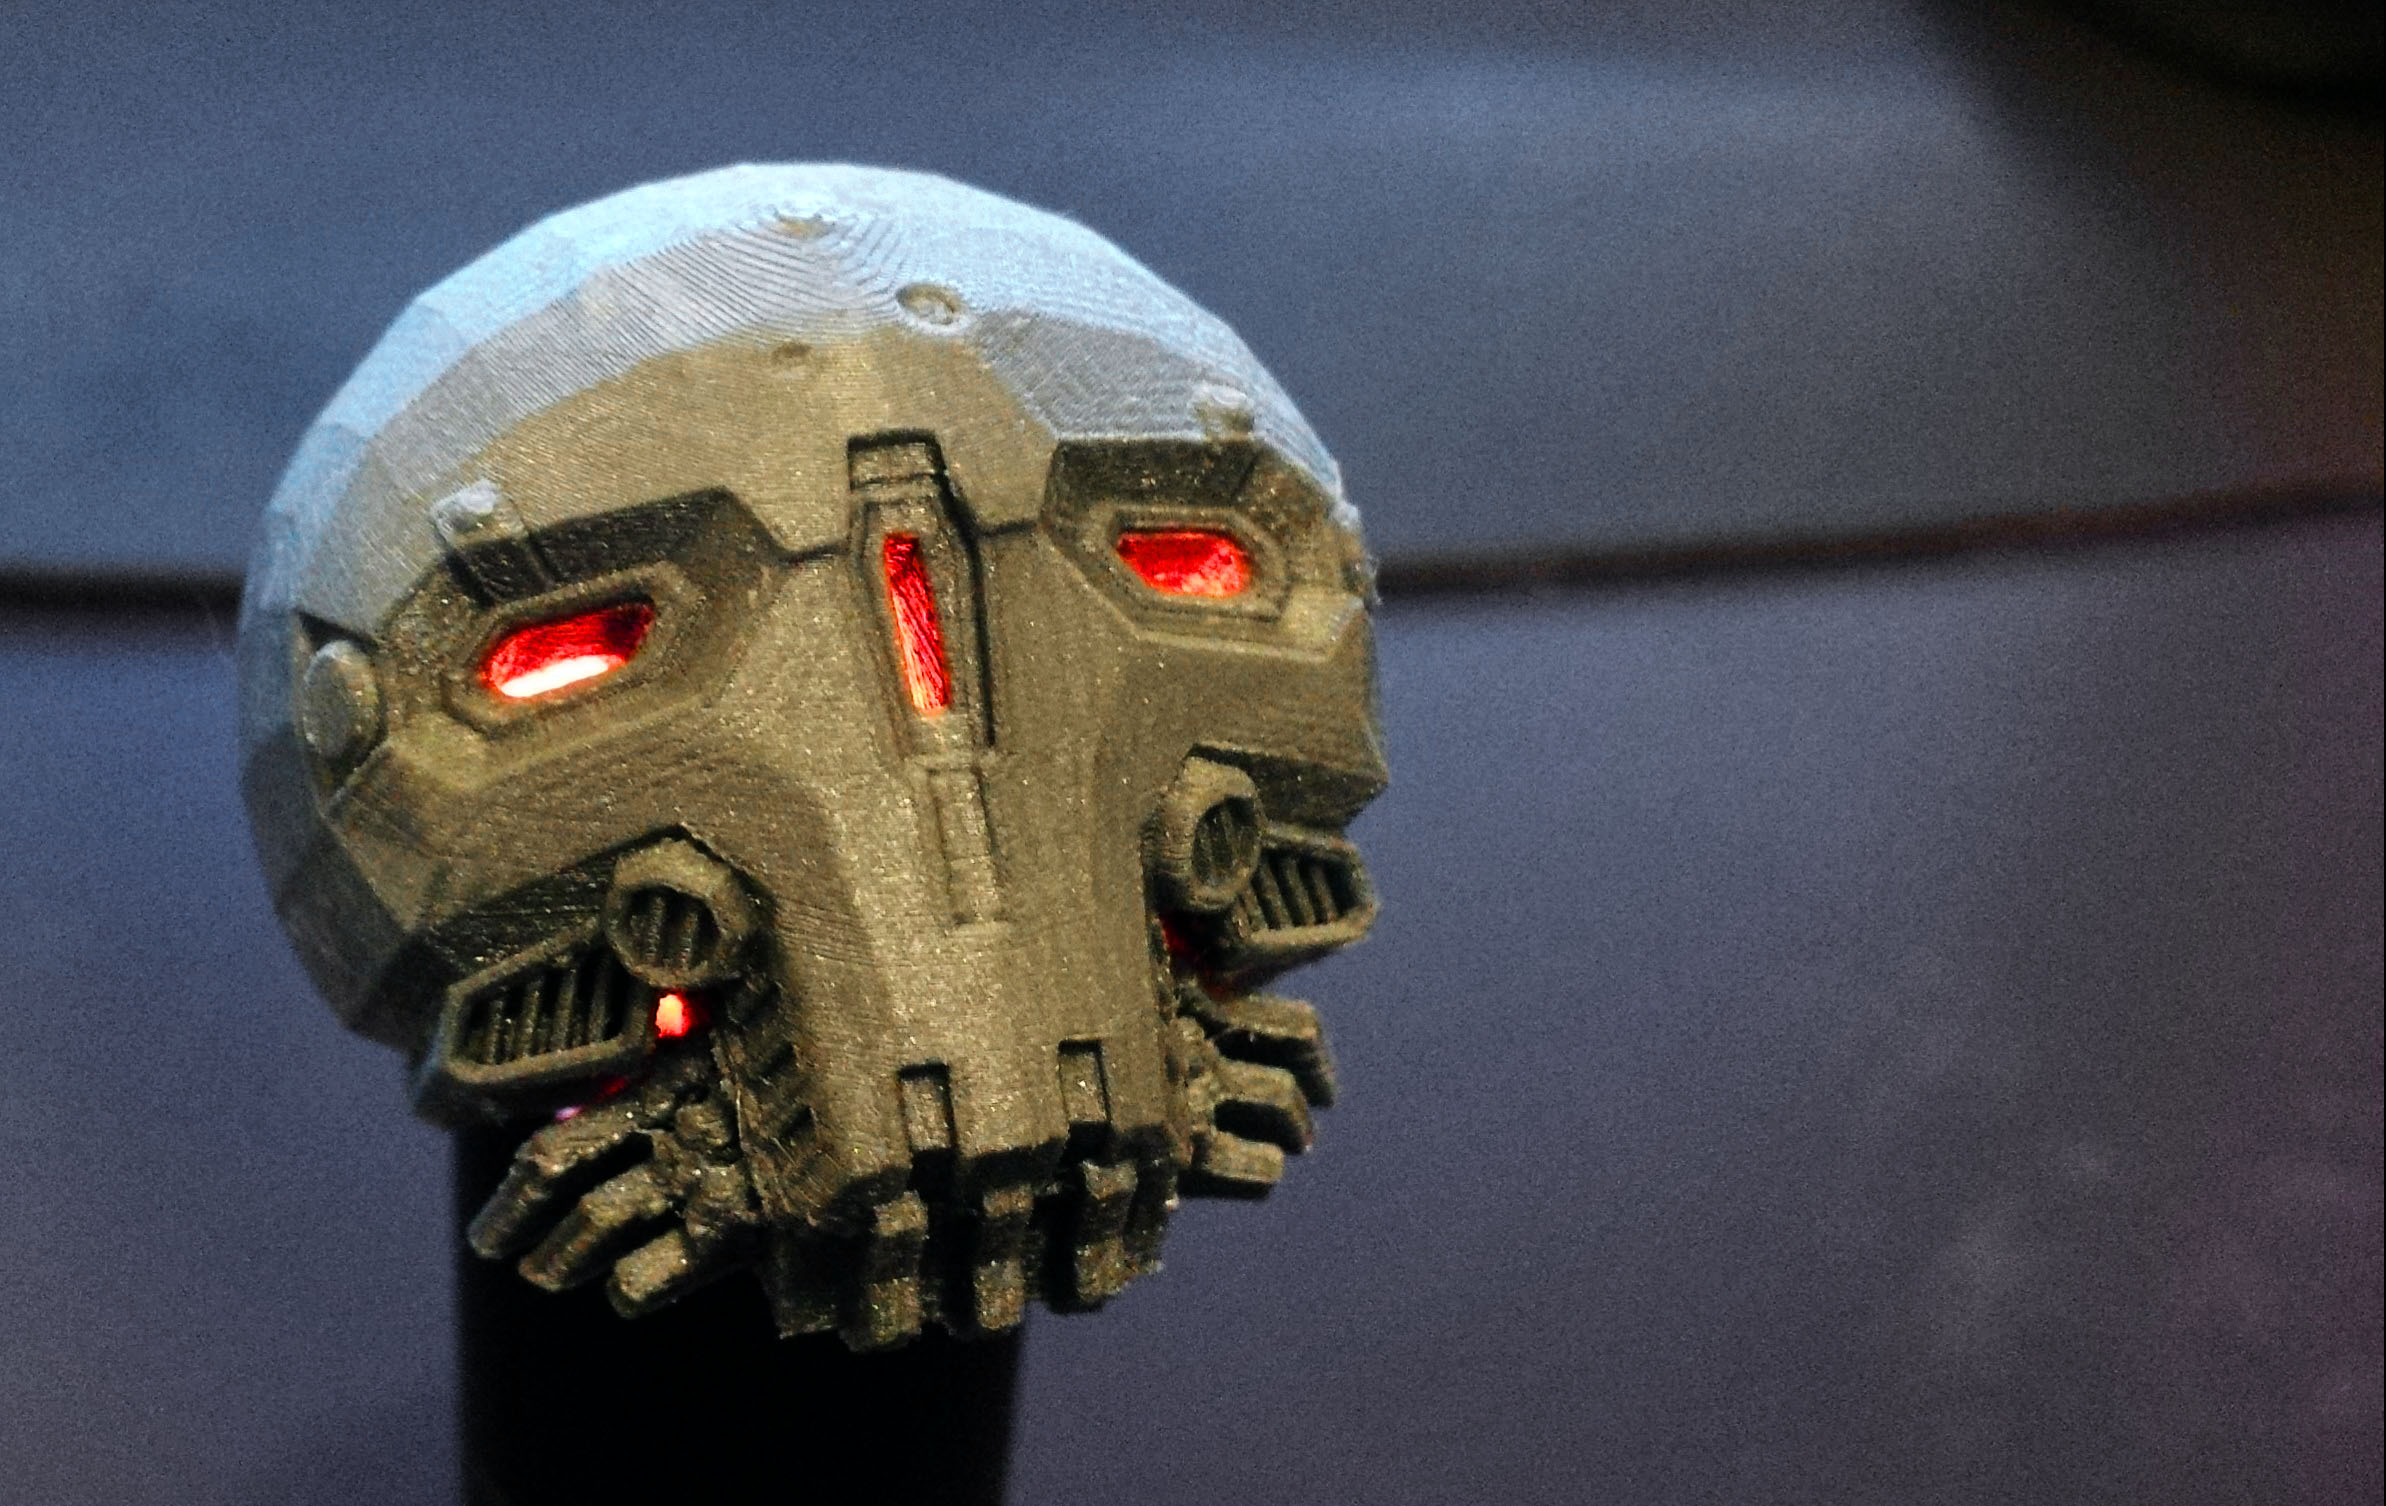
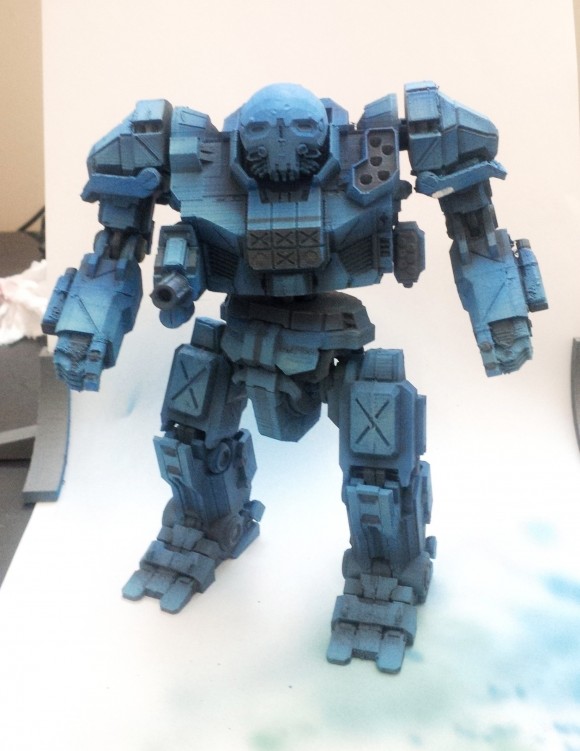
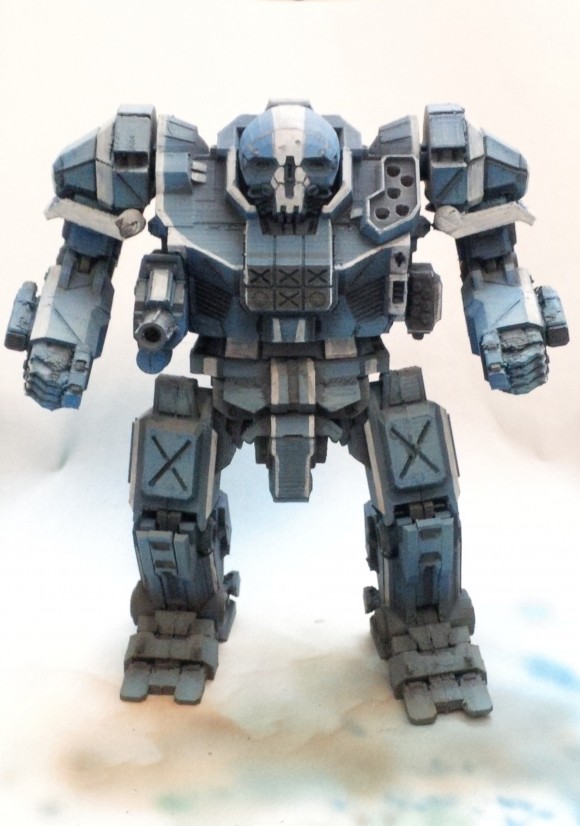
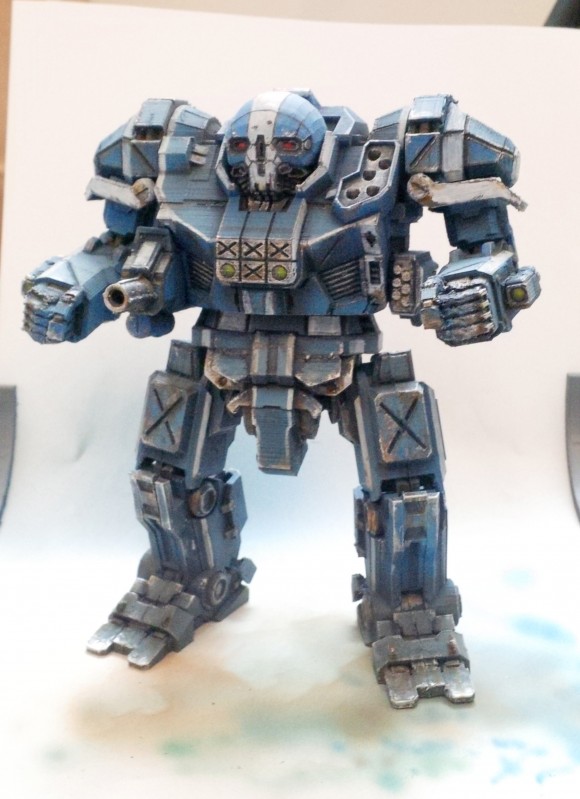
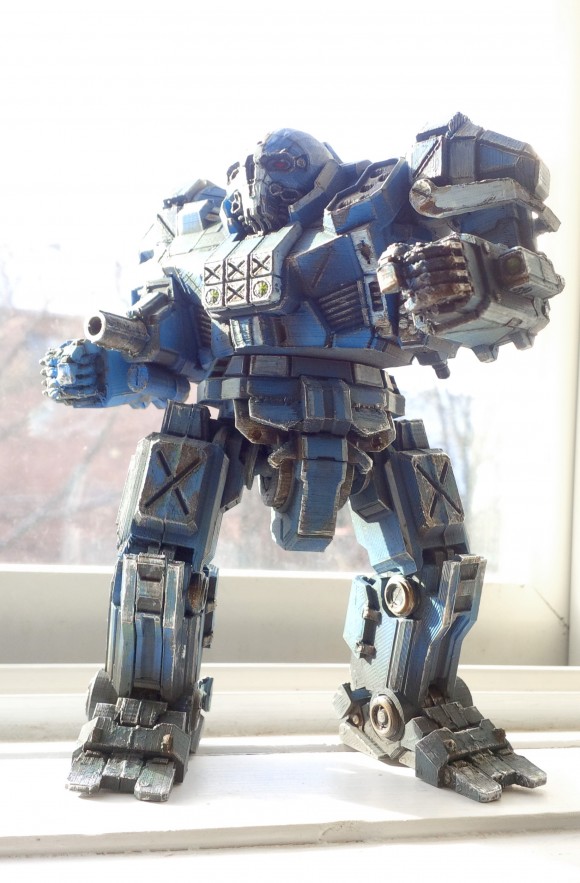
Don't get too excited this is kinda just a print test... but... glowy red eyes!!!
Great, more salt on the wounds of us Closed Beta Atlai fans.

Member


Posted 22 October 2013 - 06:34 AM
Valcrow, on 21 October 2013 - 02:05 PM, said:
Member

Posted 22 October 2013 - 03:00 PM
Member

Posted 23 October 2013 - 05:07 AM
Member

Posted 23 October 2013 - 06:26 AM
Zatnik, on 23 October 2013 - 05:07 AM, said:
Member
Posted 23 October 2013 - 11:25 PM
kiriage, on 21 October 2013 - 02:57 PM, said:
 But then what fun would it be if after you cross the finish line?
Alpha Wendigo, on 22 October 2013 - 03:00 PM, said:


Zatnik, on 23 October 2013 - 05:07 AM, said:
Member
Posted 24 October 2013 - 03:40 AM
Valcrow, on 23 October 2013 - 11:25 PM, said:
Valcrow, on 23 October 2013 - 11:25 PM, said:
Thankyou.Valcrow, on 23 October 2013 - 11:25 PM, said:
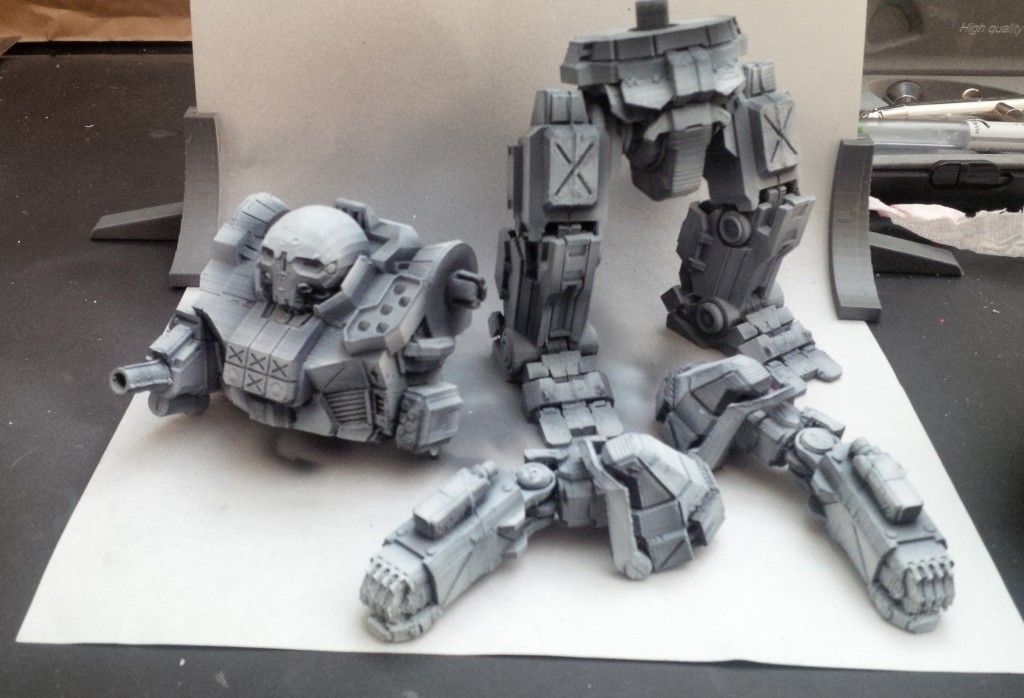
 I bought ABS filament.
kiriage, on 23 October 2013 - 06:26 AM, said:
Member
Posted 24 October 2013 - 10:57 AM
Zatnik, on 24 October 2013 - 03:40 AM, said:
I bought ABS filament.
Member
Posted 25 October 2013 - 01:29 AM

Member
Posted 20 January 2014 - 05:28 PM
Member
Posted 20 January 2014 - 05:43 PM
Edited by spiritus infernus, 20 January 2014 - 05:44 PM.
Member
Posted 21 January 2014 - 02:02 AM
spiritus infernus, on 20 January 2014 - 05:43 PM, said:
Member

Posted 21 January 2014 - 09:09 AM
Valcrow, on 21 January 2014 - 02:02 AM, said:
Member
Posted 21 January 2014 - 07:47 PM
Quote
They need more trim patterns!


ForumWarrior
Posted 21 January 2014 - 08:36 PM
Valcrow, on 21 January 2014 - 07:47 PM, said:
They need more trim patterns!Member
Posted 22 January 2014 - 11:11 AM
Bishop Steiner, on 21 January 2014 - 08:36 PM, said:
Member
Posted 22 January 2014 - 02:36 PM
Marack Drock, on 22 January 2014 - 11:58 AM, said:

Member


Posted 23 January 2014 - 12:52 PM
Edited by Timuroslav, 23 January 2014 - 12:53 PM.
Member
Posted 24 January 2014 - 03:47 PM
Member
Posted 25 January 2014 - 11:37 AM

Edited by MATRAKA14, 25 January 2014 - 11:38 AM.


0 members, 1 guests, 0 anonymous users


