Sorry for starting a new topic and cloggin up the boards, I initially tried to splice it into my existing sarah's jenner thread, but it was just way too unweildy. There's just too many pictures.
The good news is. there's too many pictures!

How the Sarah's Jenner is made!

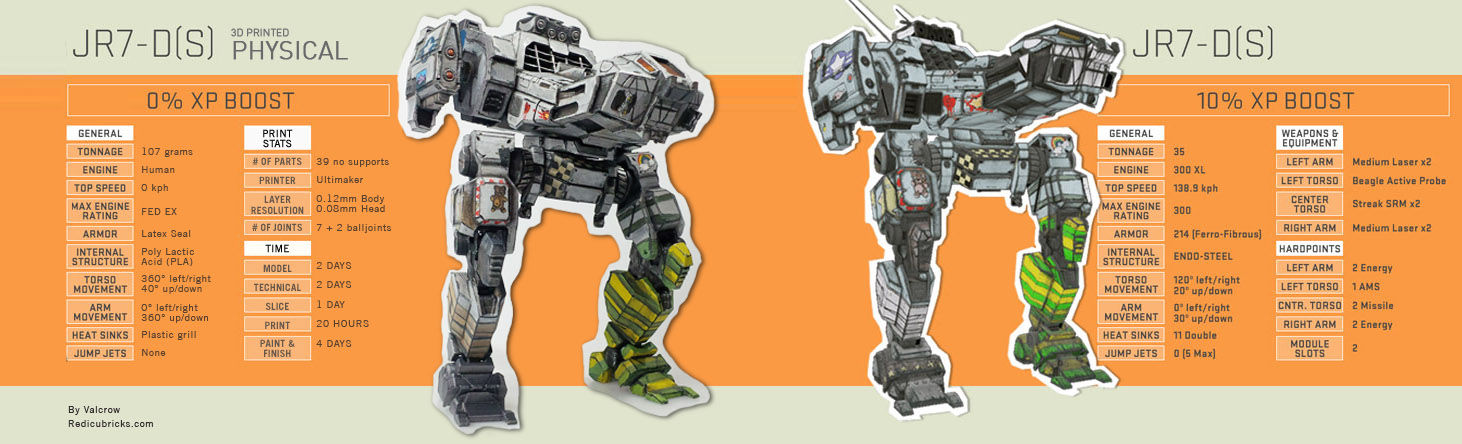
(left Printed Jenner, Right virtual Jenner)
This is printed on an ultimaker 1, a consumer level home FDM 3D printer. I'm going to fast forward all the boring 3D design here, although that's a large portion of the work required to get a model from virtual to physical, it's just overly technical for the purposes of this article.
So Off we go! Jenner Construction 101.
This is a 3D design example of a multi-part balljoint for the Jenner pelvis. Long story short, I cleaned the Jenner model, modeled in all the details, broke it up into printable chunks and integrated all the joints. Then I broke them apart even more so that they print in different orientations to make the surfaces nice and clean. Here's an example of the 3D results.
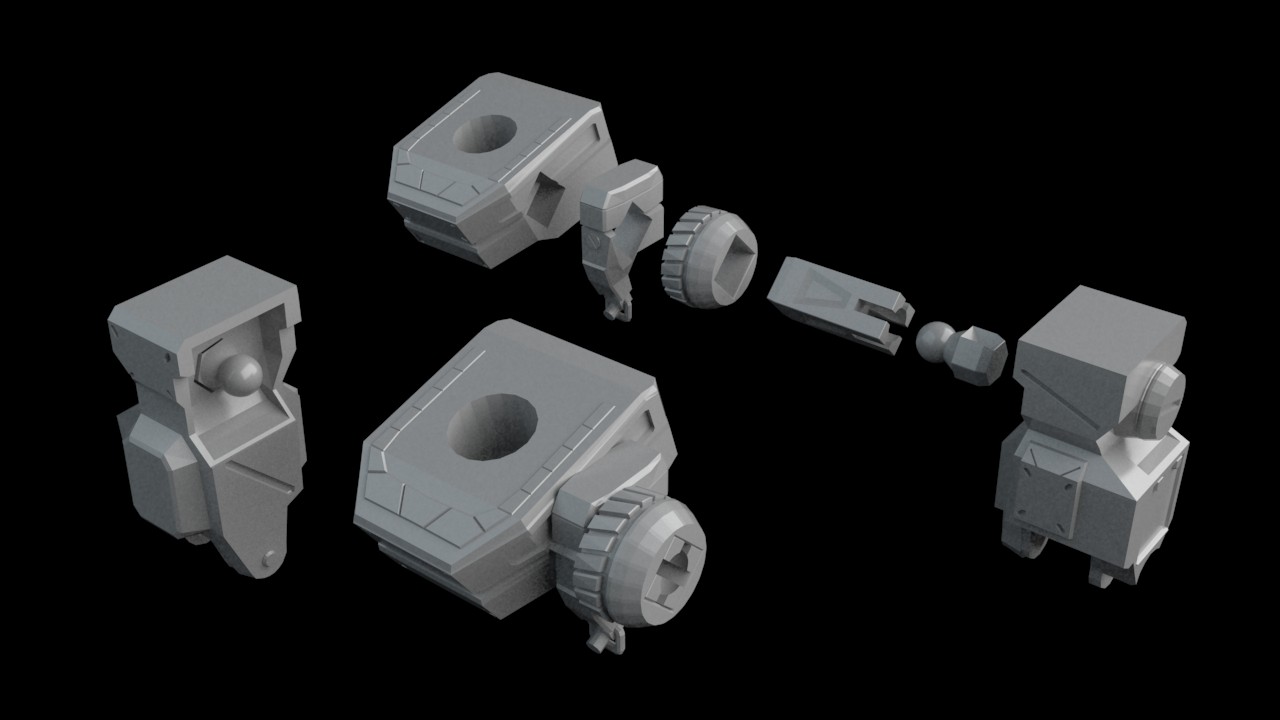
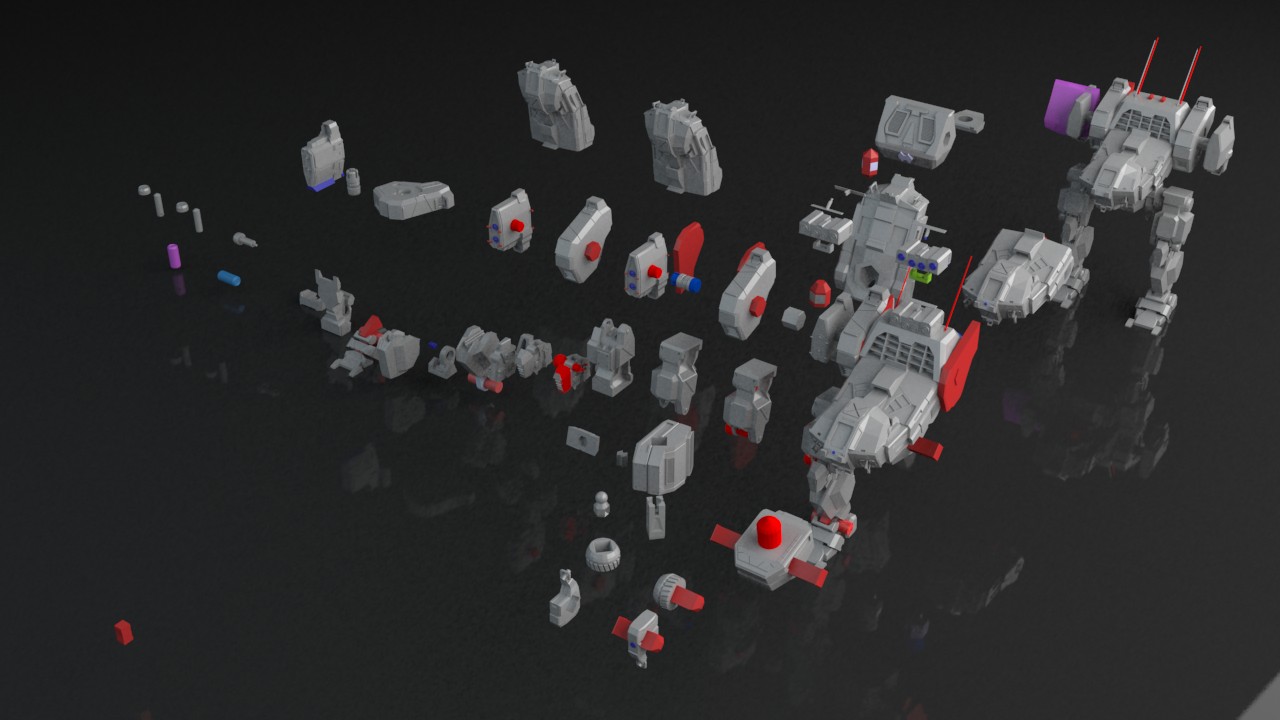
The progression from game asset to printable piece (right to left) Red represents cuts in the geometry. Once all the 3D is complete, it's off to the printer! Piece by piece.
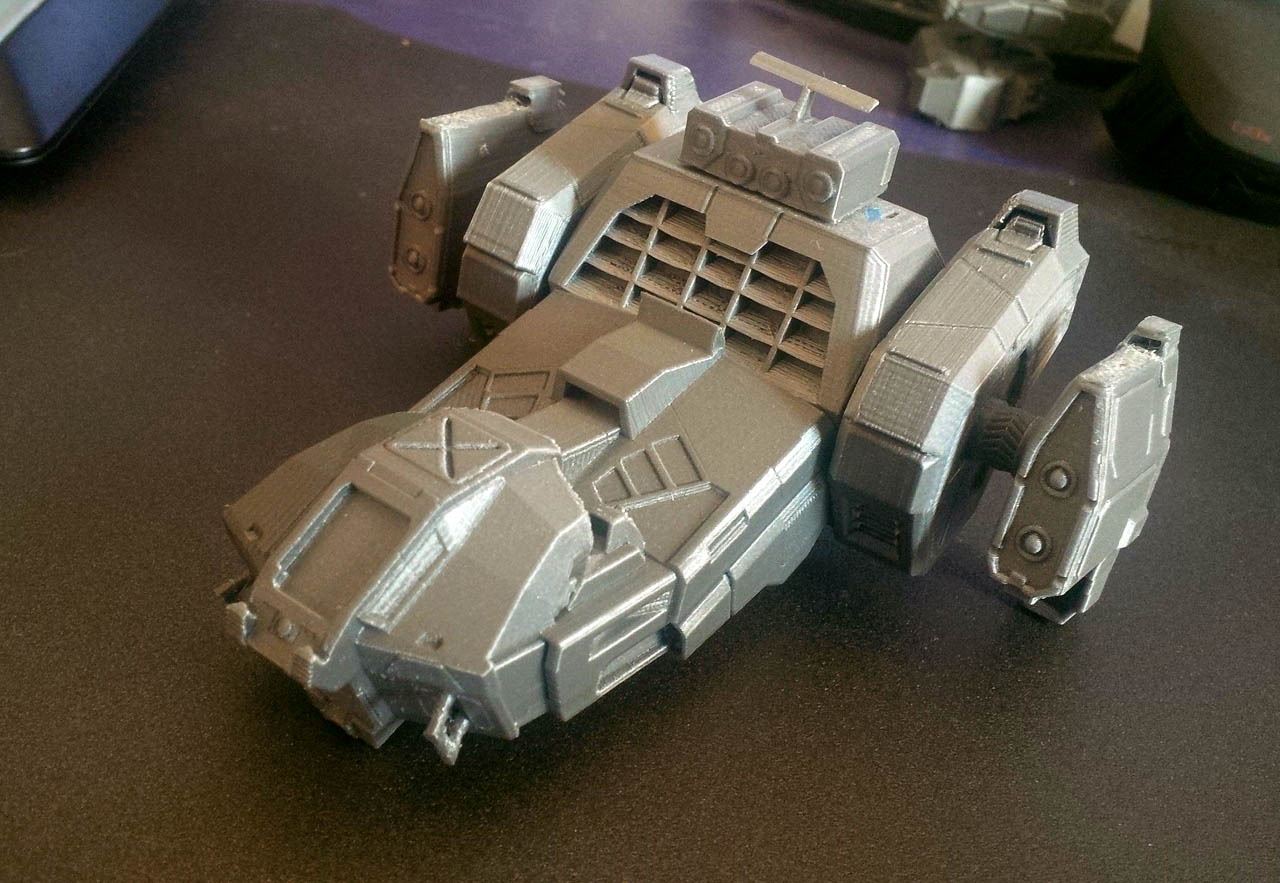
It's always exciting to test out the first parts that come out of the printer to see how they fit. This is one of the first. Even the little radar dish at the top fit perfectly. This was the prototype one, I had since modeled in extra details into the head, creases and squares seen on the textures and normal maps. Overall I was quite happy with the print quality.

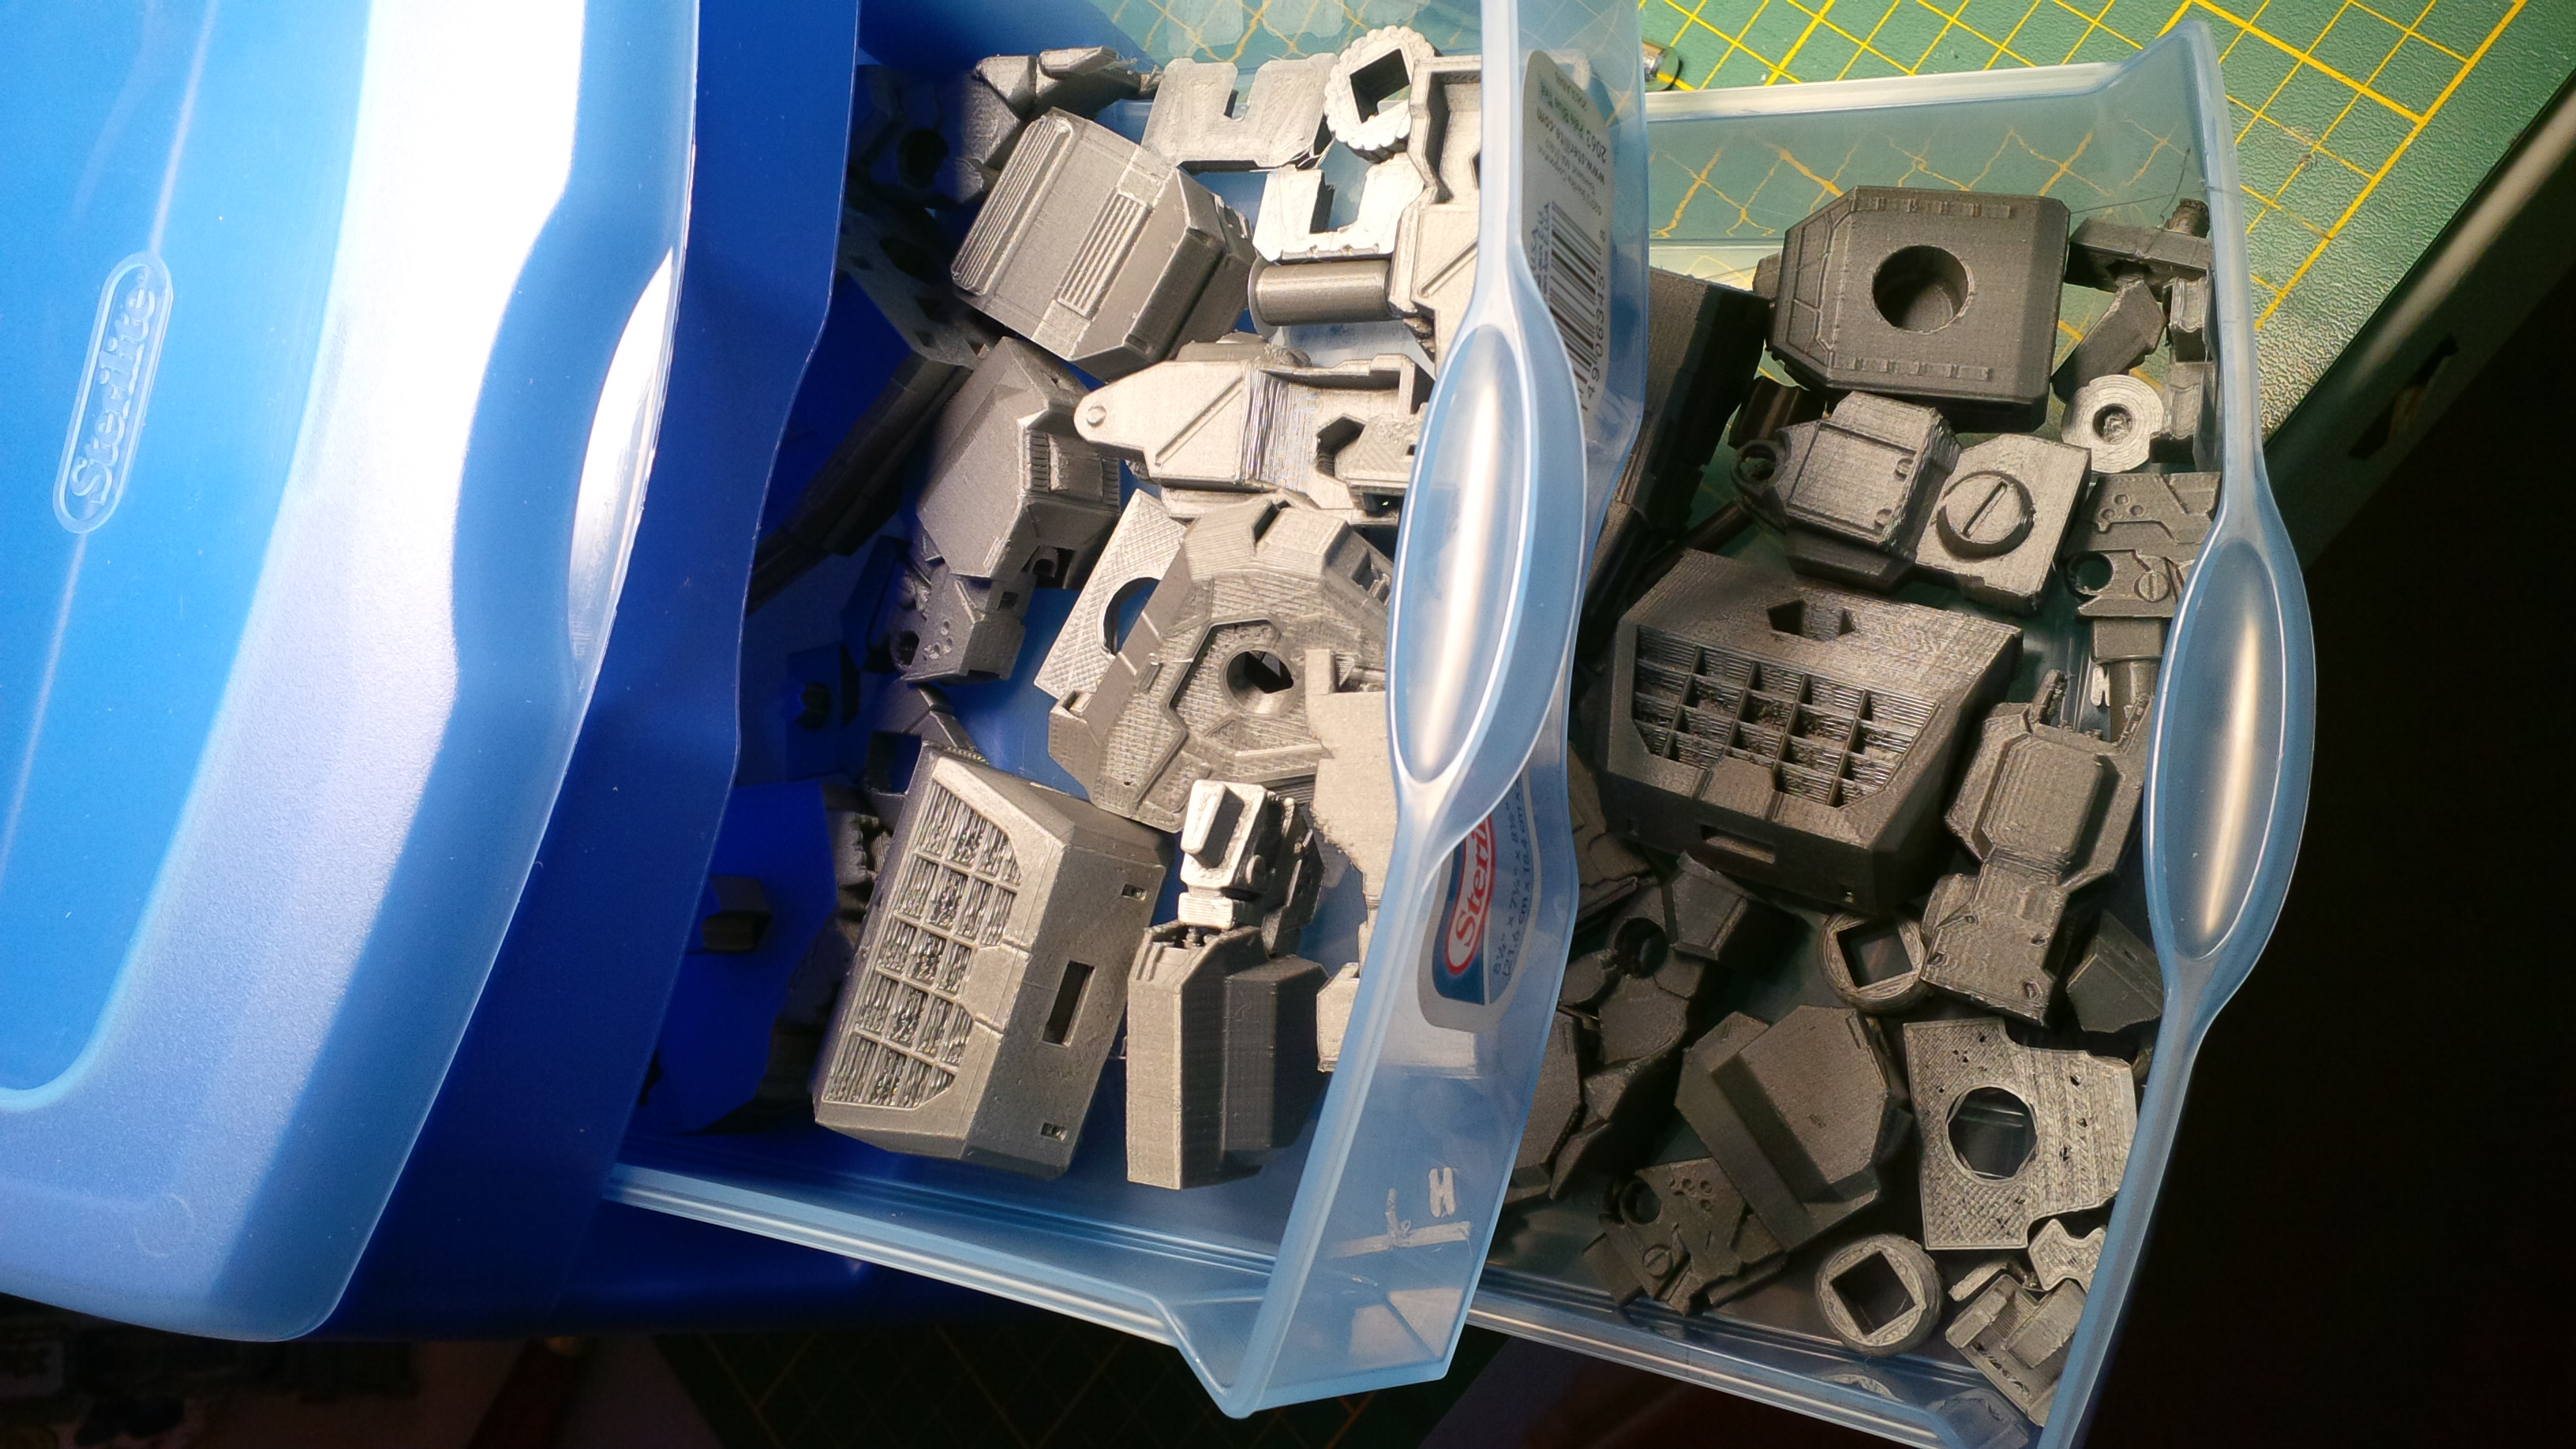
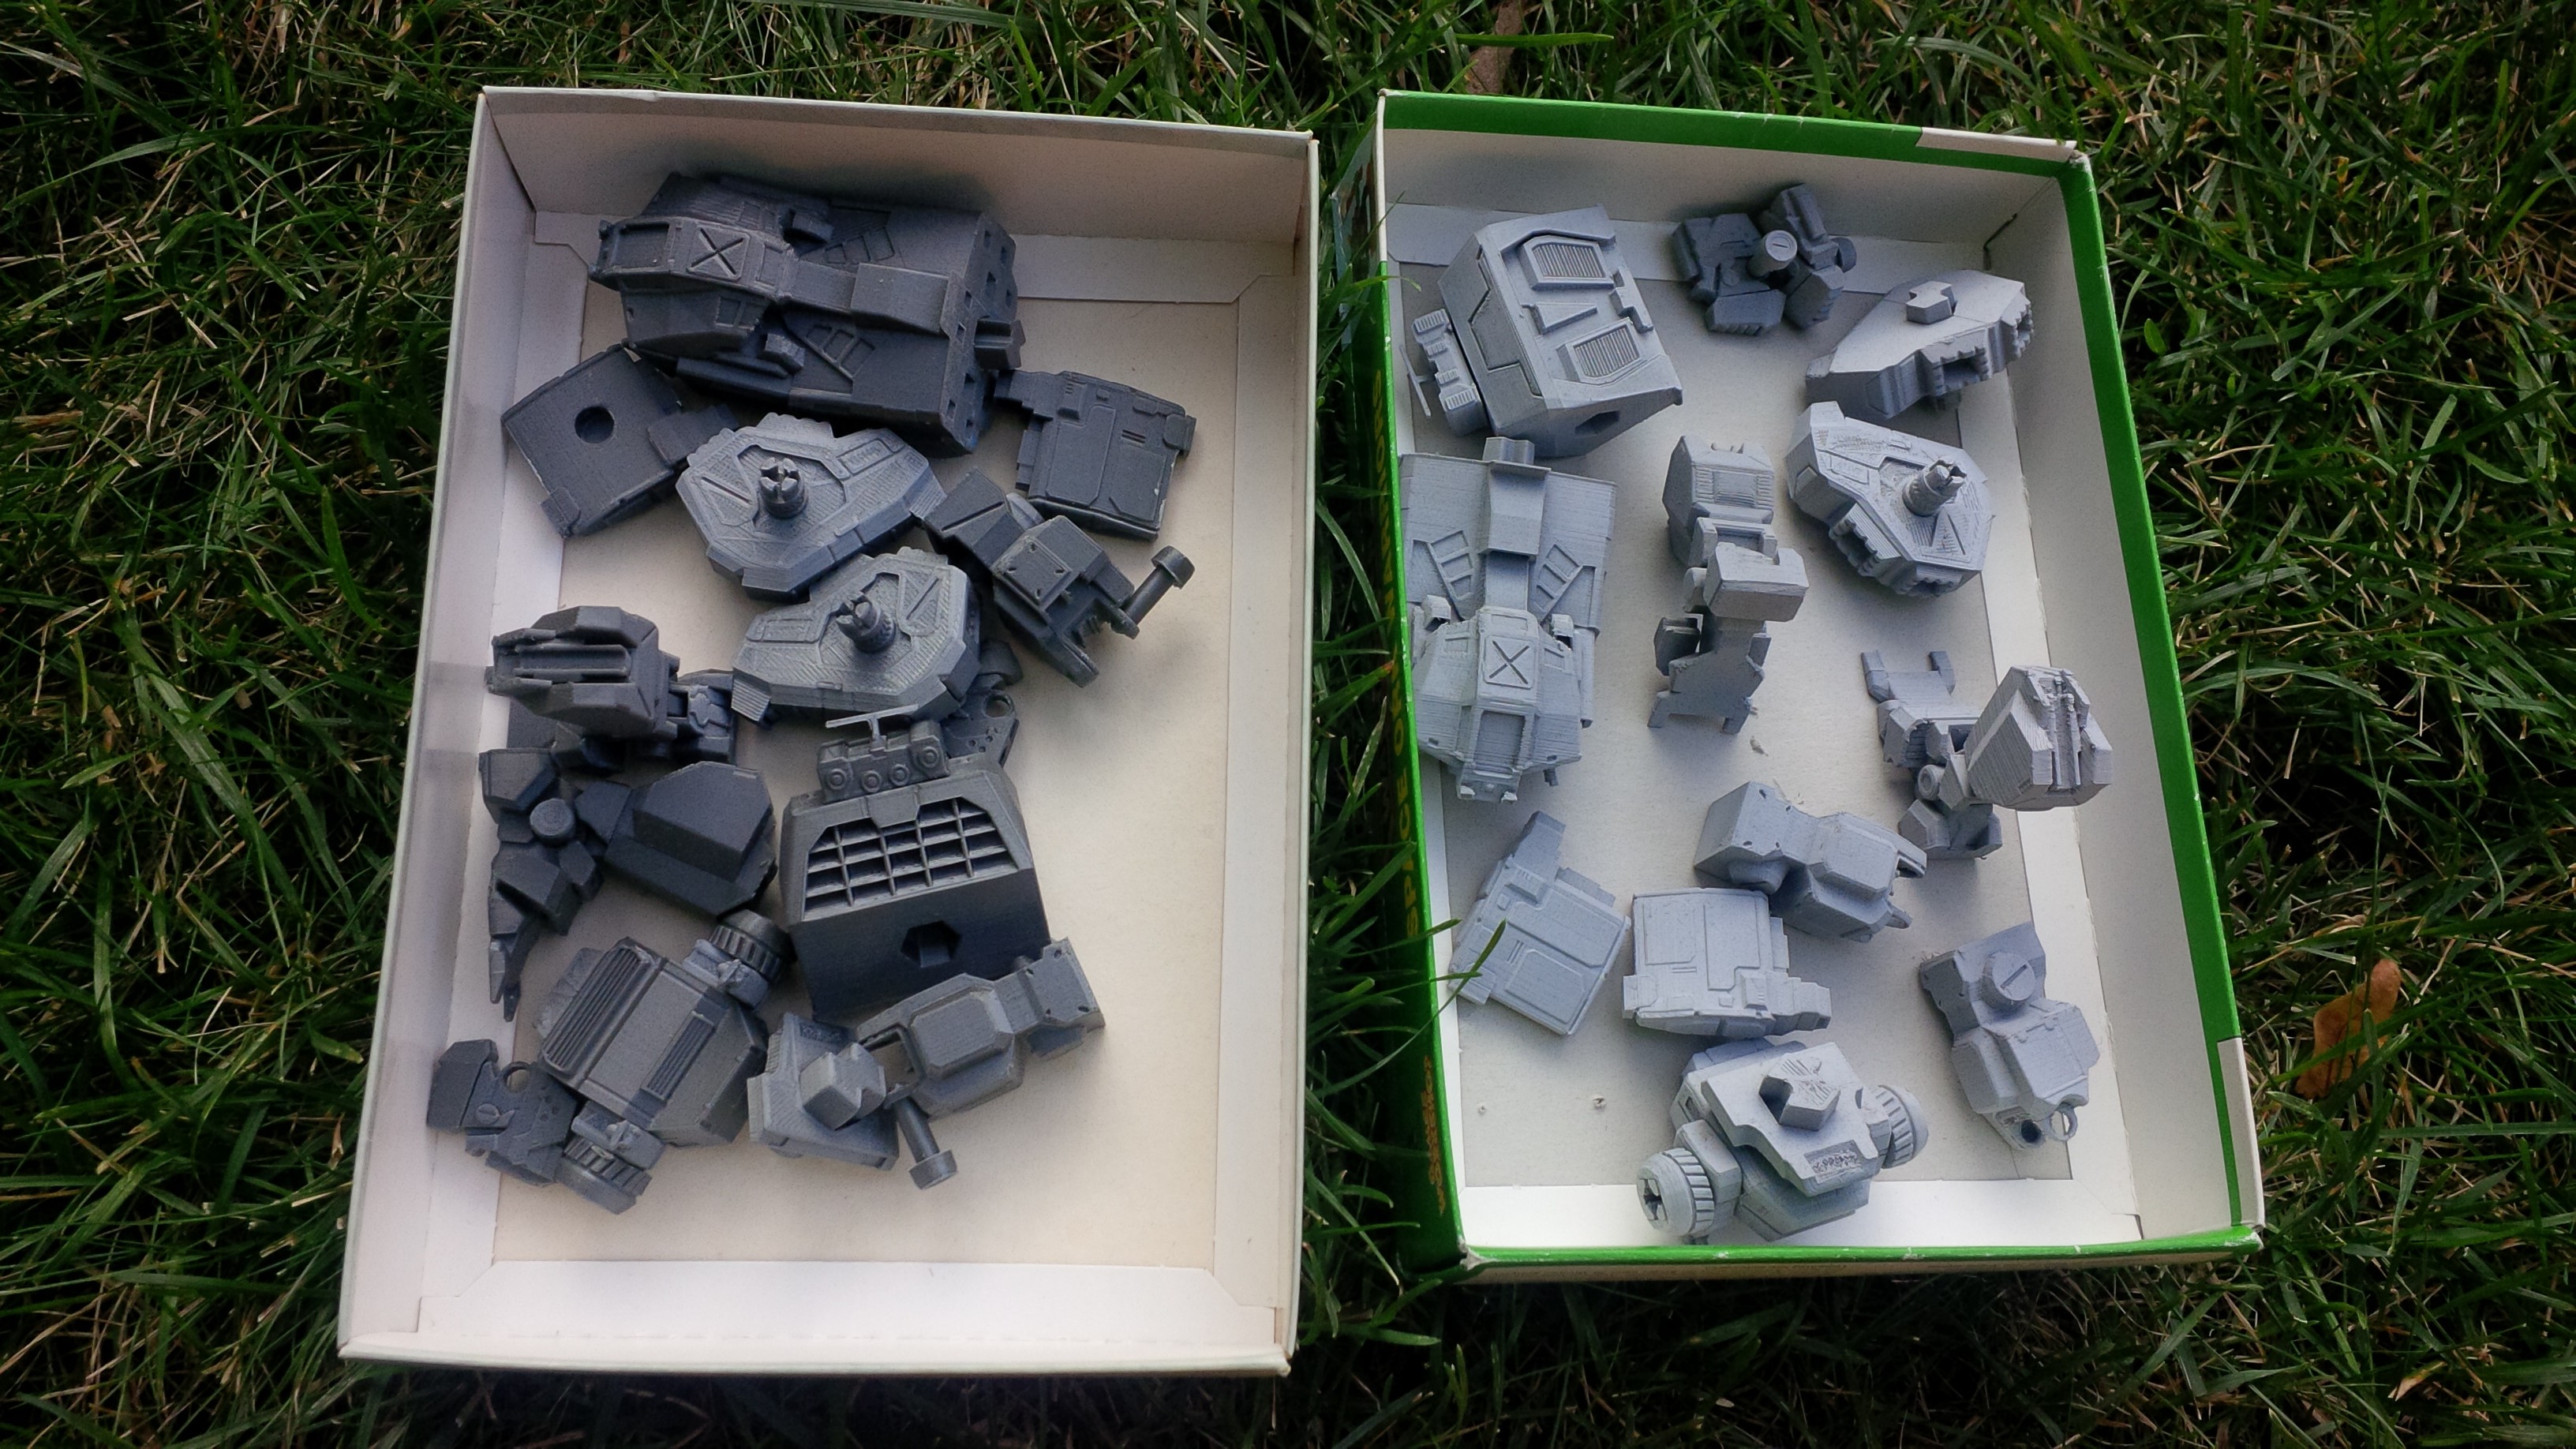
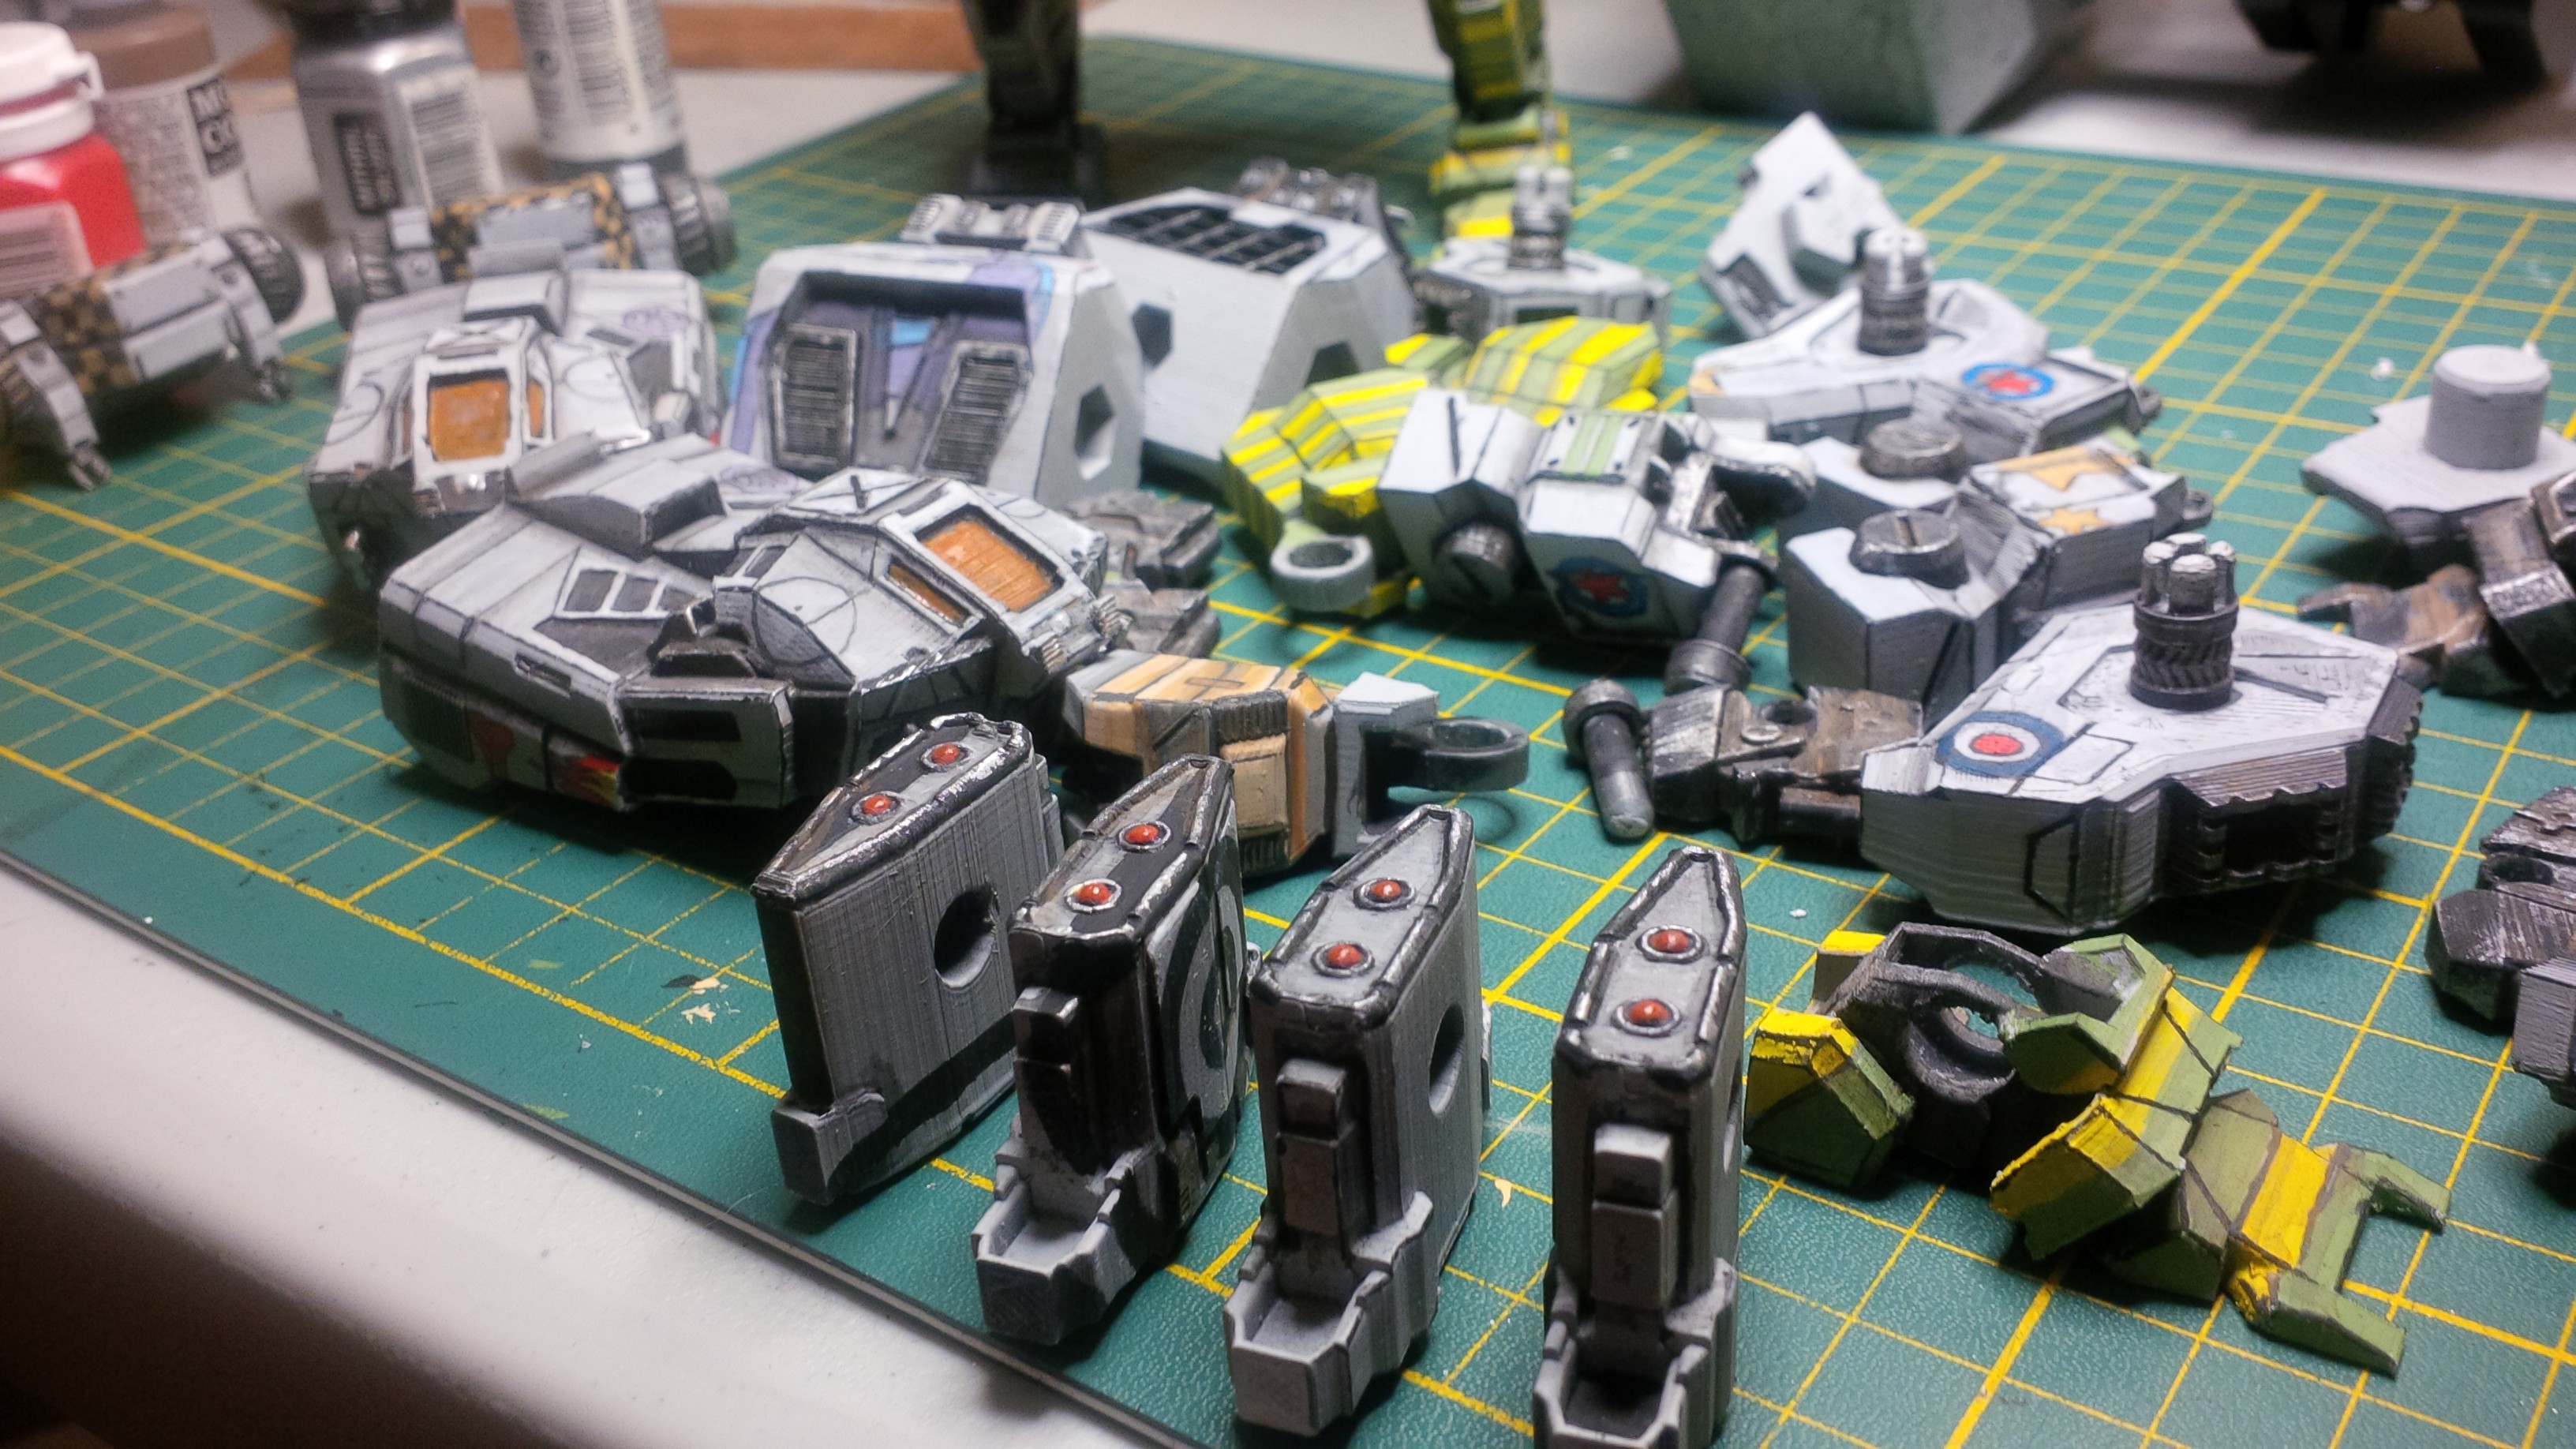
Gotta keep those guys organized. with 40+ parts. you don't want to mix, loose, or otherwise confuse parts.
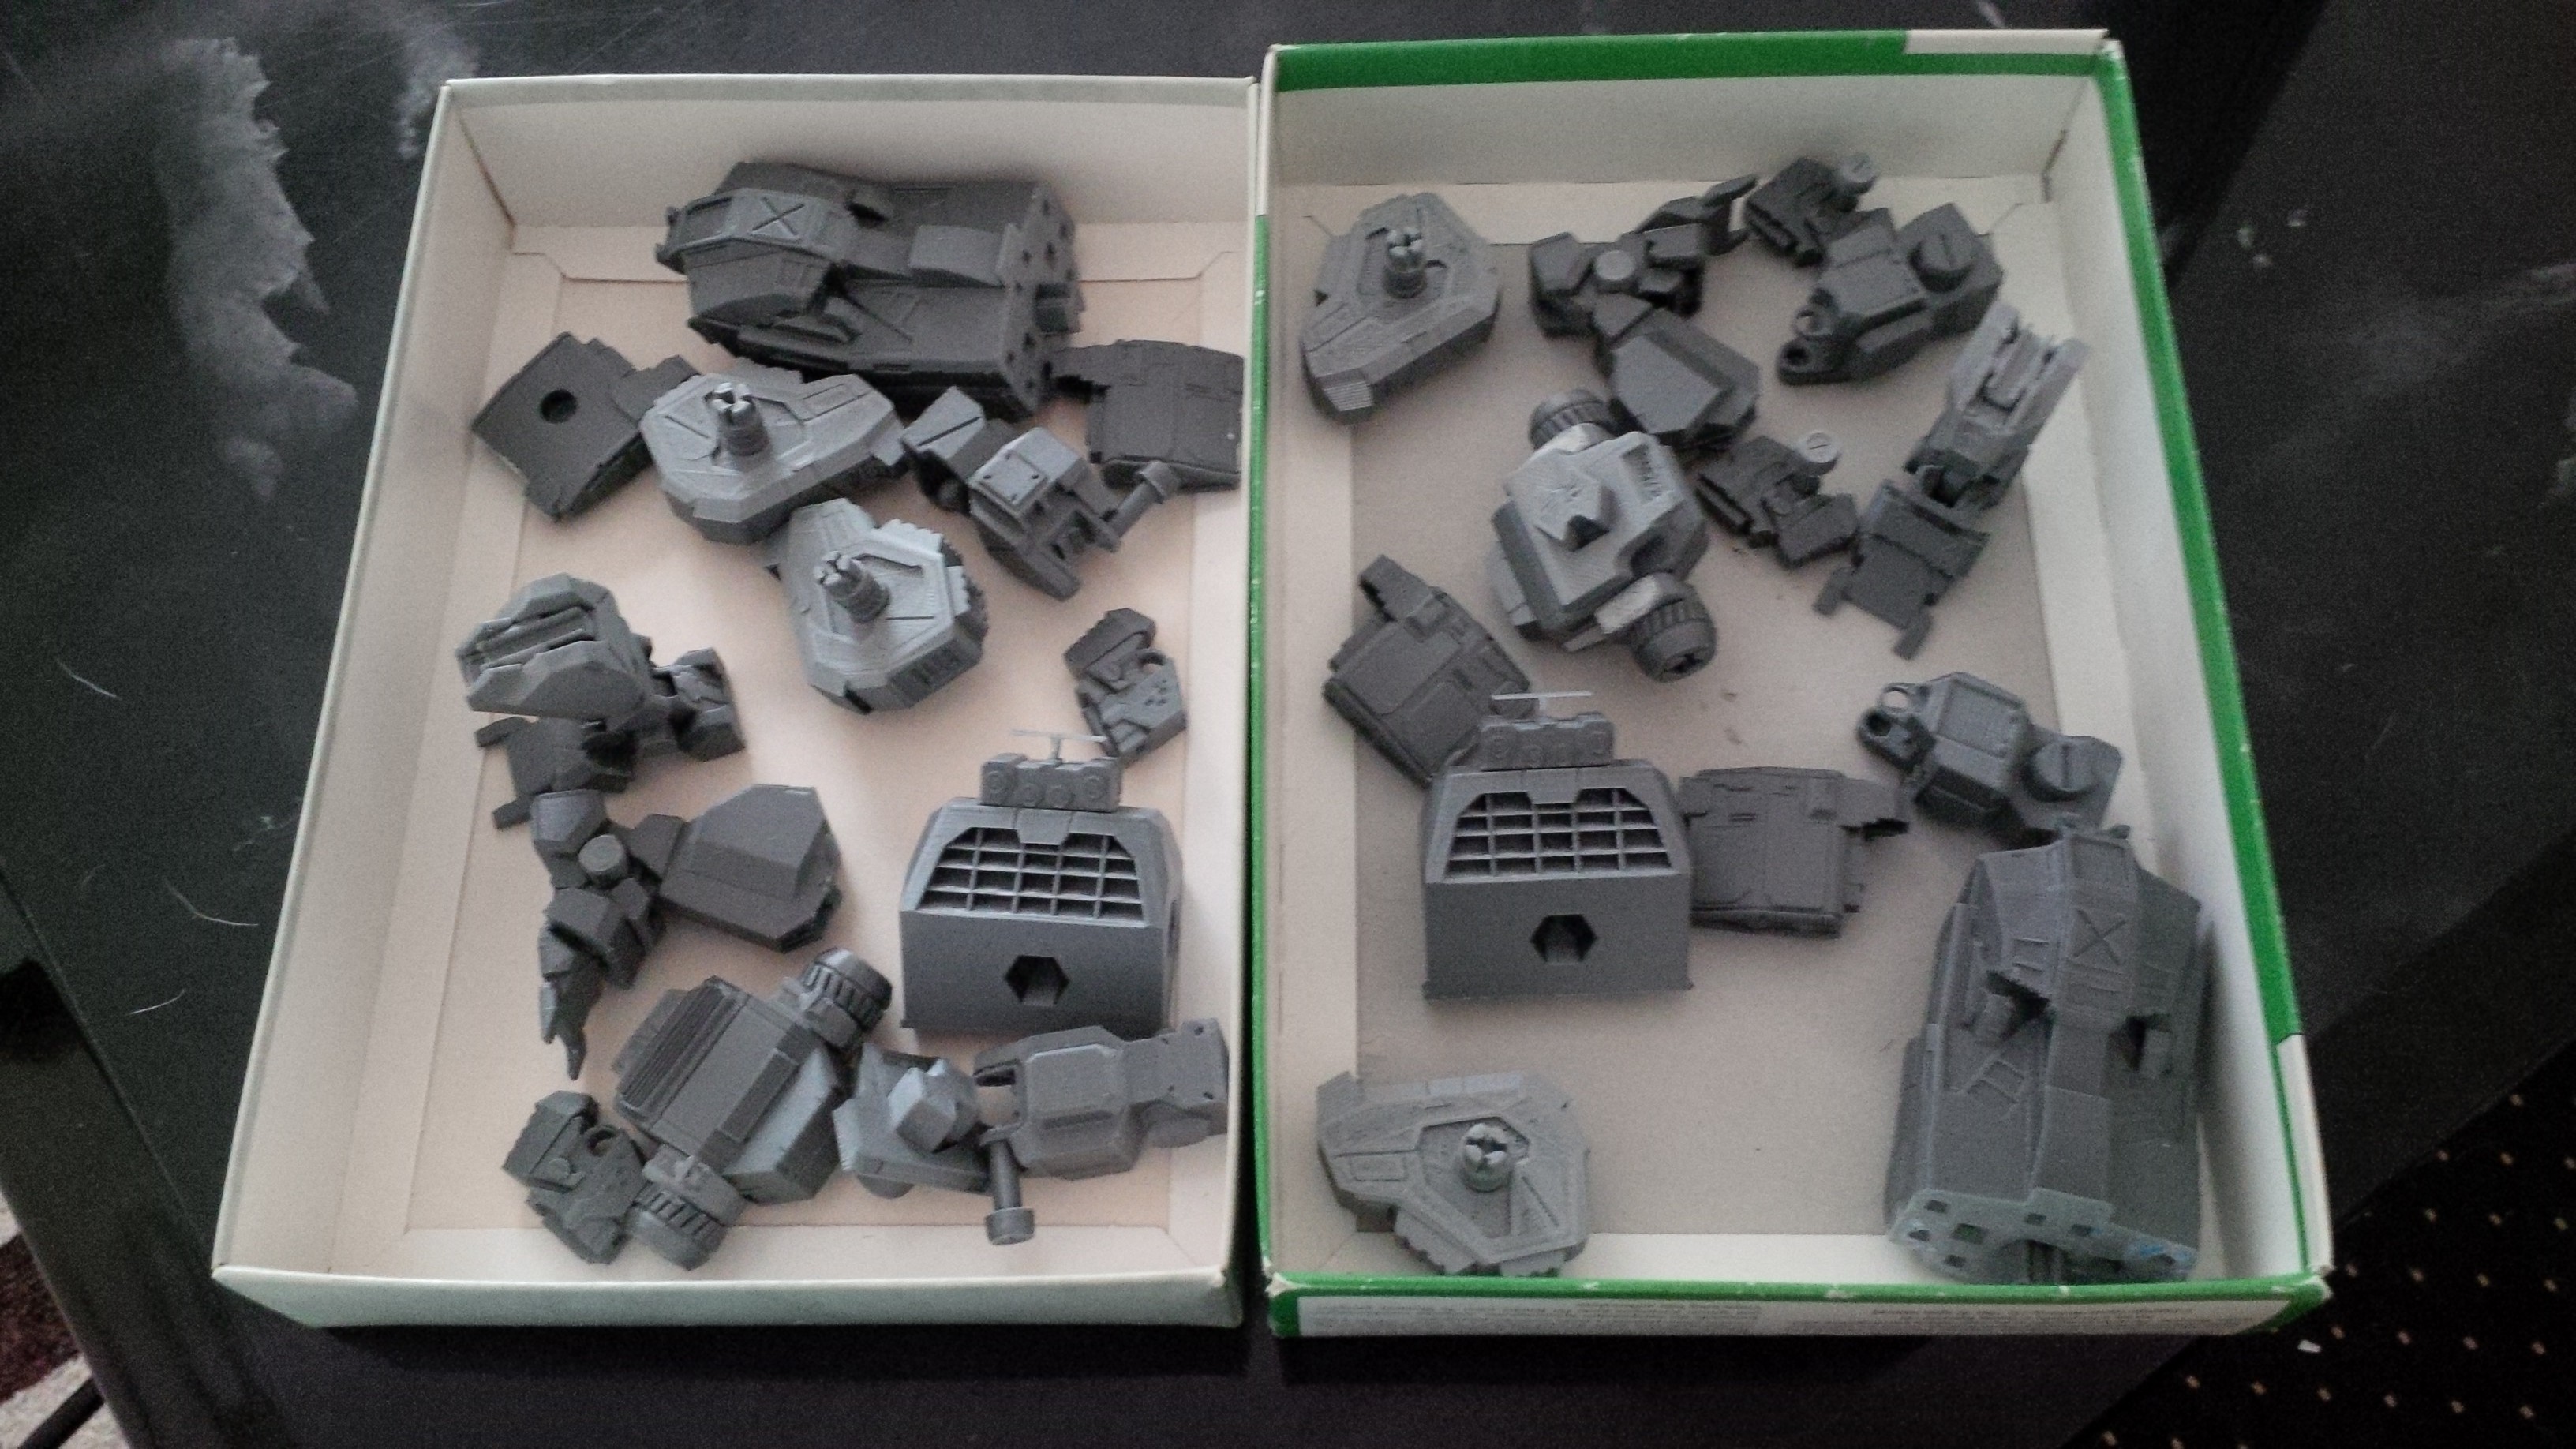
What two mechs look like partially assembled. You don't want to spray prime 40 pieces each, it'll mess up pin tolerances and be a headache to put together and organize, so I pre-assmbled as much as would make sense to prepare for paint priming. I even partially put the pins in to hold them in place to make spraying easier. At this point I filed, filled and sanded what I needed to, to make sure the pins fit, the surfaces cleaned, and no print holes existed.
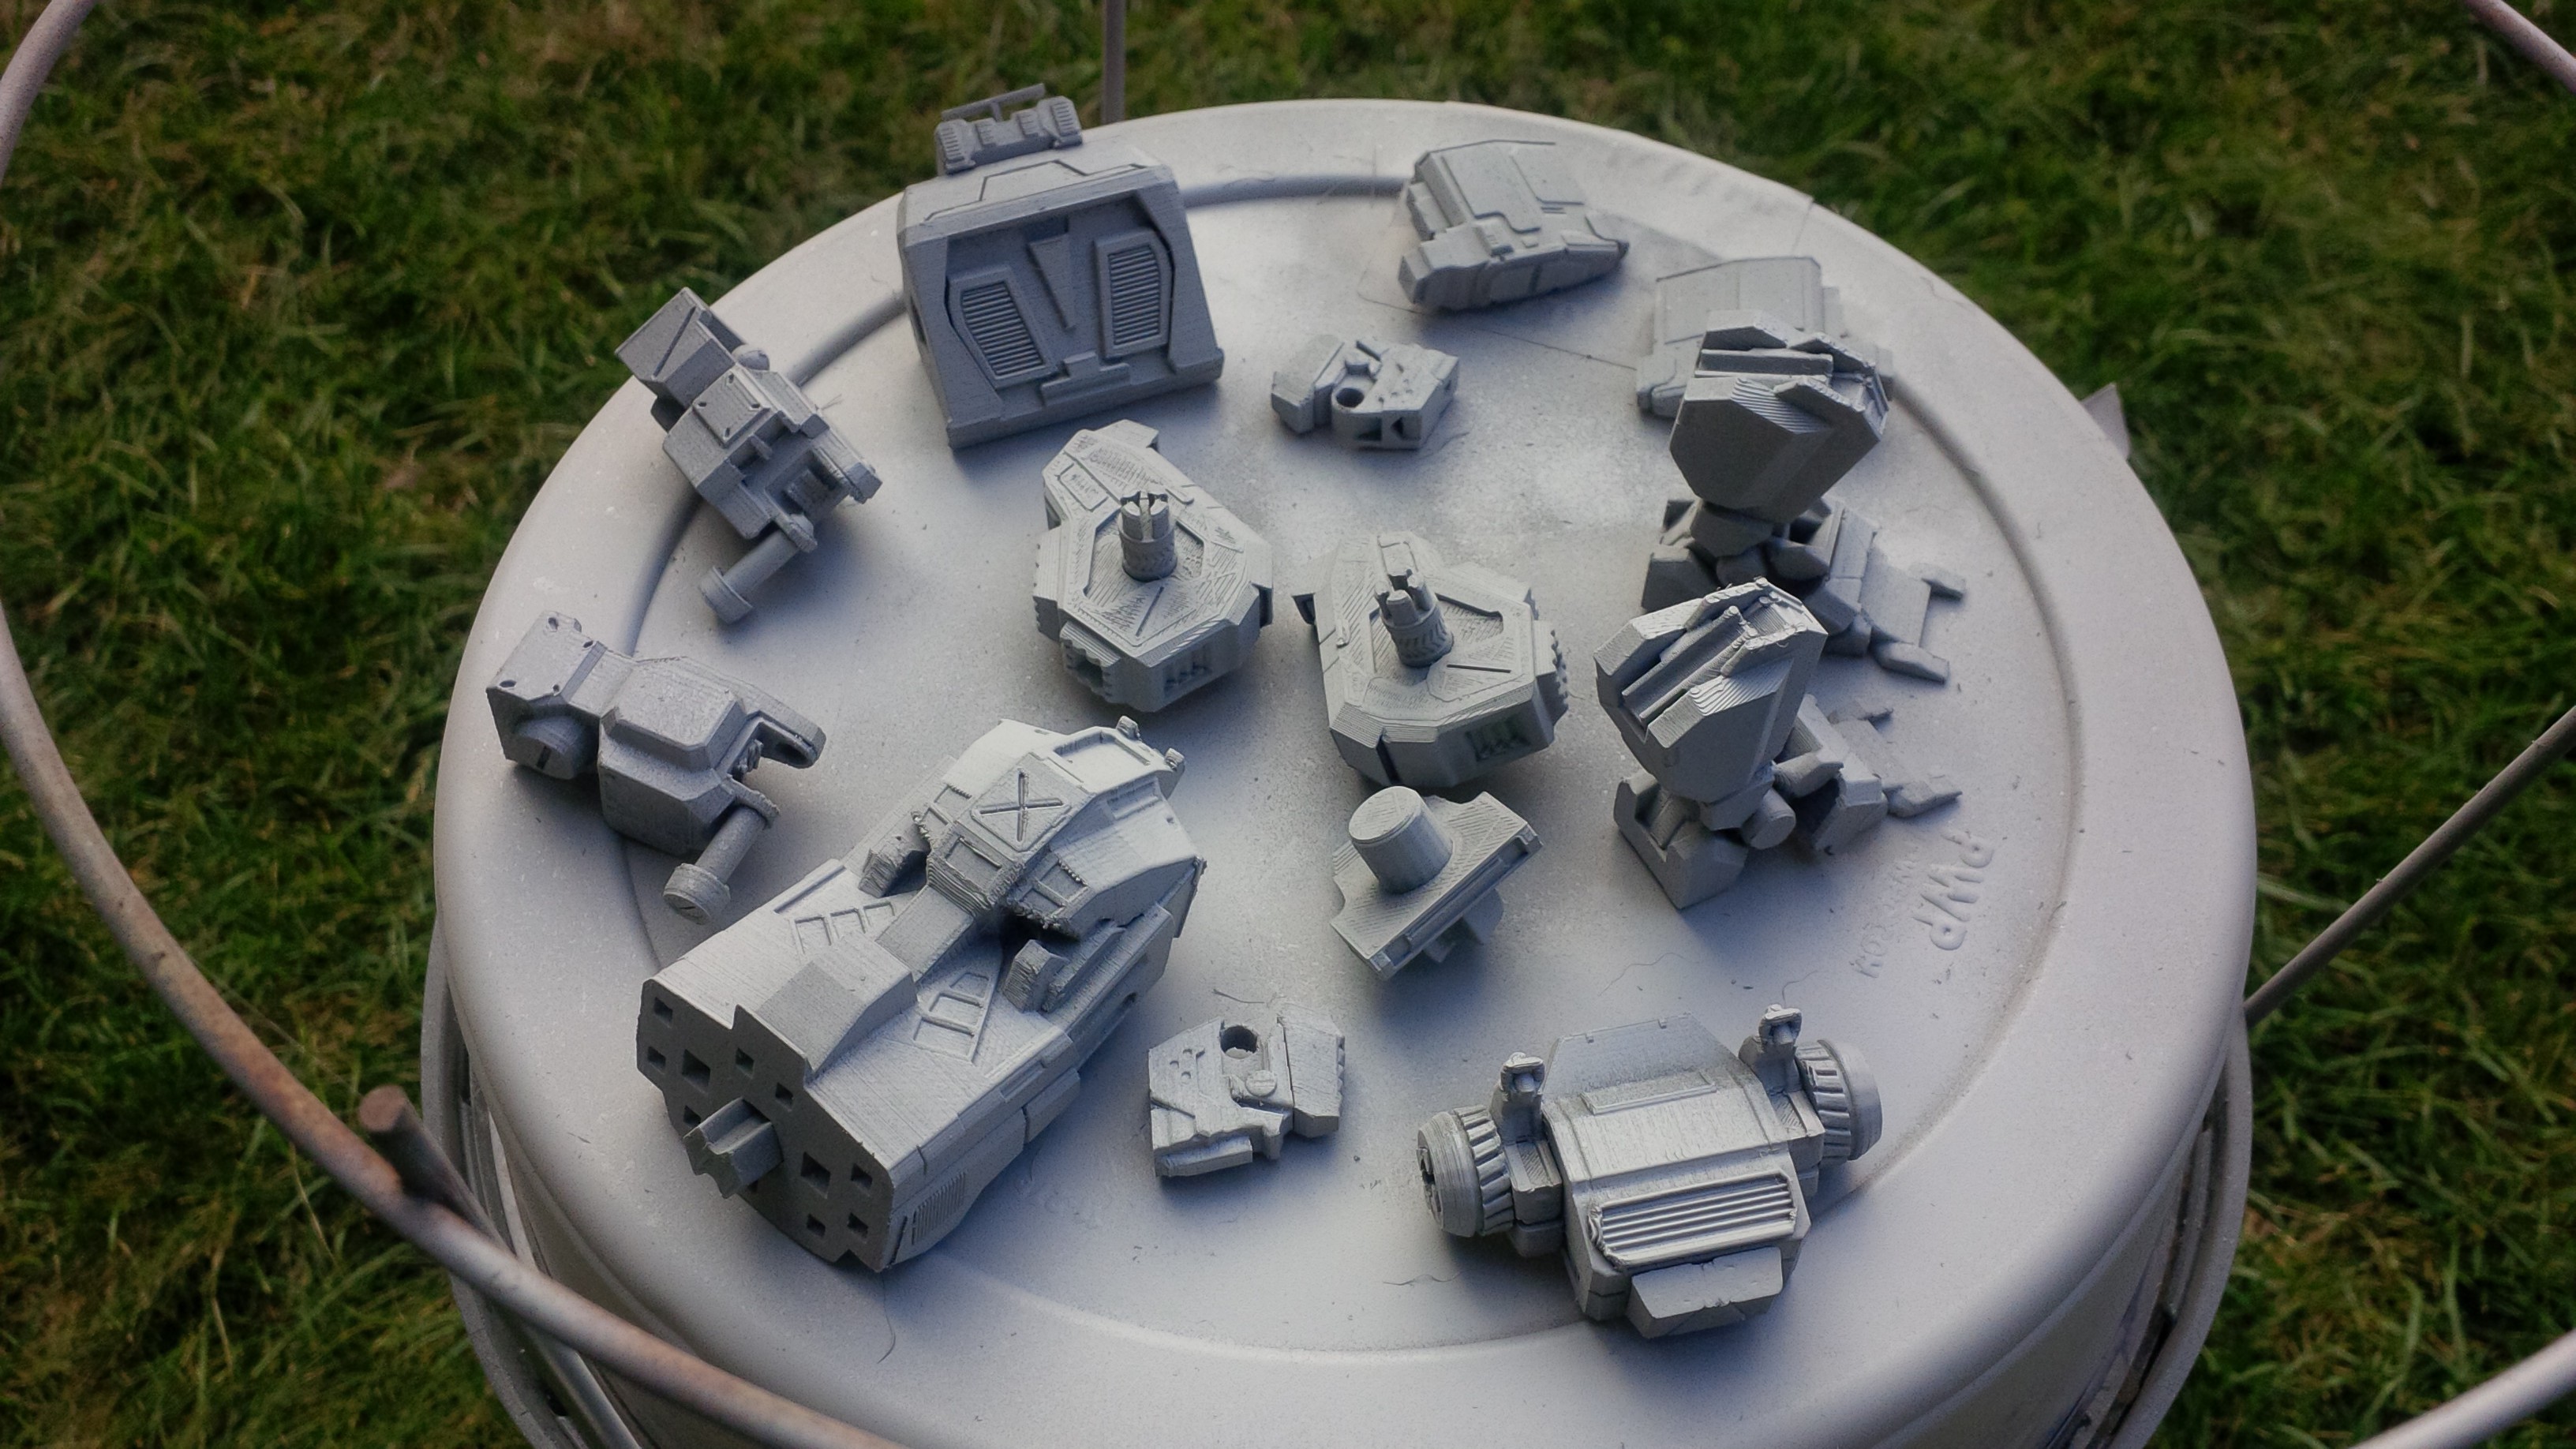
Need proper ventilation while spraying toxic chemicals that stick onto plastic, do it outside. In my case on a pie plate suspended over a tomato cage. Surprisingly effective.
Left, naked. right, sprayed with ultra-fine light grey paint primer. Primed parts are so clean and matte looking, kinda looks like a 3D rendering.

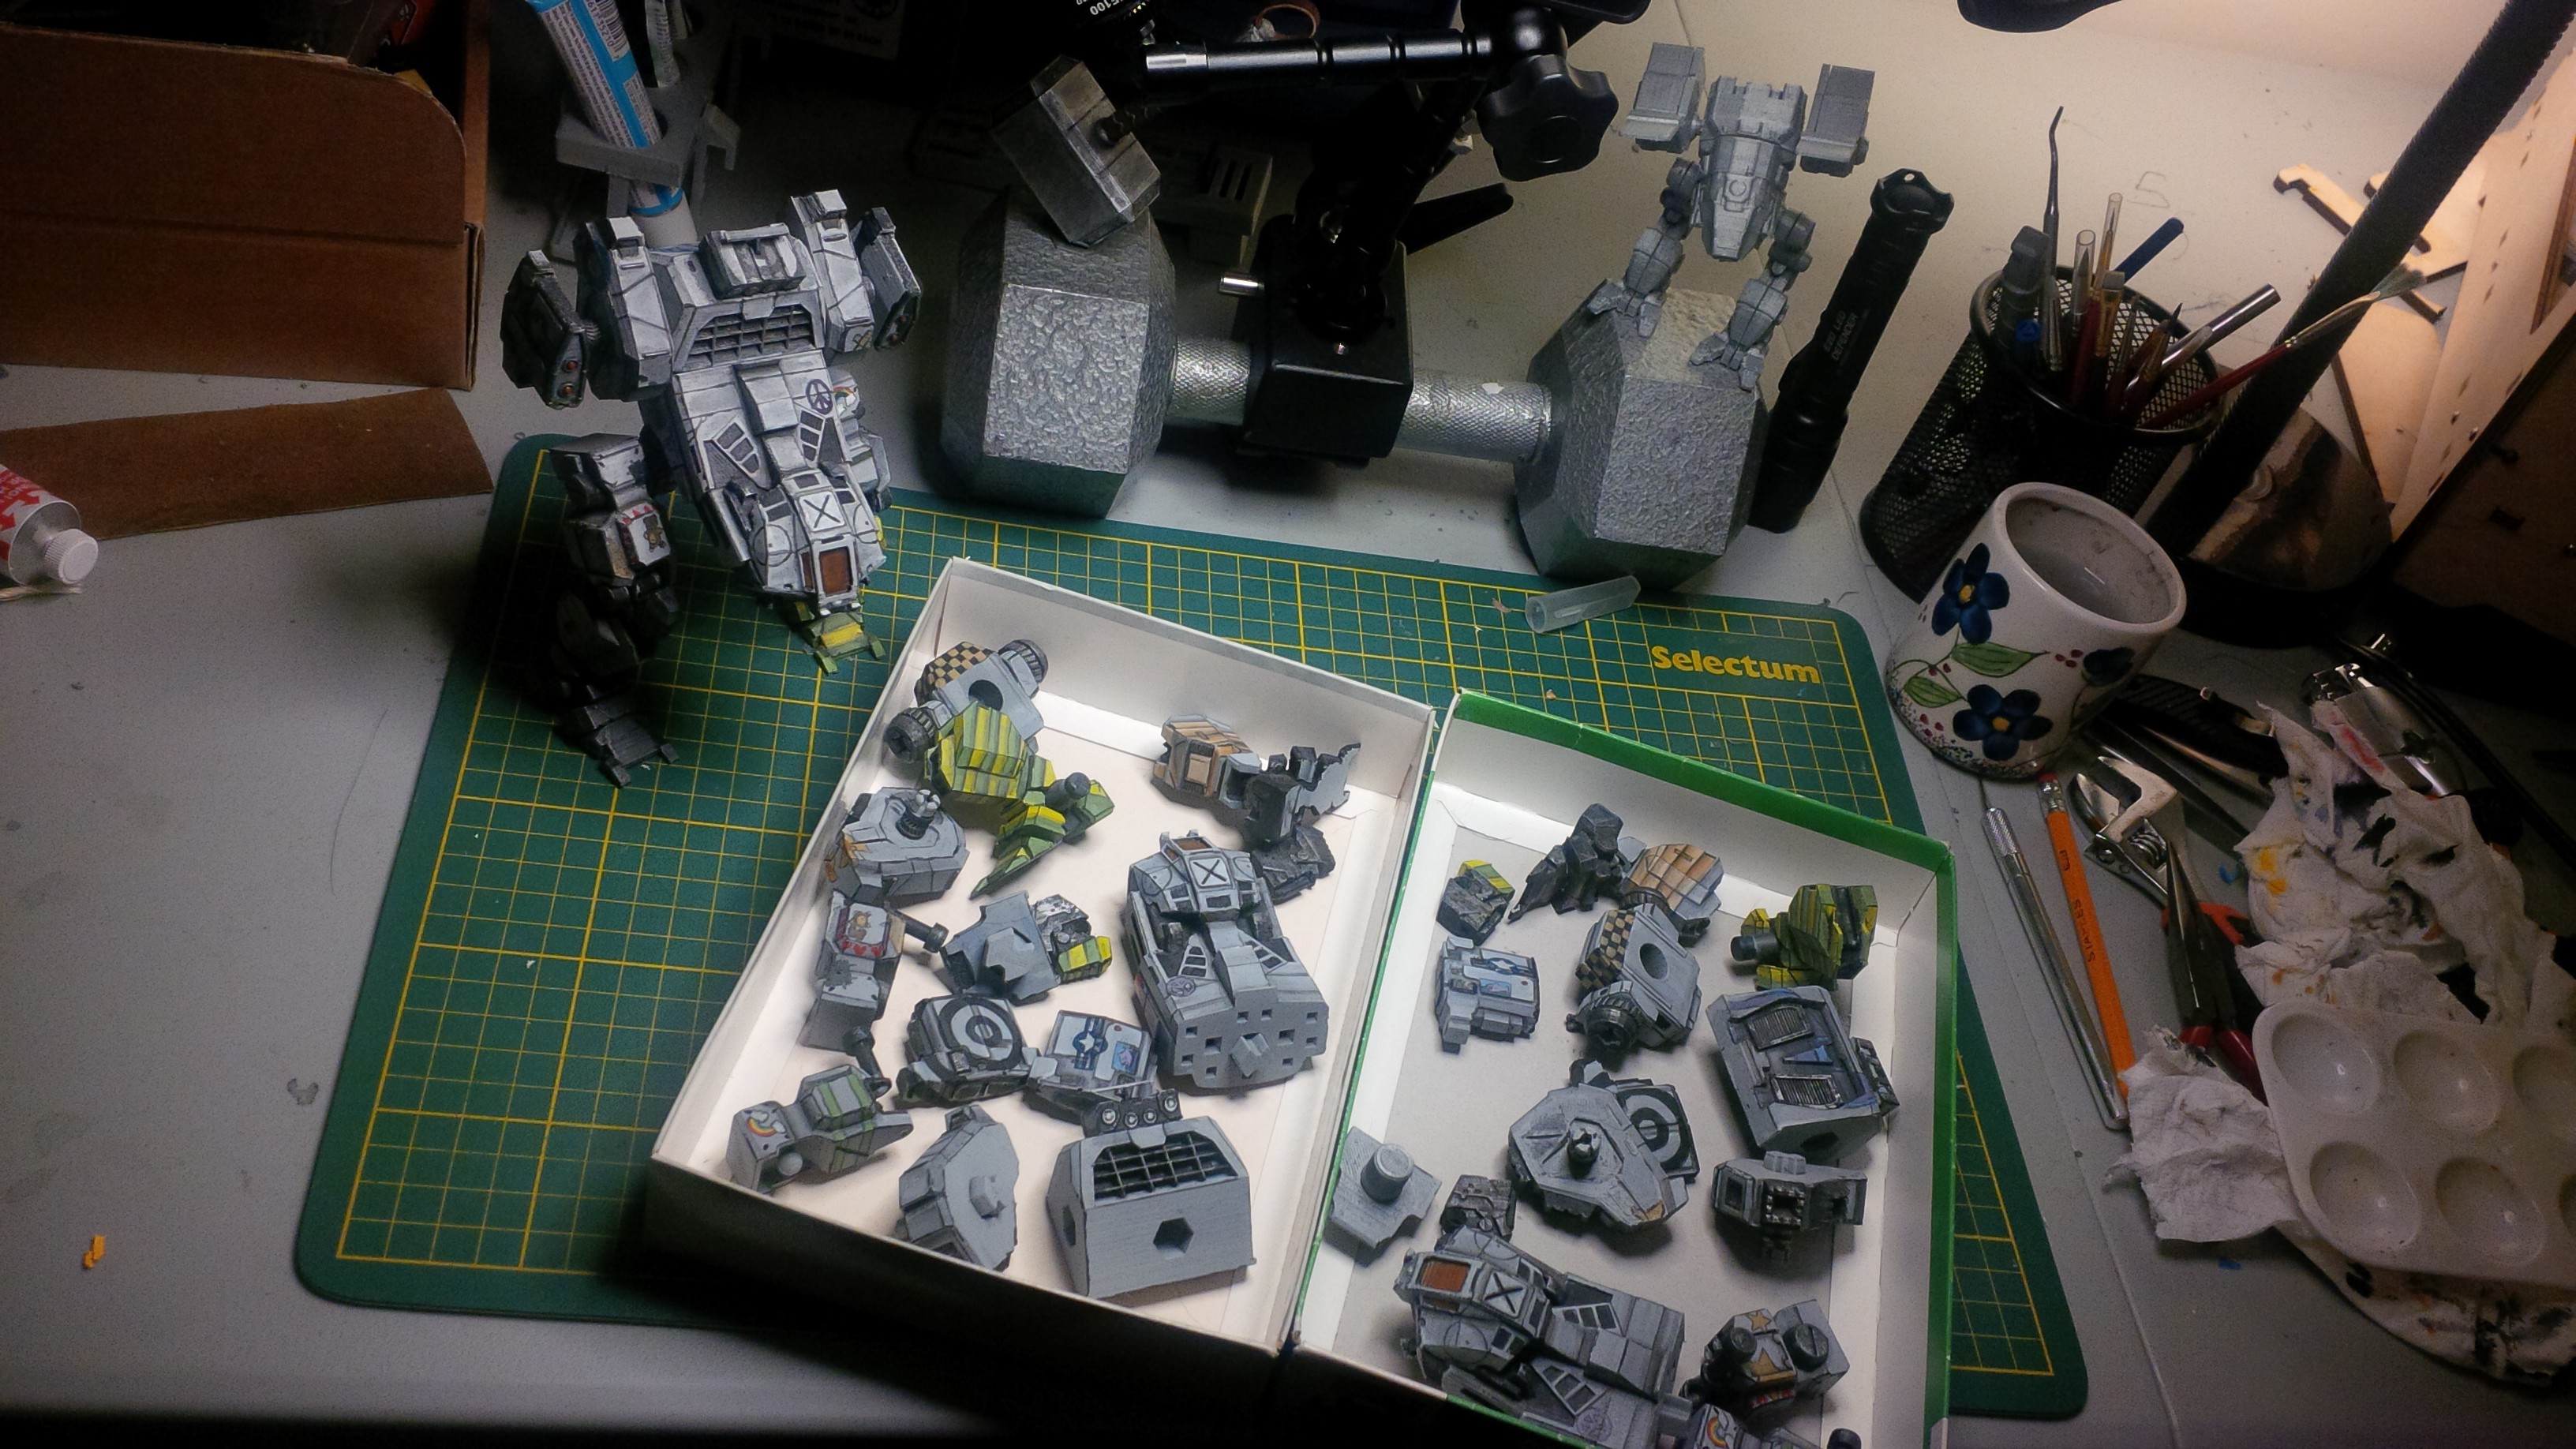
And we're back inside. Nicely primed parts posing with finished prototype in my mech-lab. During the 20+ hour prints for each Jenner, I had enough time to construct and paint the prototype, test out all the techniques and figure out all the parts where I can fail.
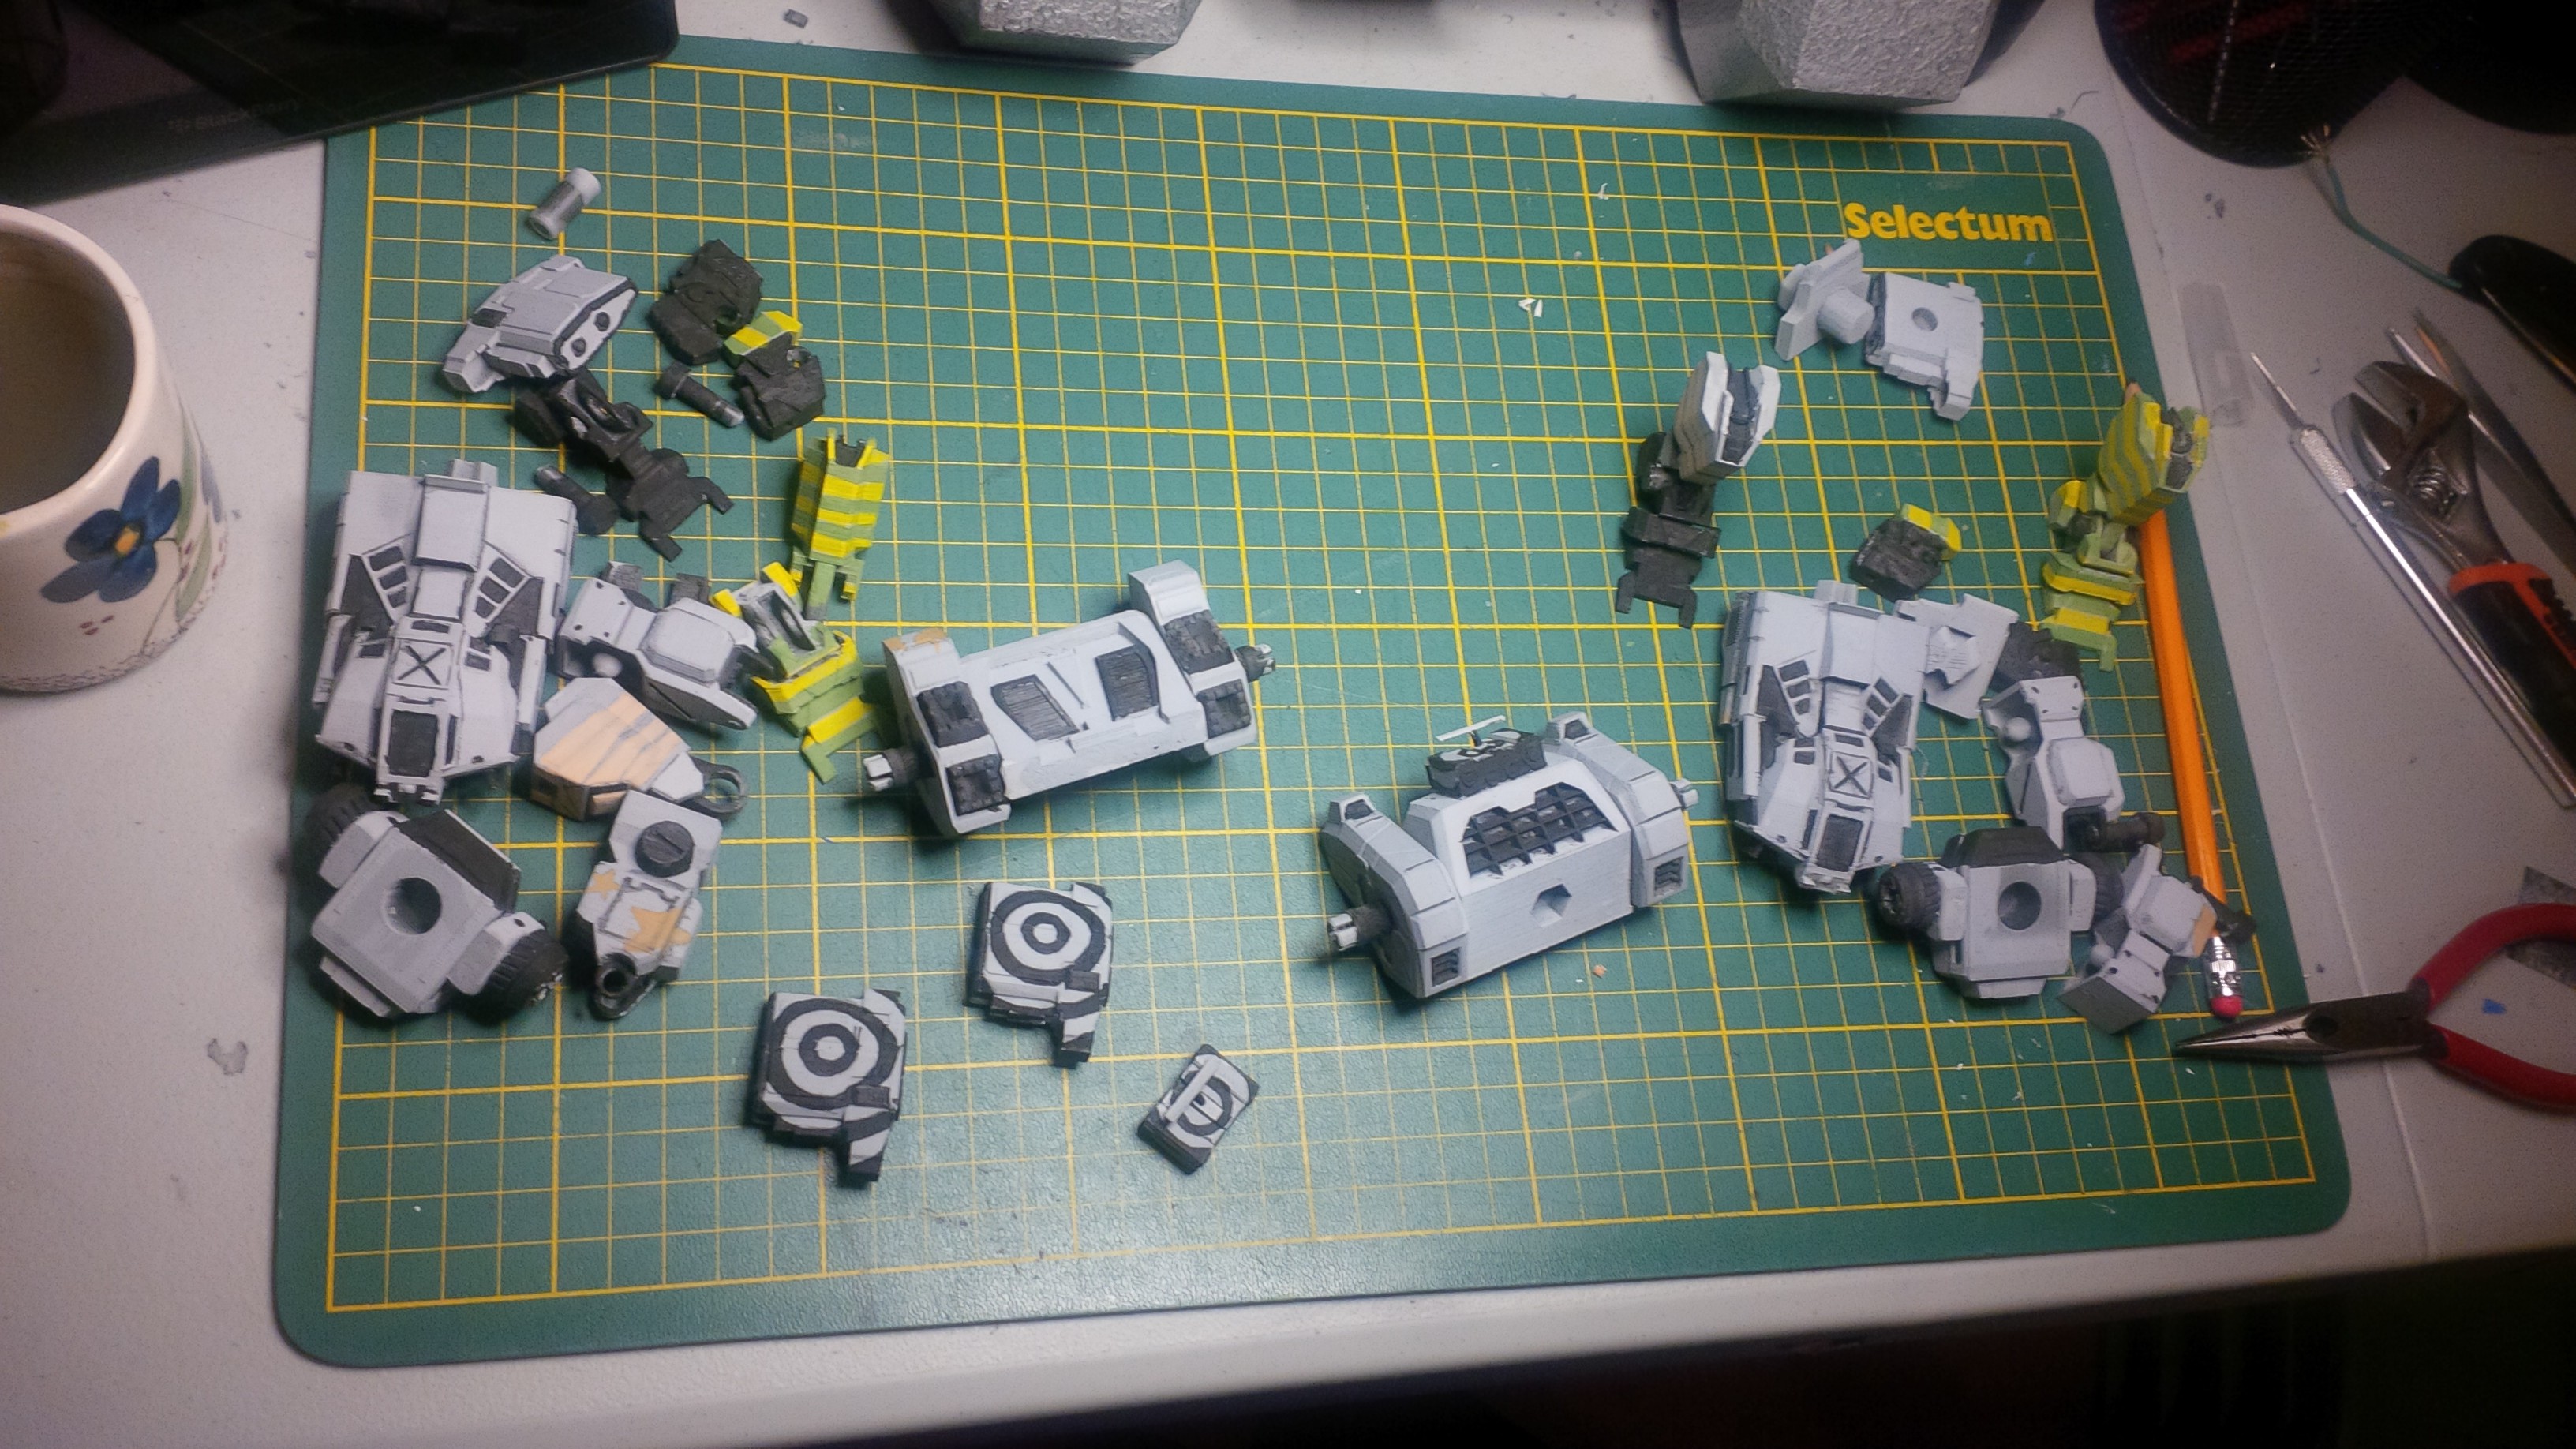
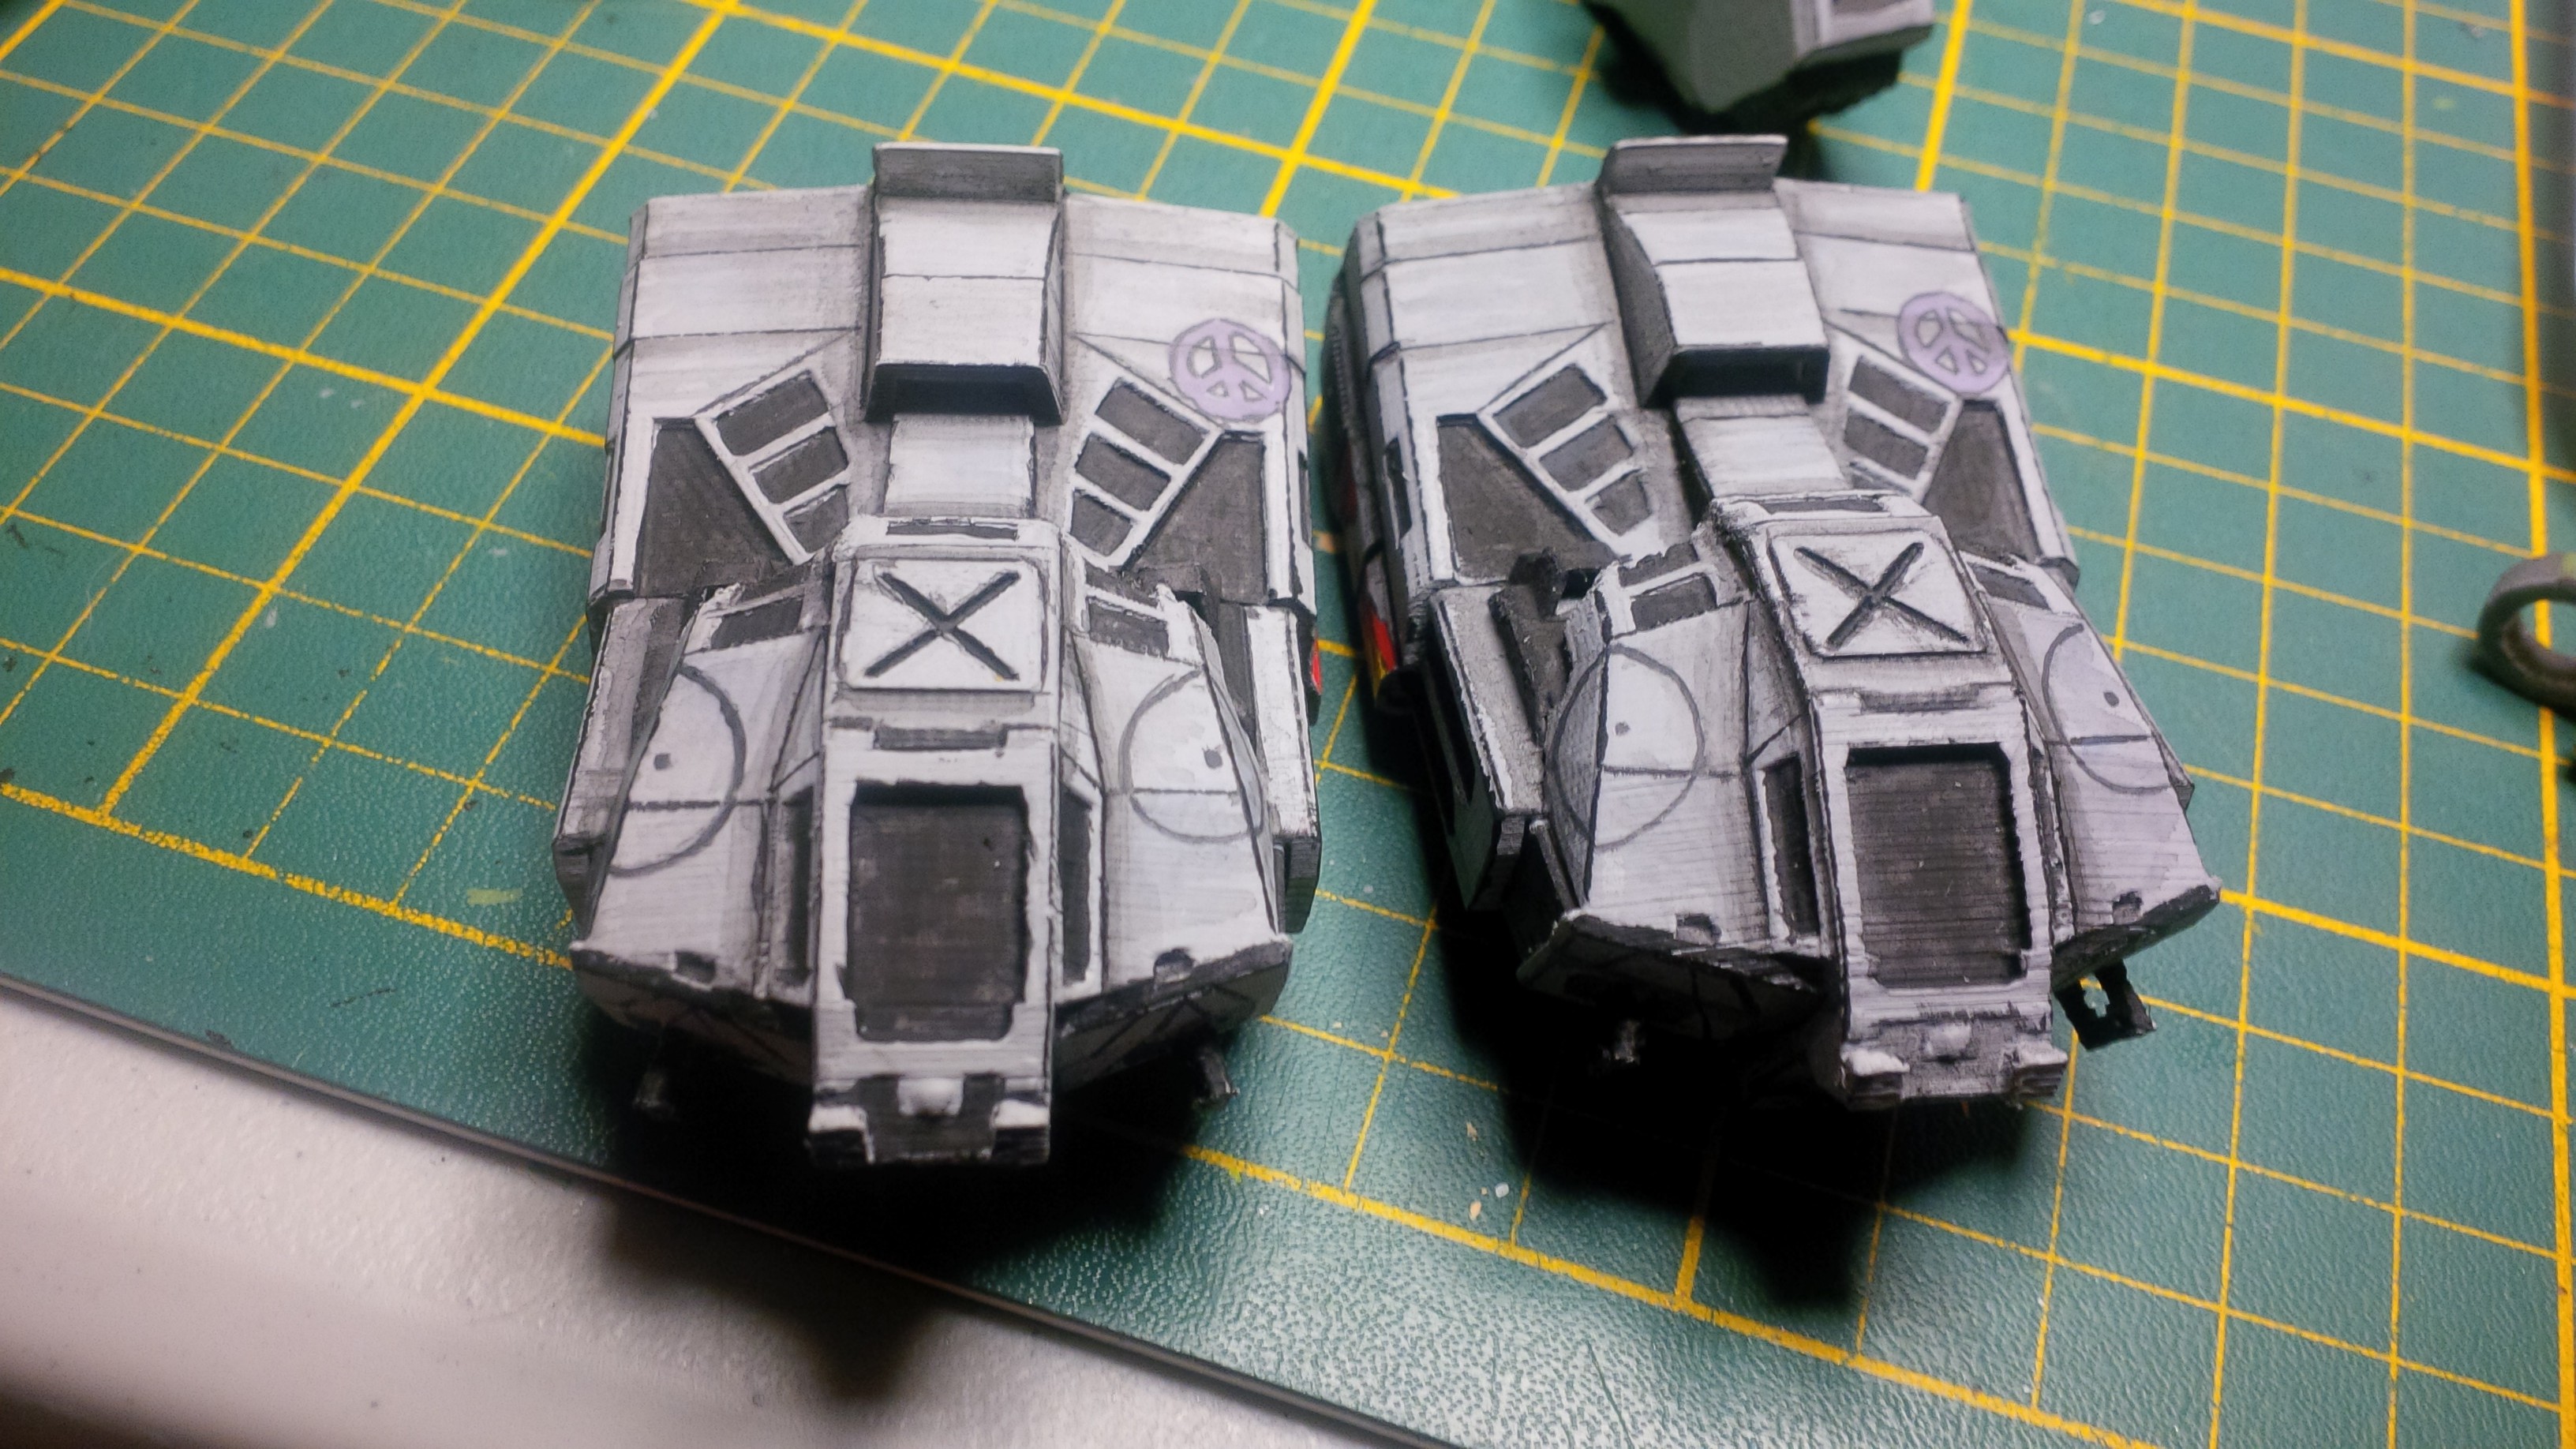
After basically an invisible coat of light grey paint which was almost the same shade as the primer, I applied base colours to the biggest areas first. For the more complex patterns, I drew the patterns out in pencil first and then filled it with paint. (Rings on arms and SRM)
Starting to block in the detailed base coat bits. Checkered pattern on the pelvis, stars on legs. etc. I had my trusty playbook as my colour reference guide to the left. I rendered a rotation of the game model with the textures applied so I wouldn't have to go back to my computer to reference anything. Important to stay on focus!
After colour blocking the main structures of the mech, I had to edge everything with black or dark grey. So all the raised corners and edges are kissed with black to resemble wear. (it's just how PGI designed it). This took... a long time. EVERY SINGLE EDGE and GROOVE.
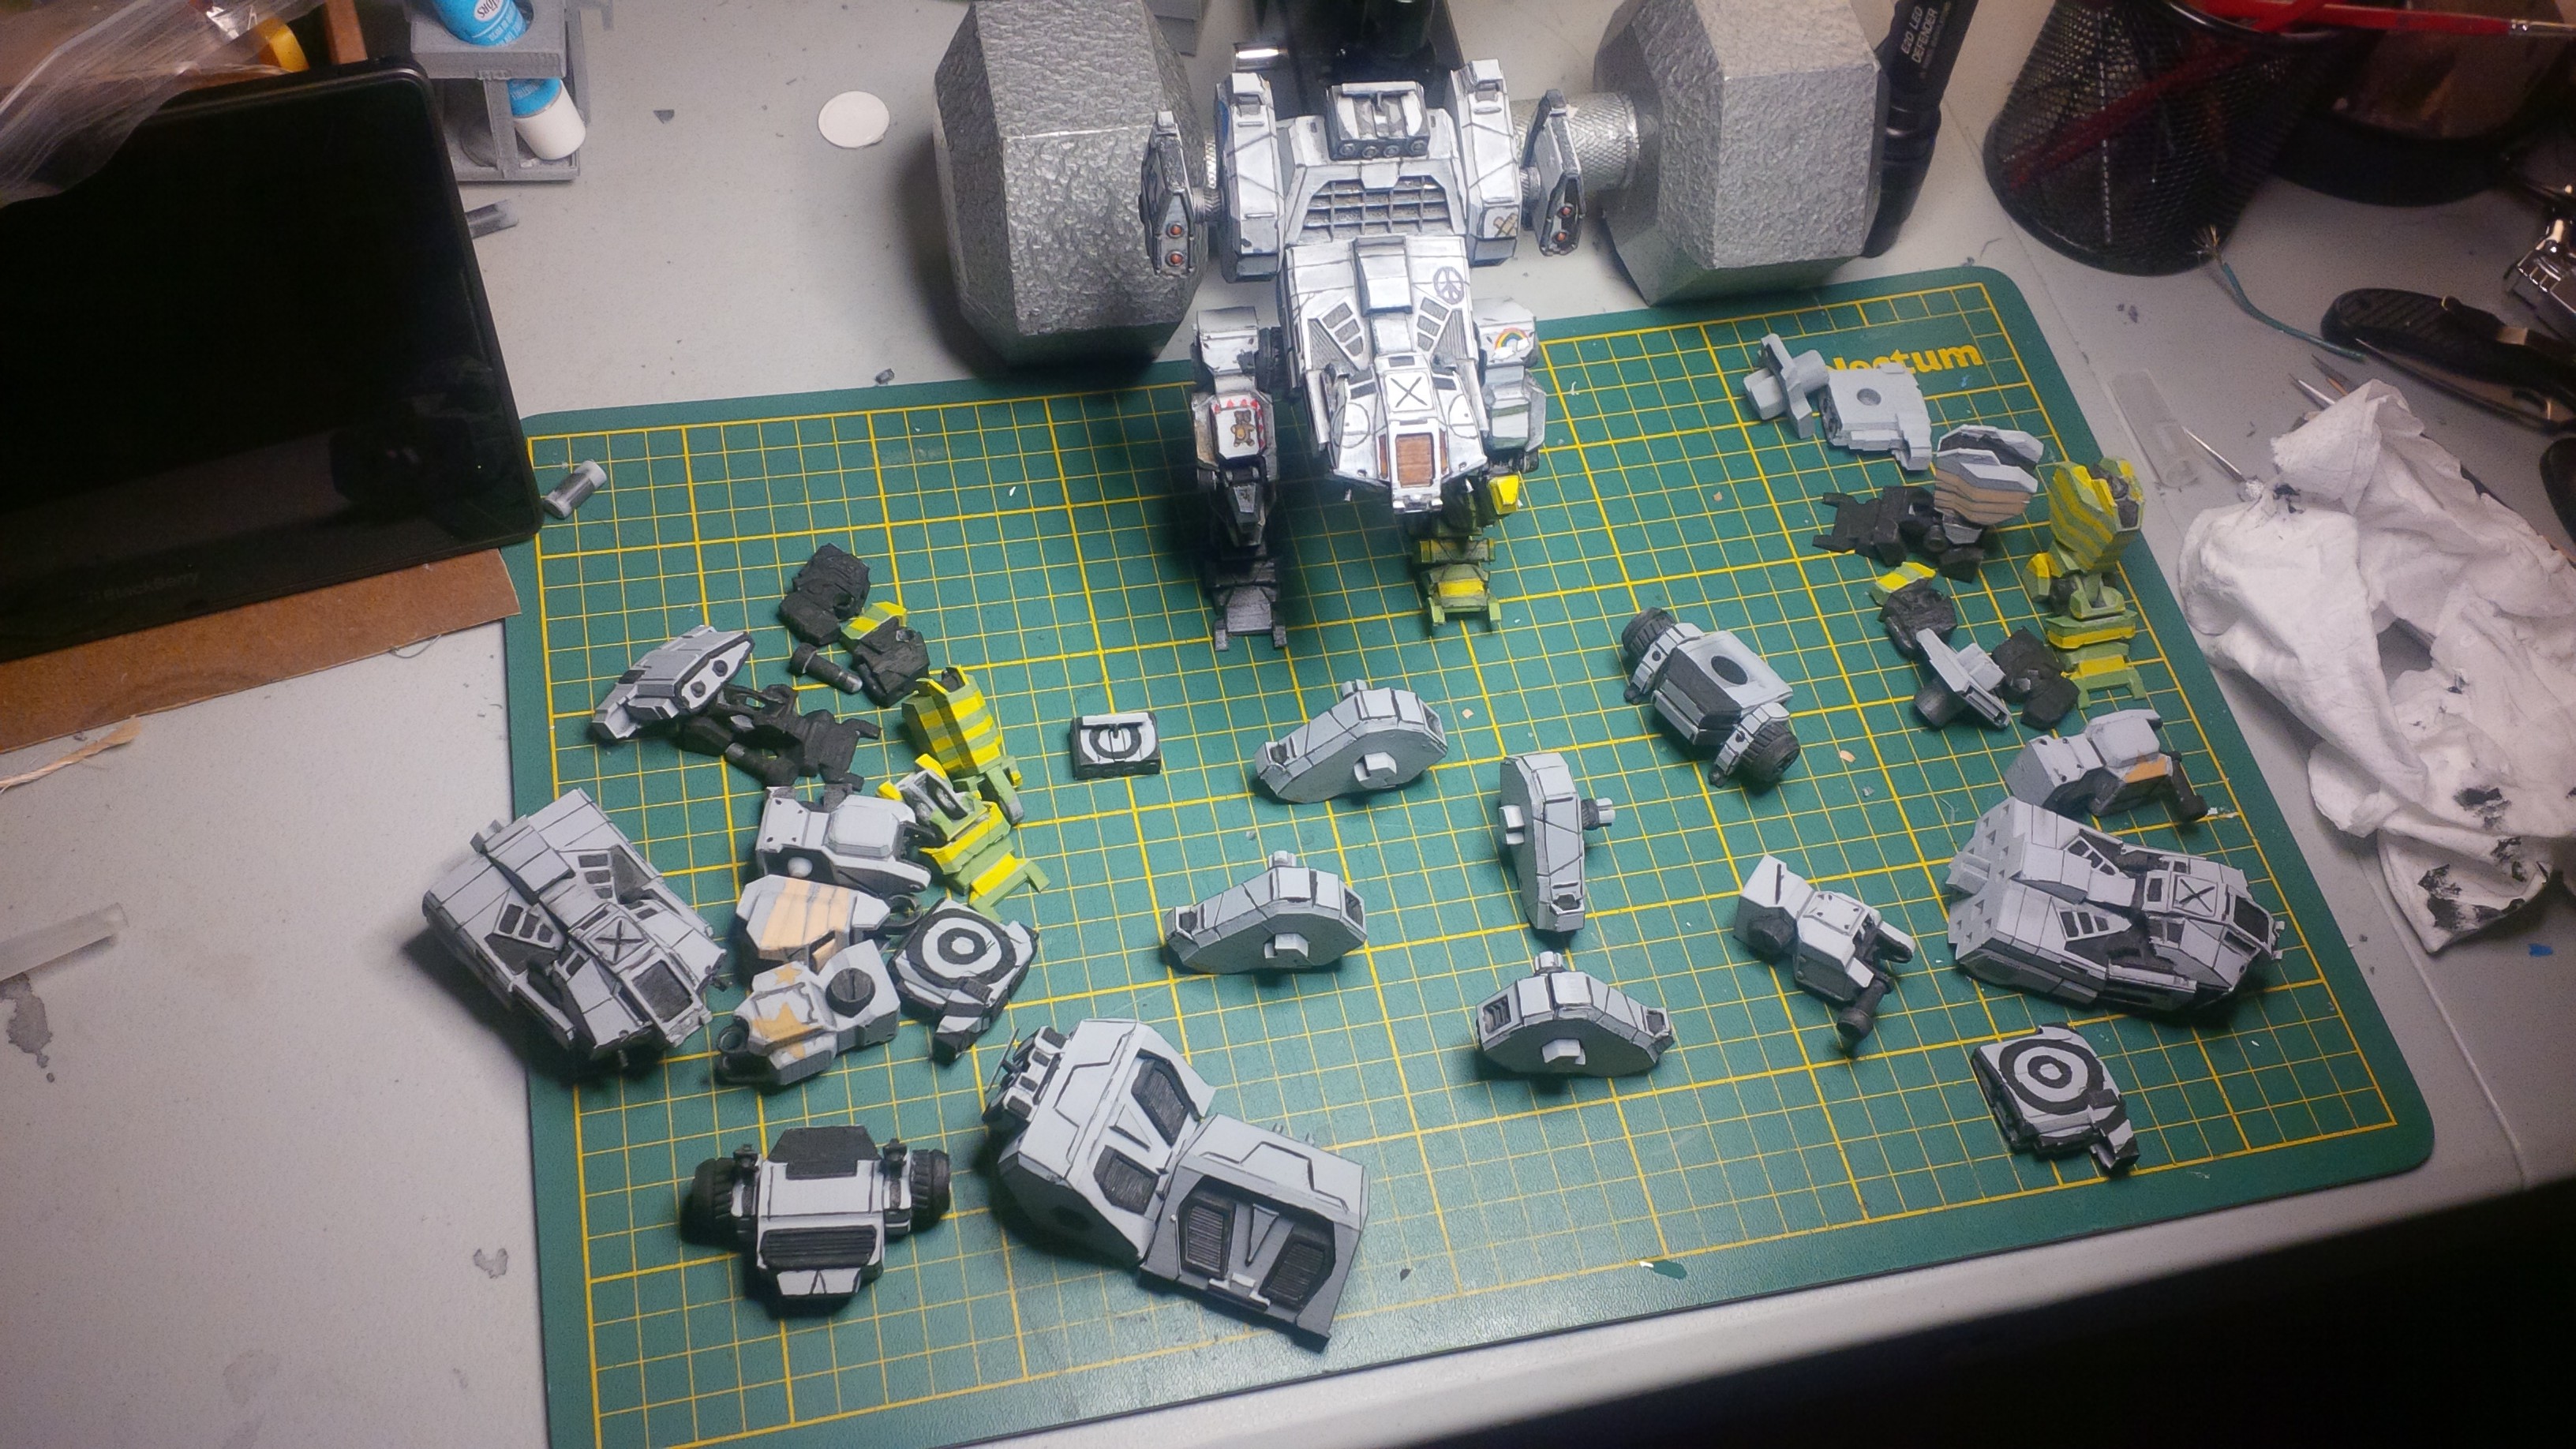
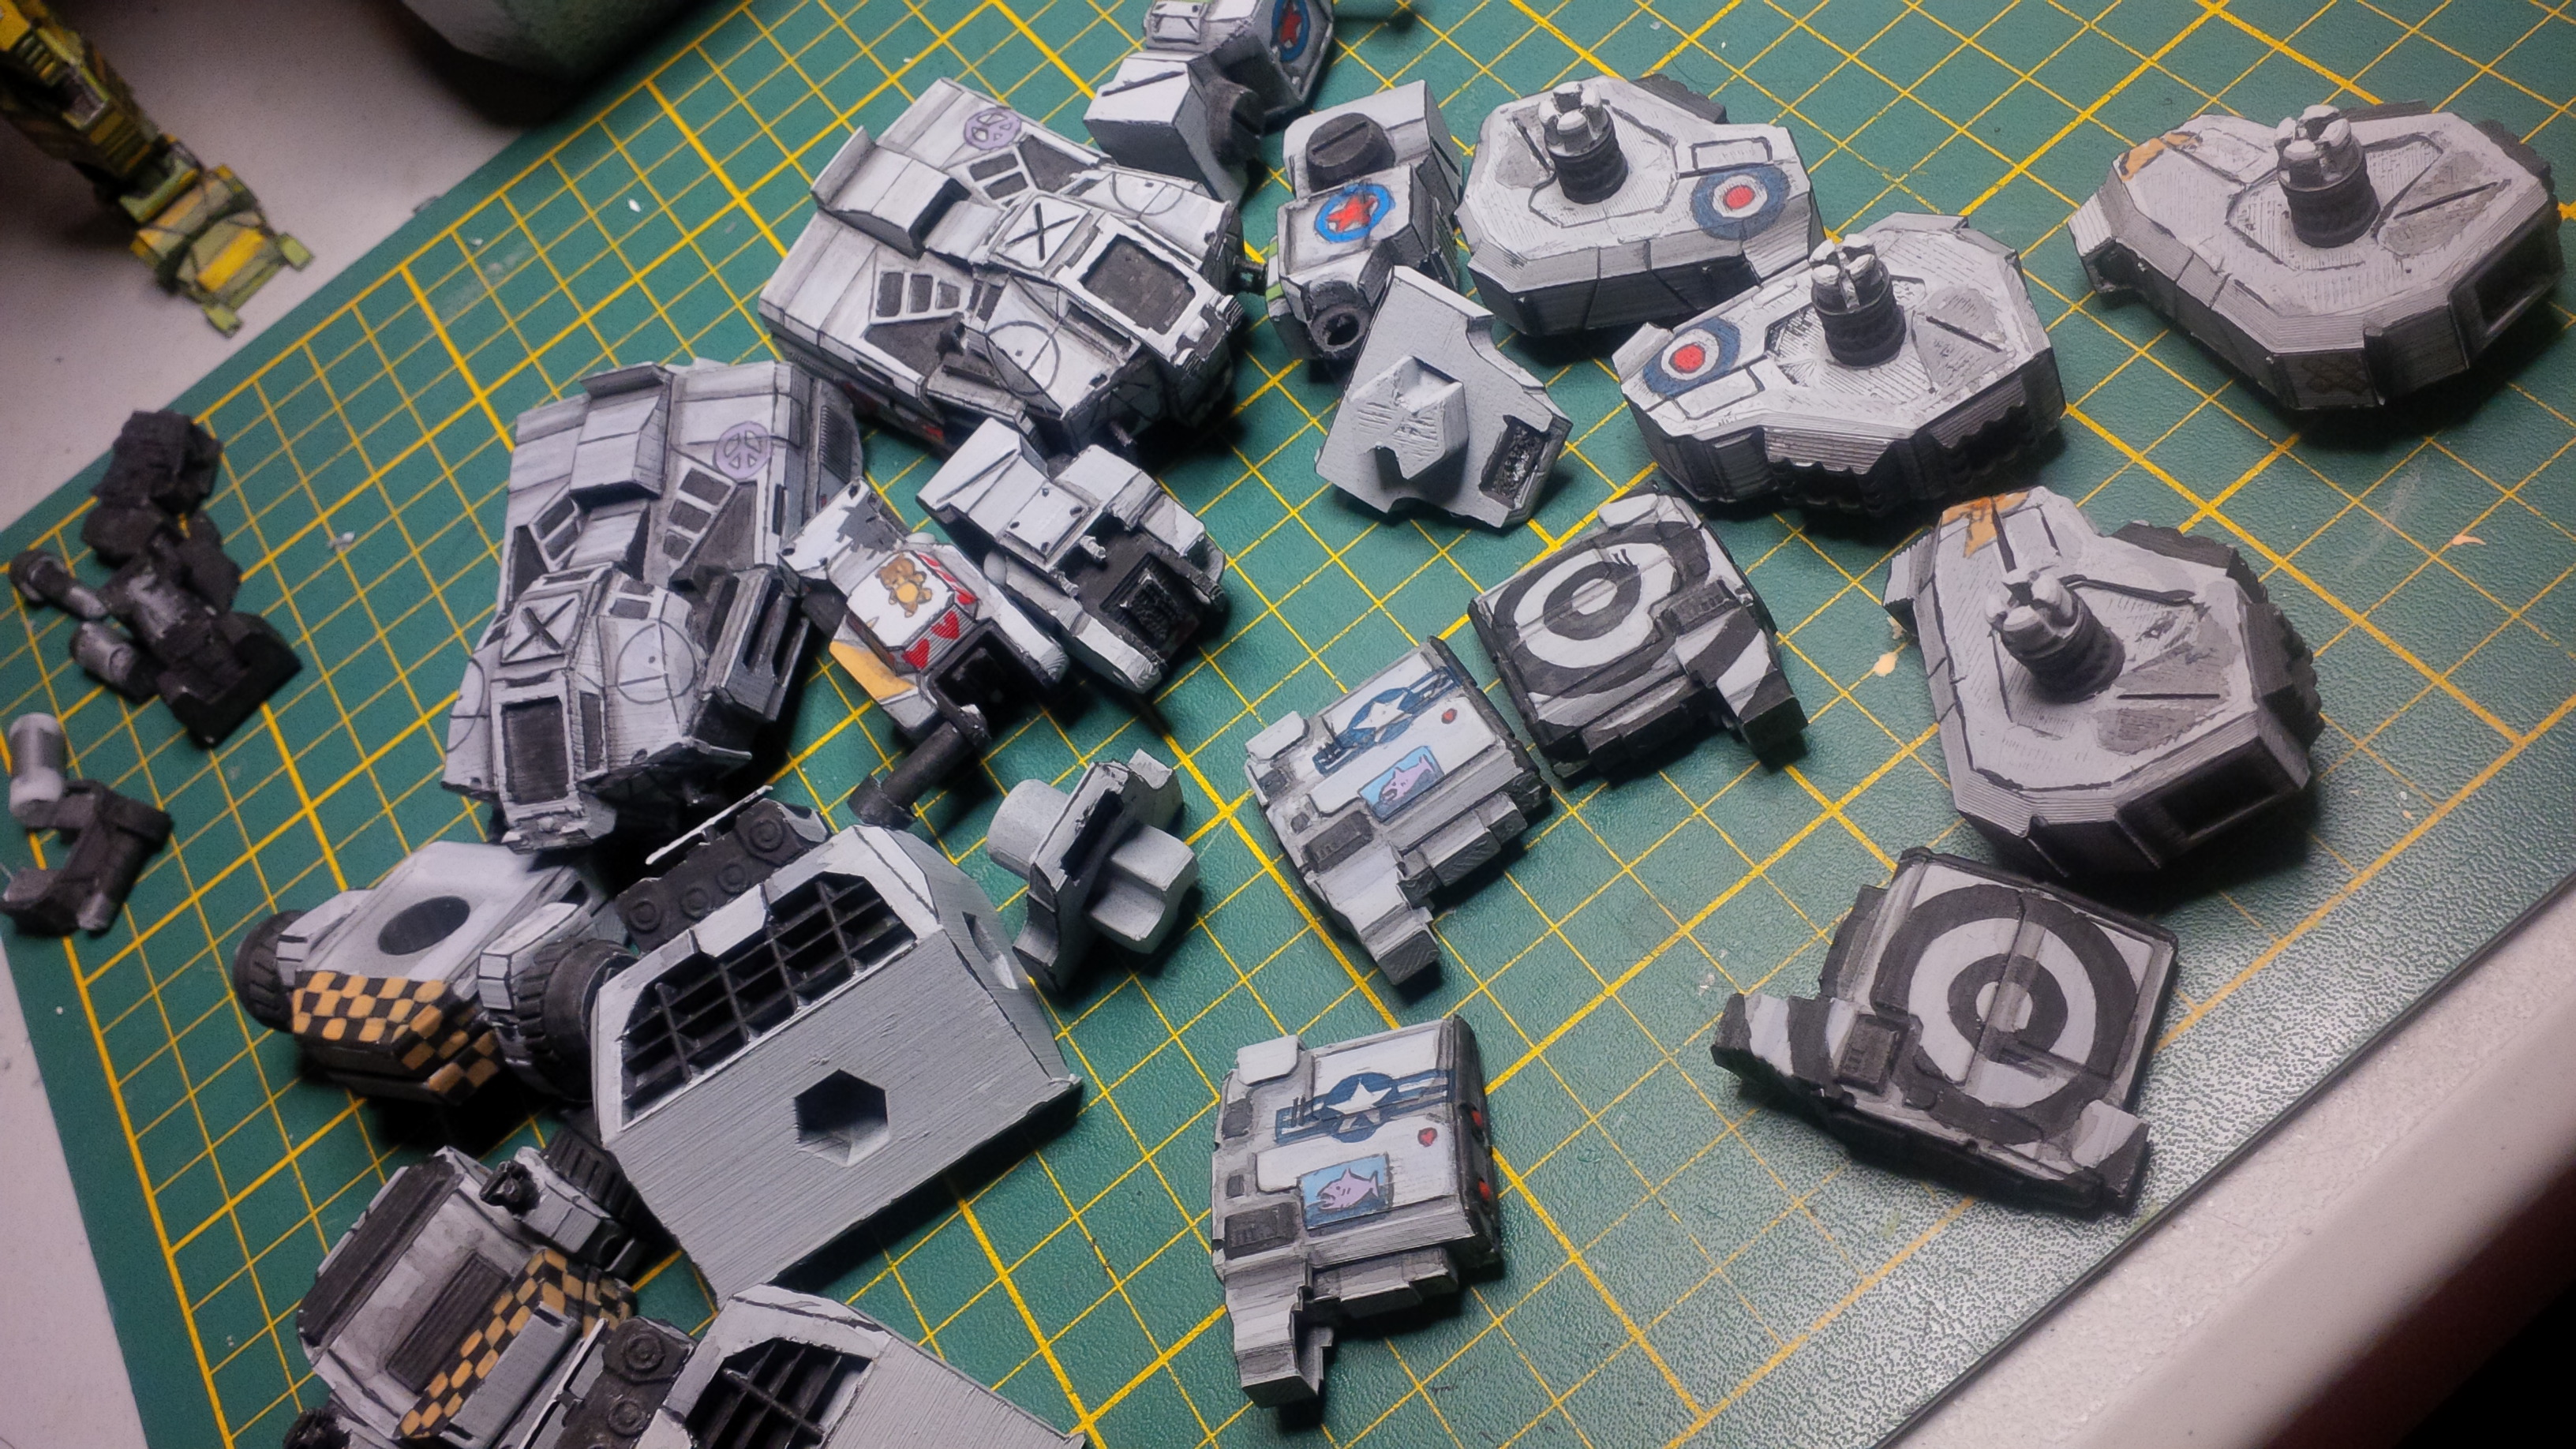
Then off to paint tiny details with tiny brushes. I tried to keep switching colors to a minimum so I painted all red hearts all at once etc. It was hard to keep track of what pieces needed which colour. I had piles of both mechs on my desk and they all look the same in white.
All colour basecoat done! It kinda looks bland and kind of daunting because all that work only gets you a basic looking thing. Good thing I made a prototype to remind me what it will look like after keeping on the path of proper process.
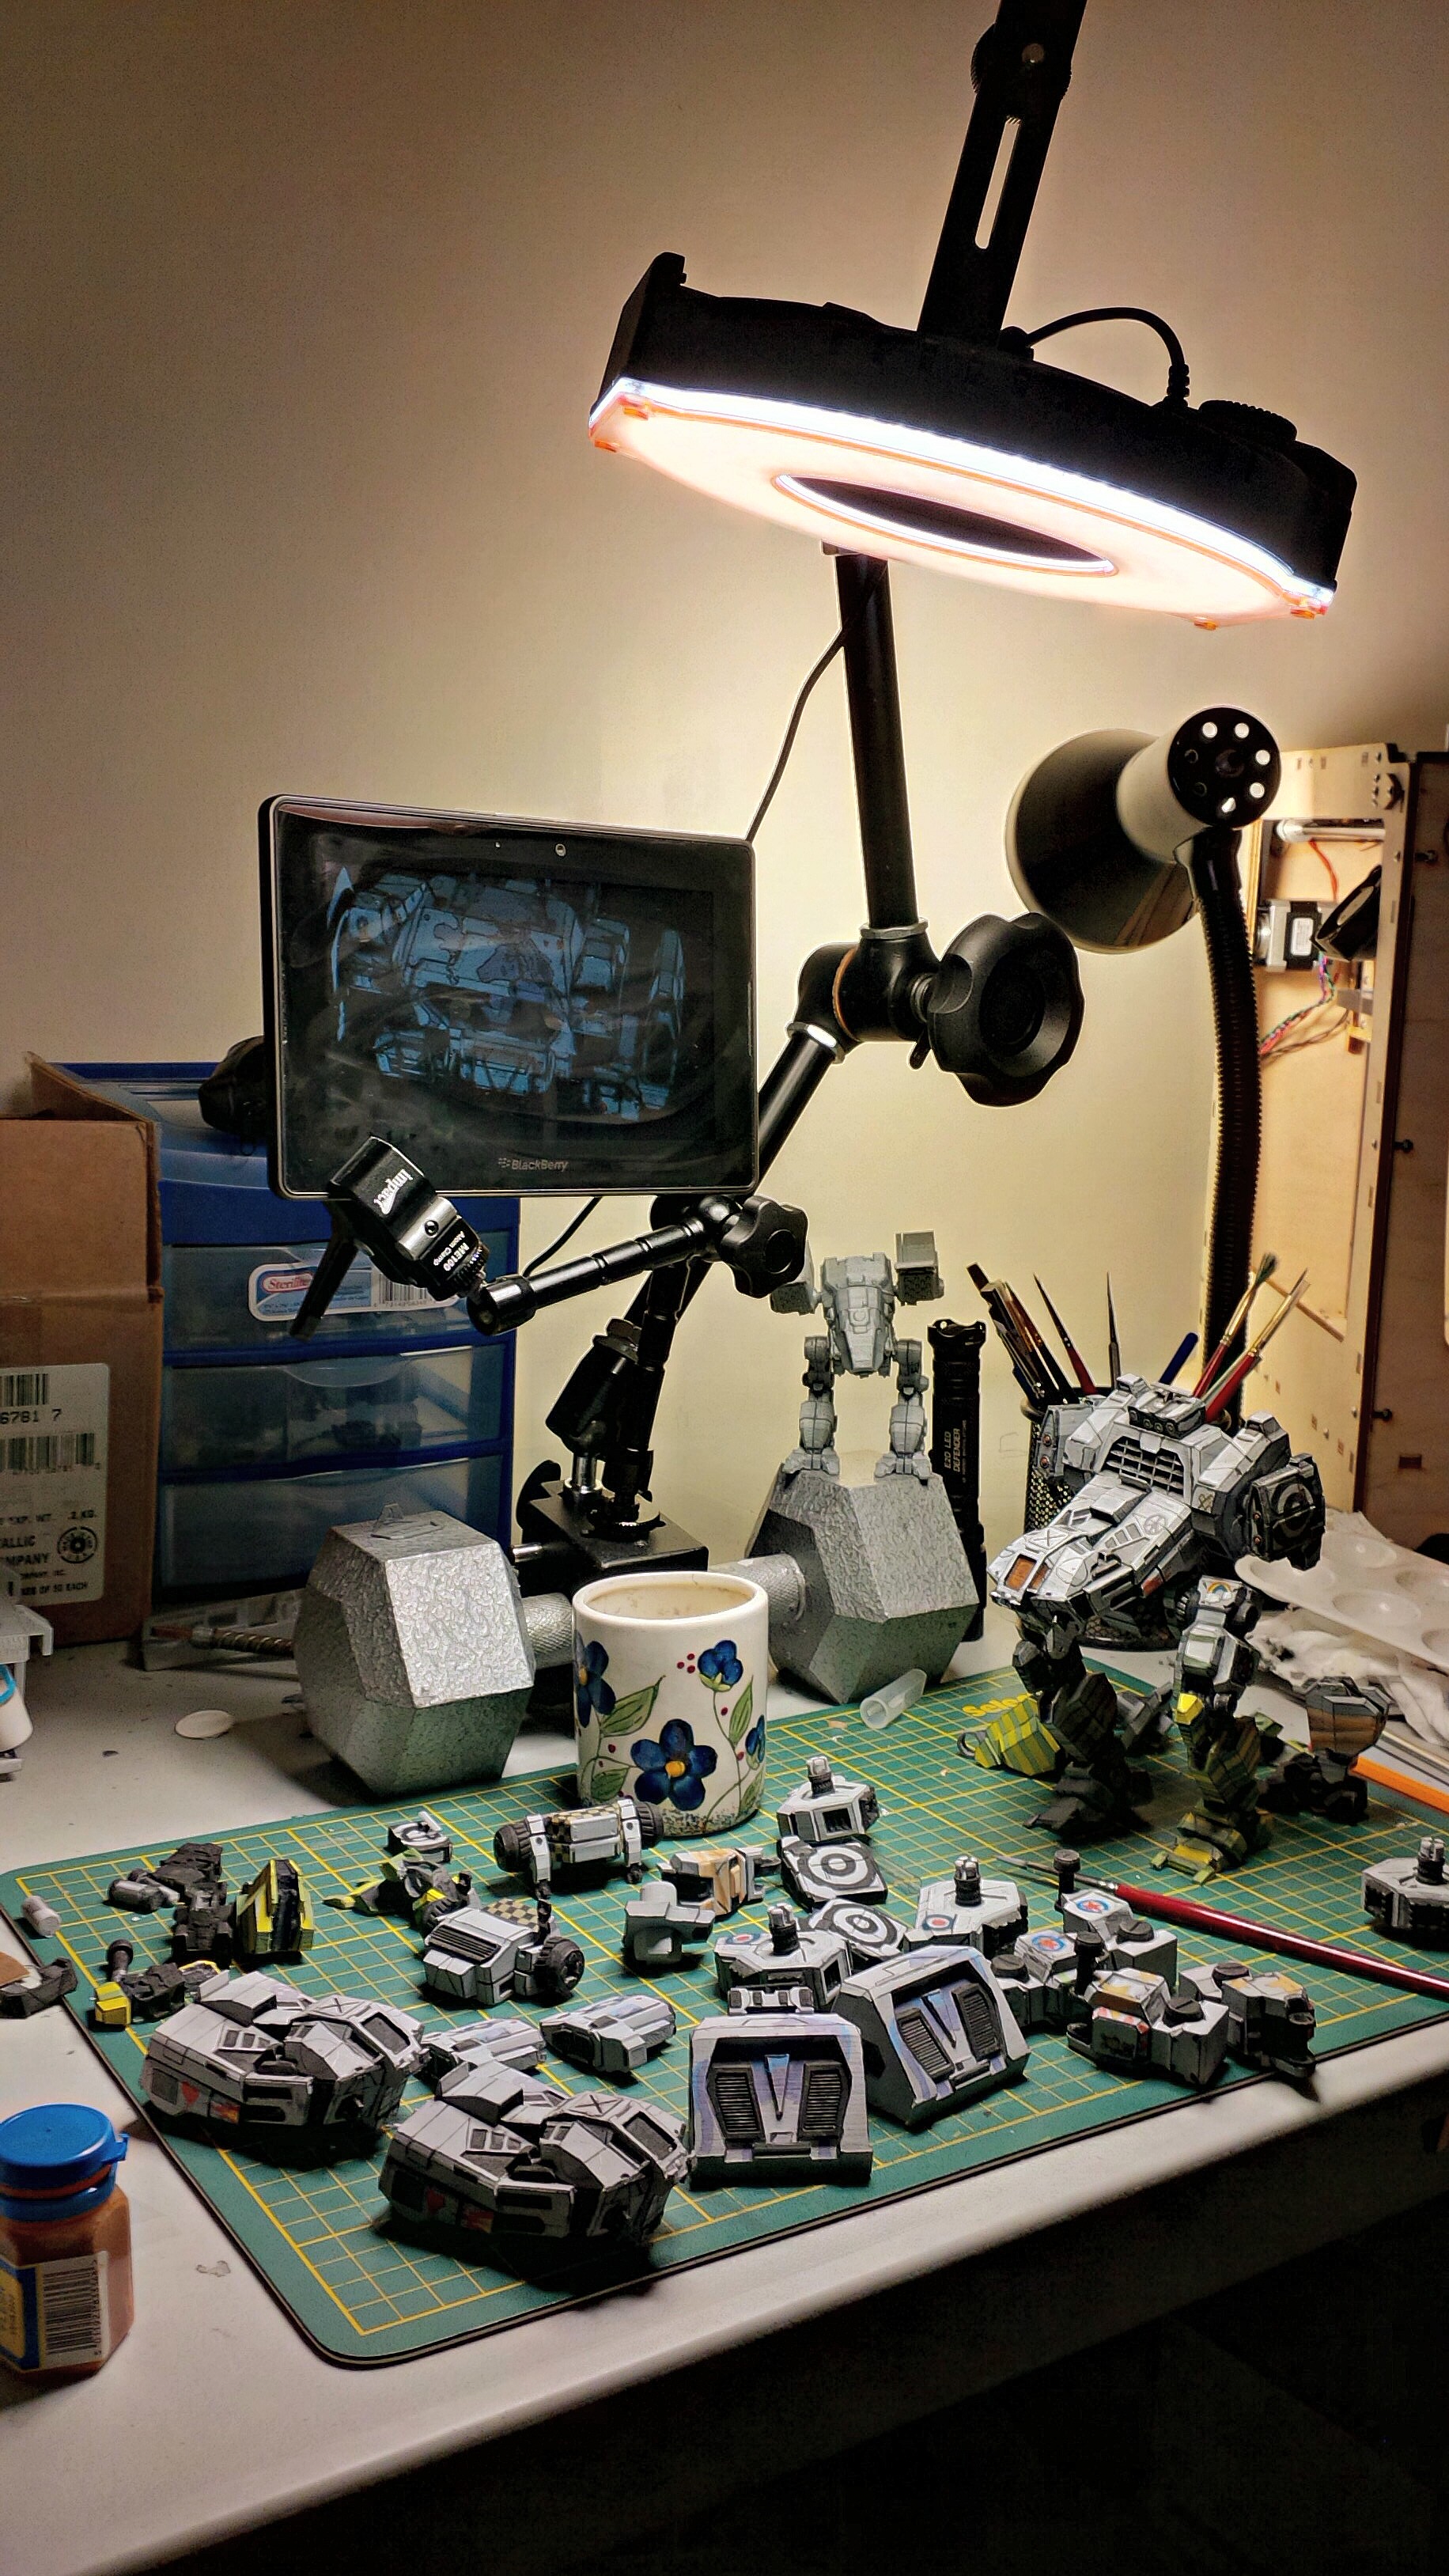
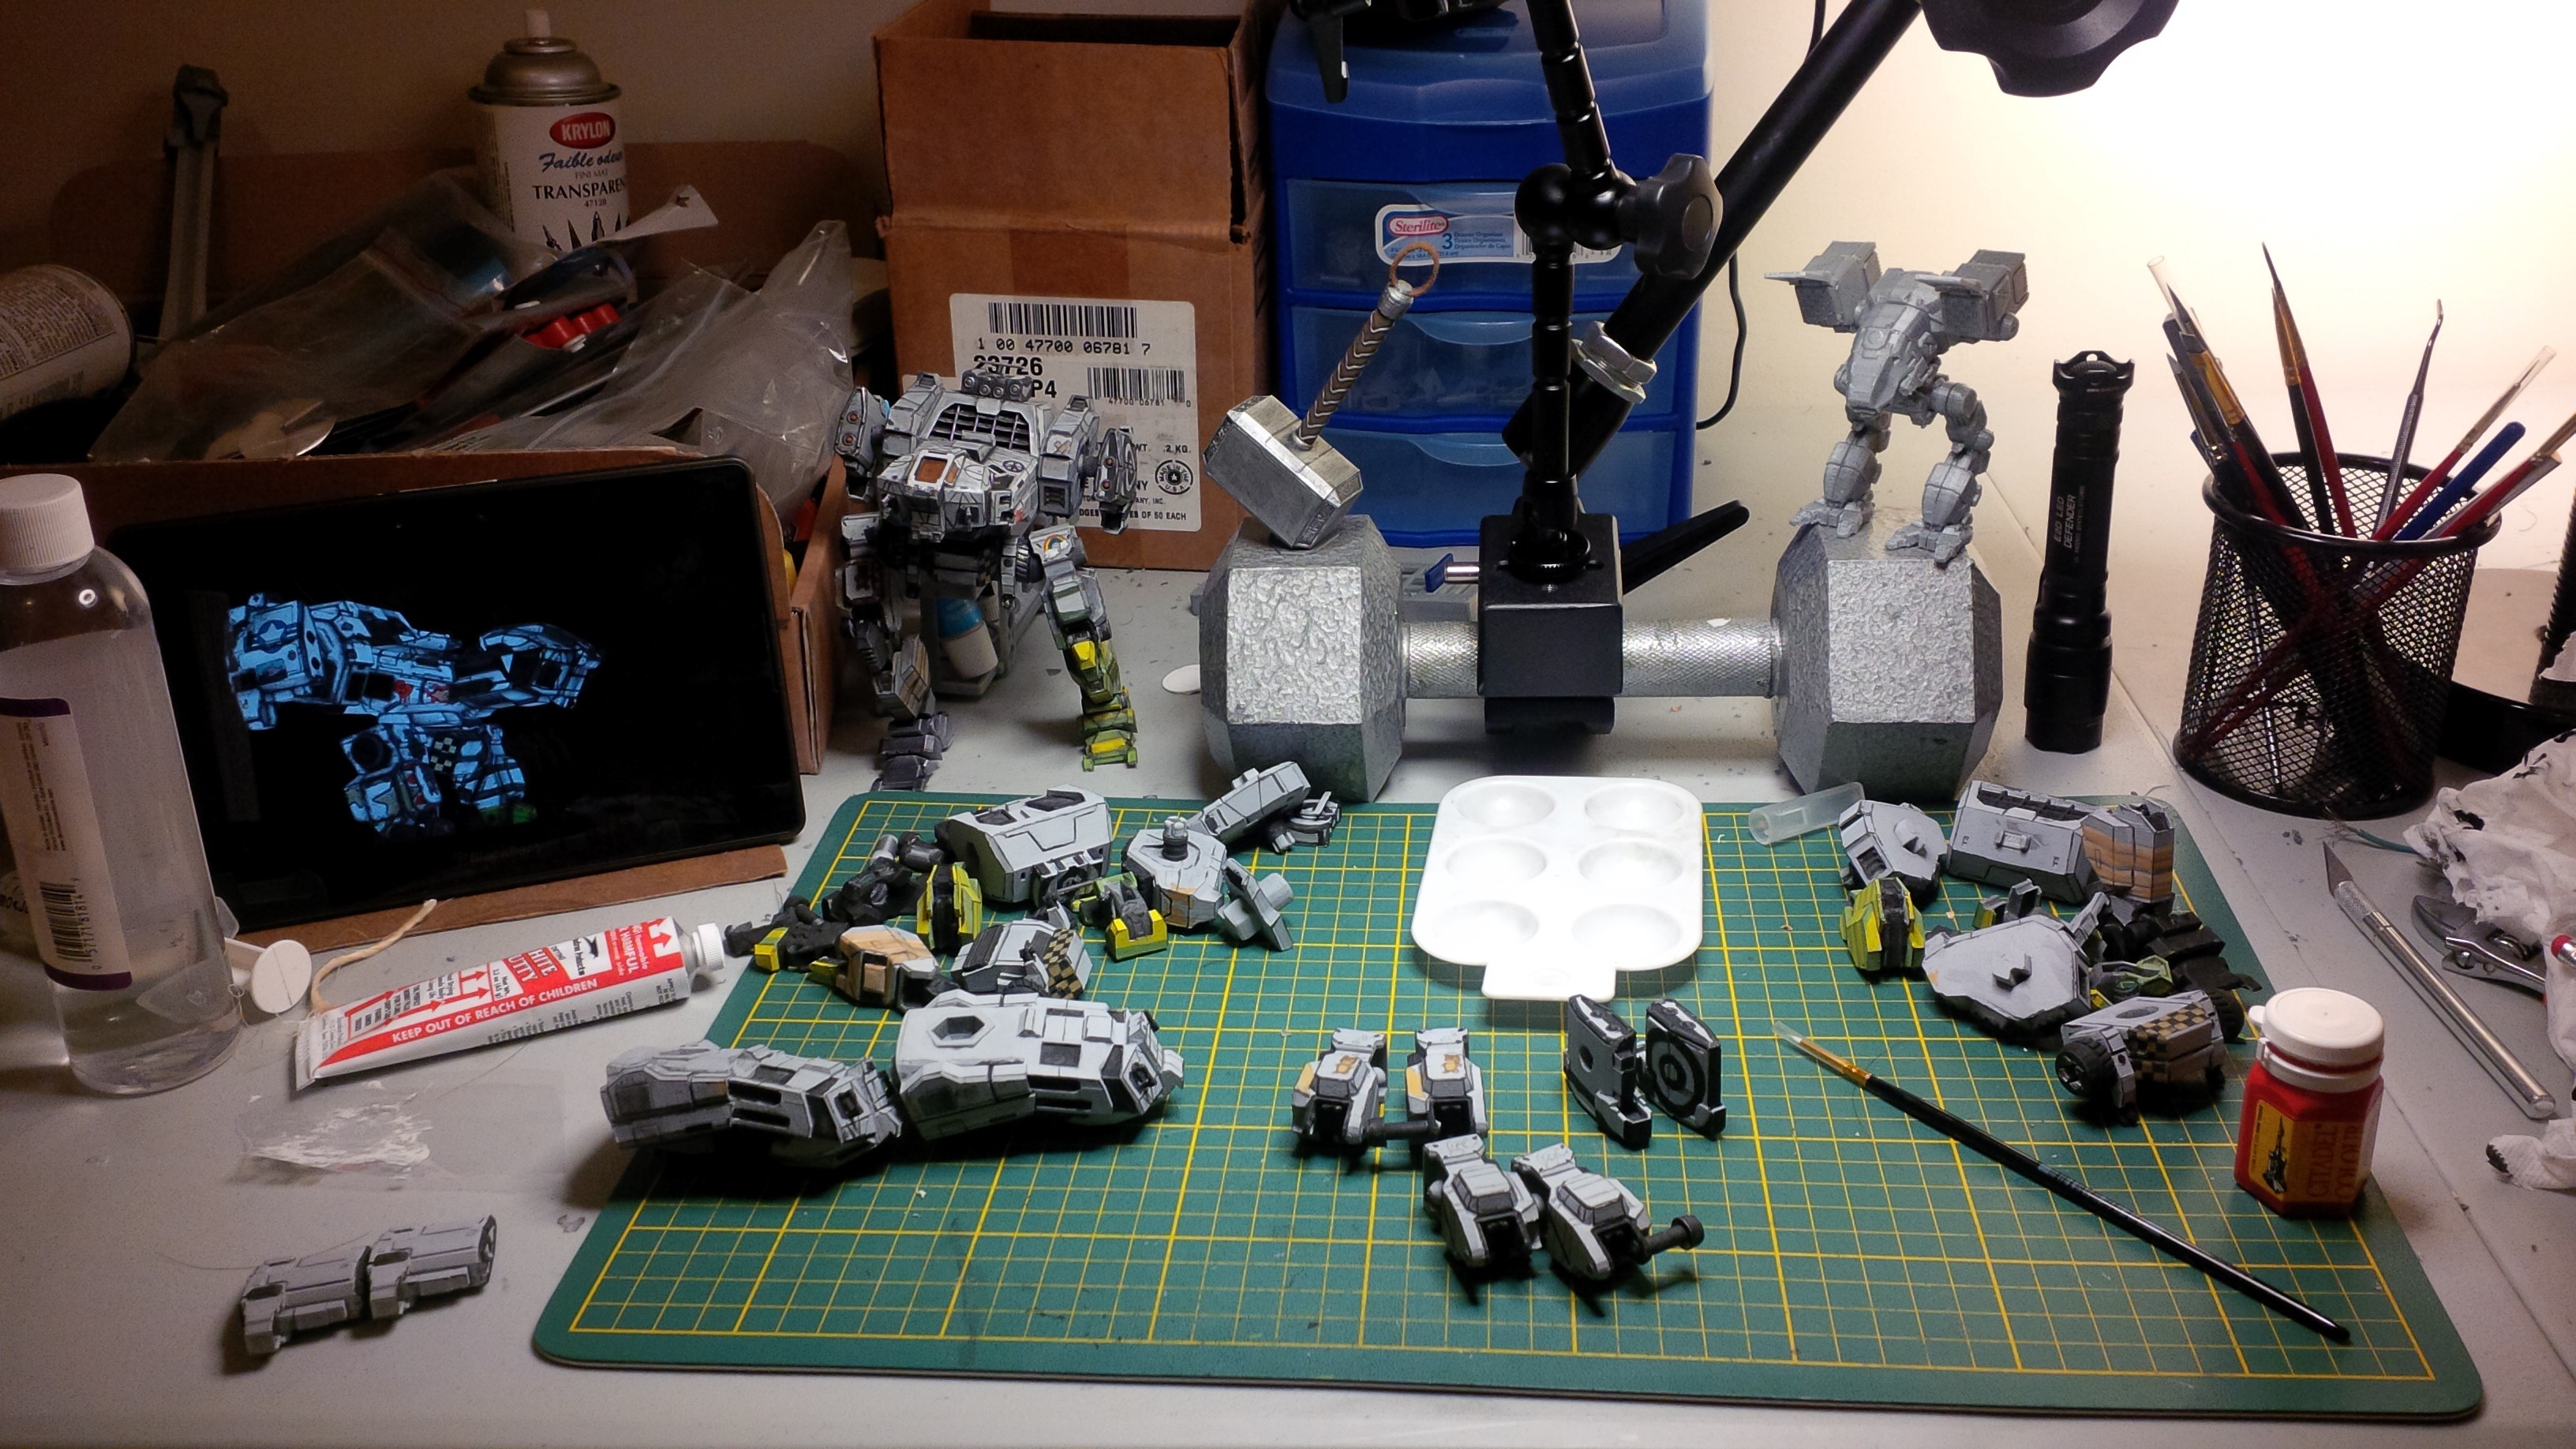
Needed to re-jig my workstation at this point. Thanks to film gear, nice even lighting and even a screen holder.

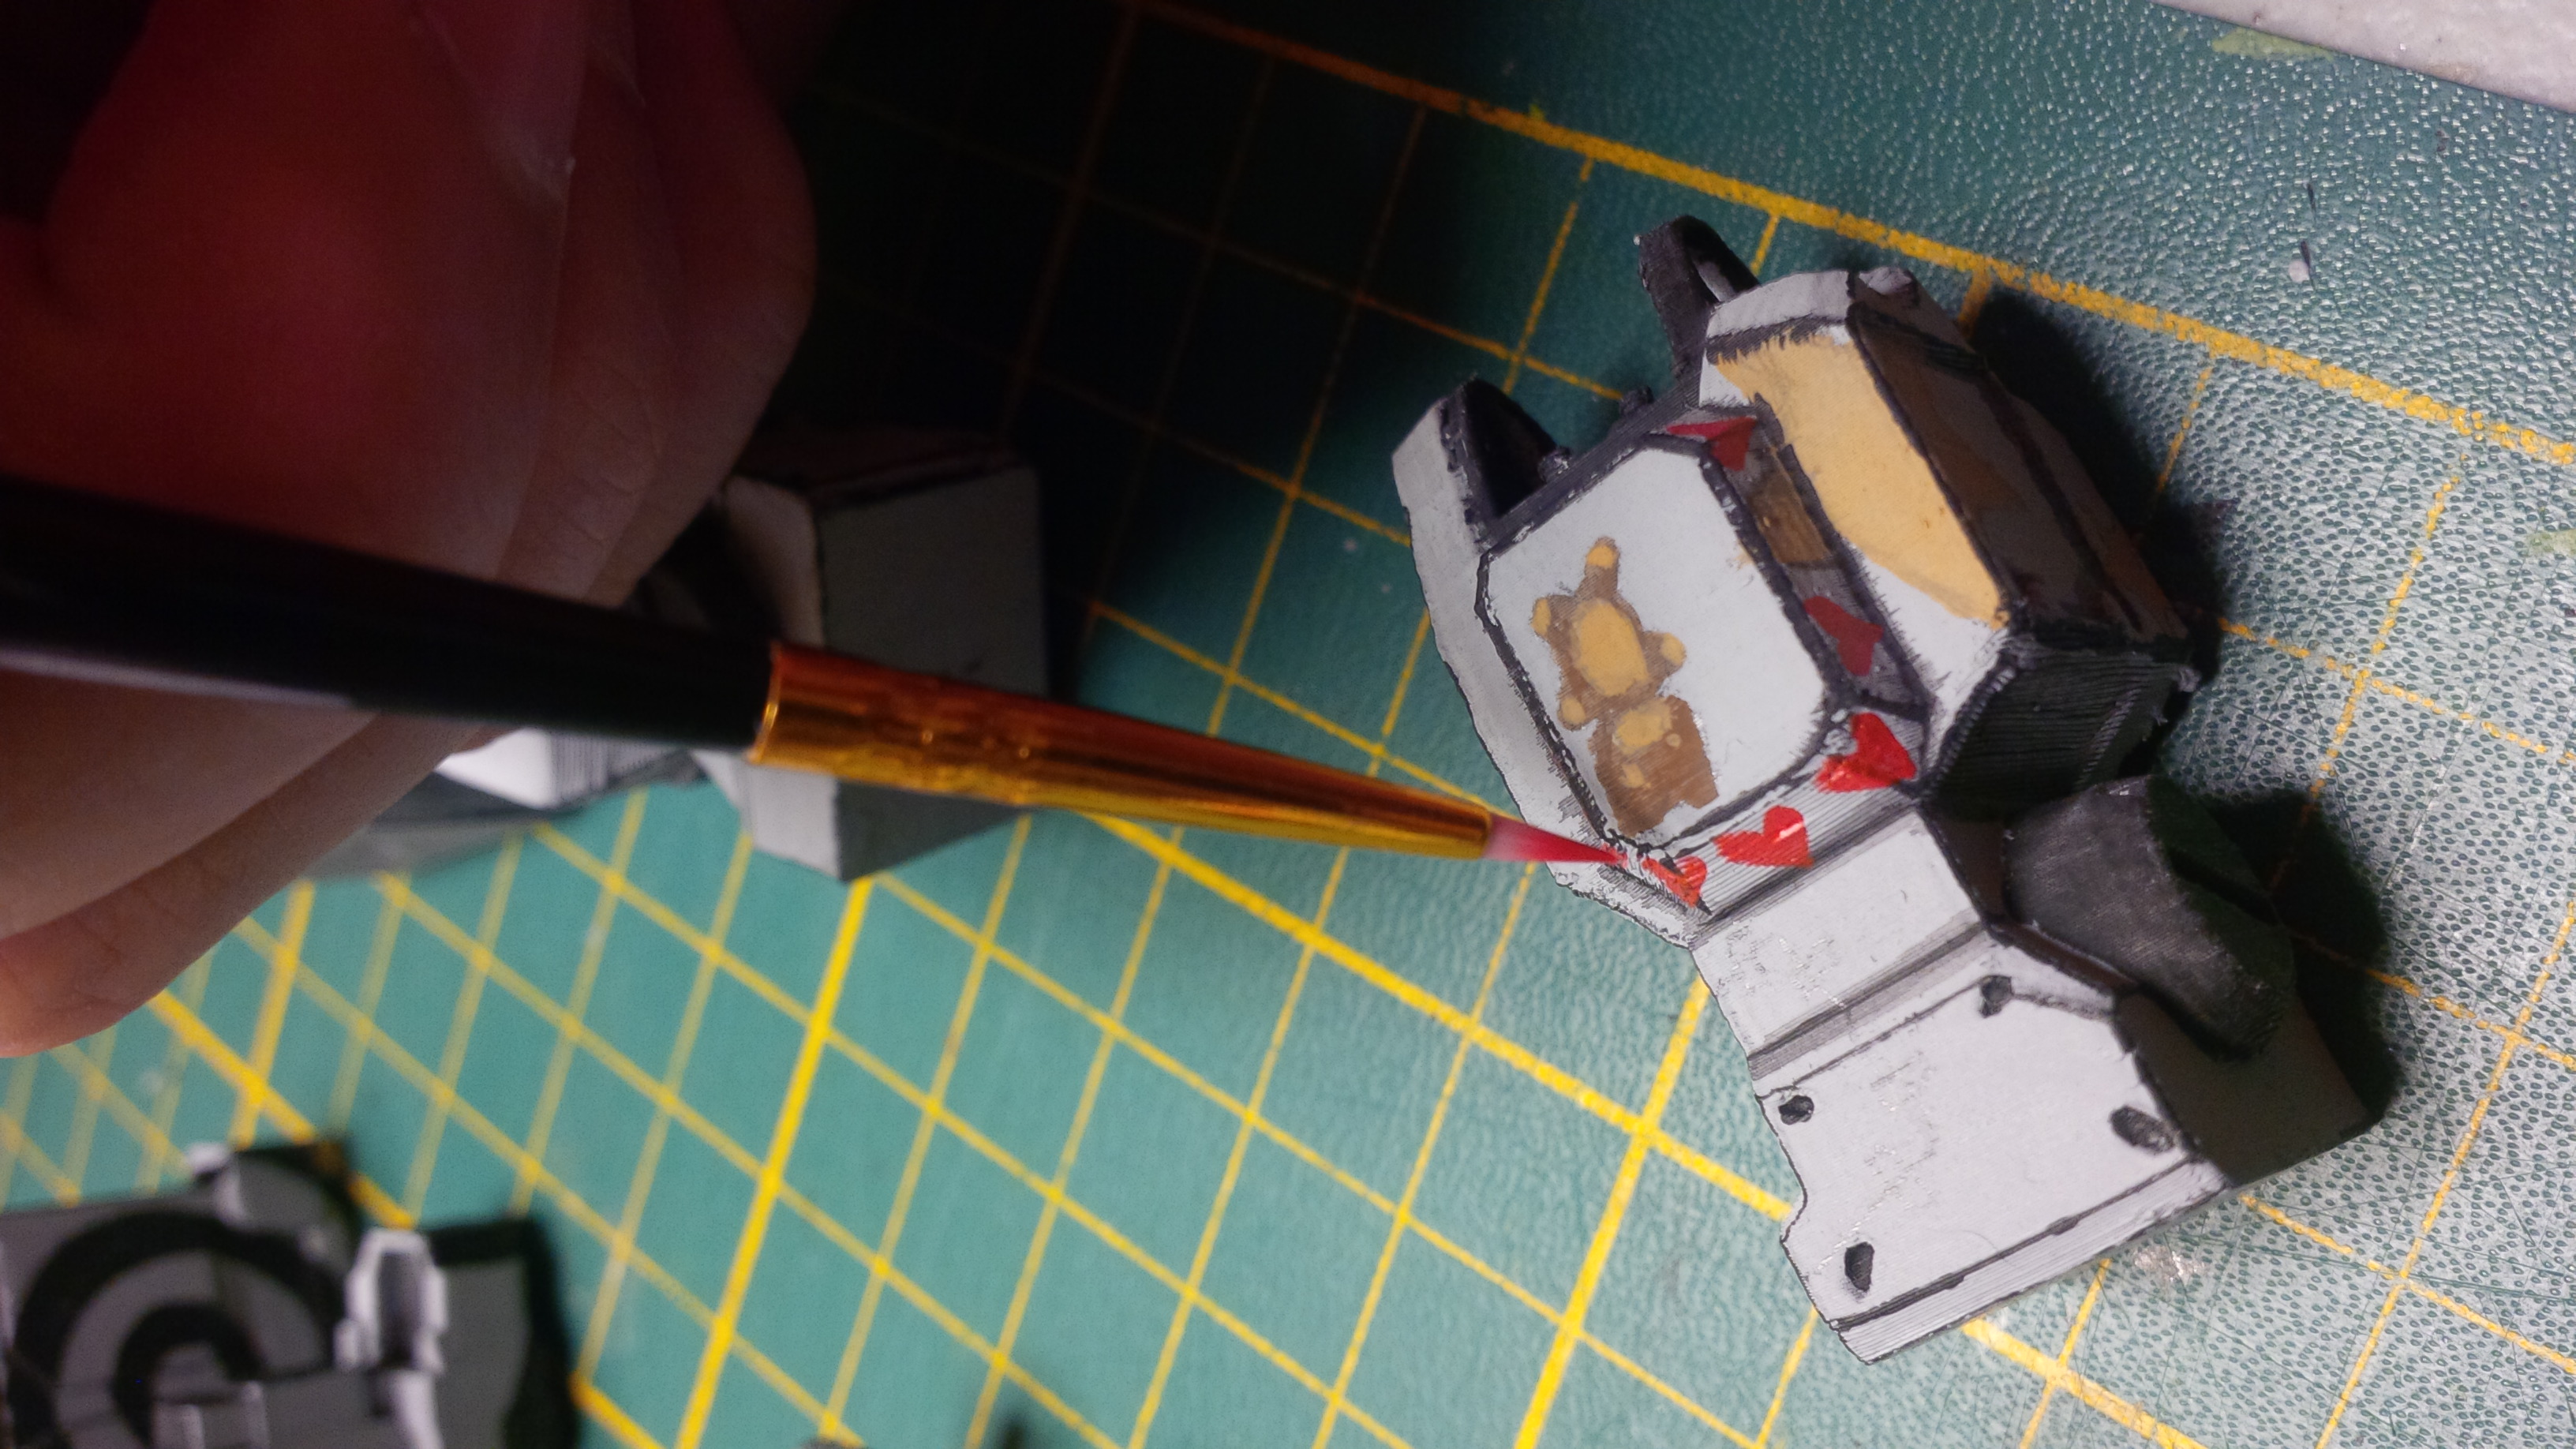
Now the painstaking art of outlining things with tiny brushes. Basically drawing the detail on. Very delicate time consuming work that messes with your eyeballs.
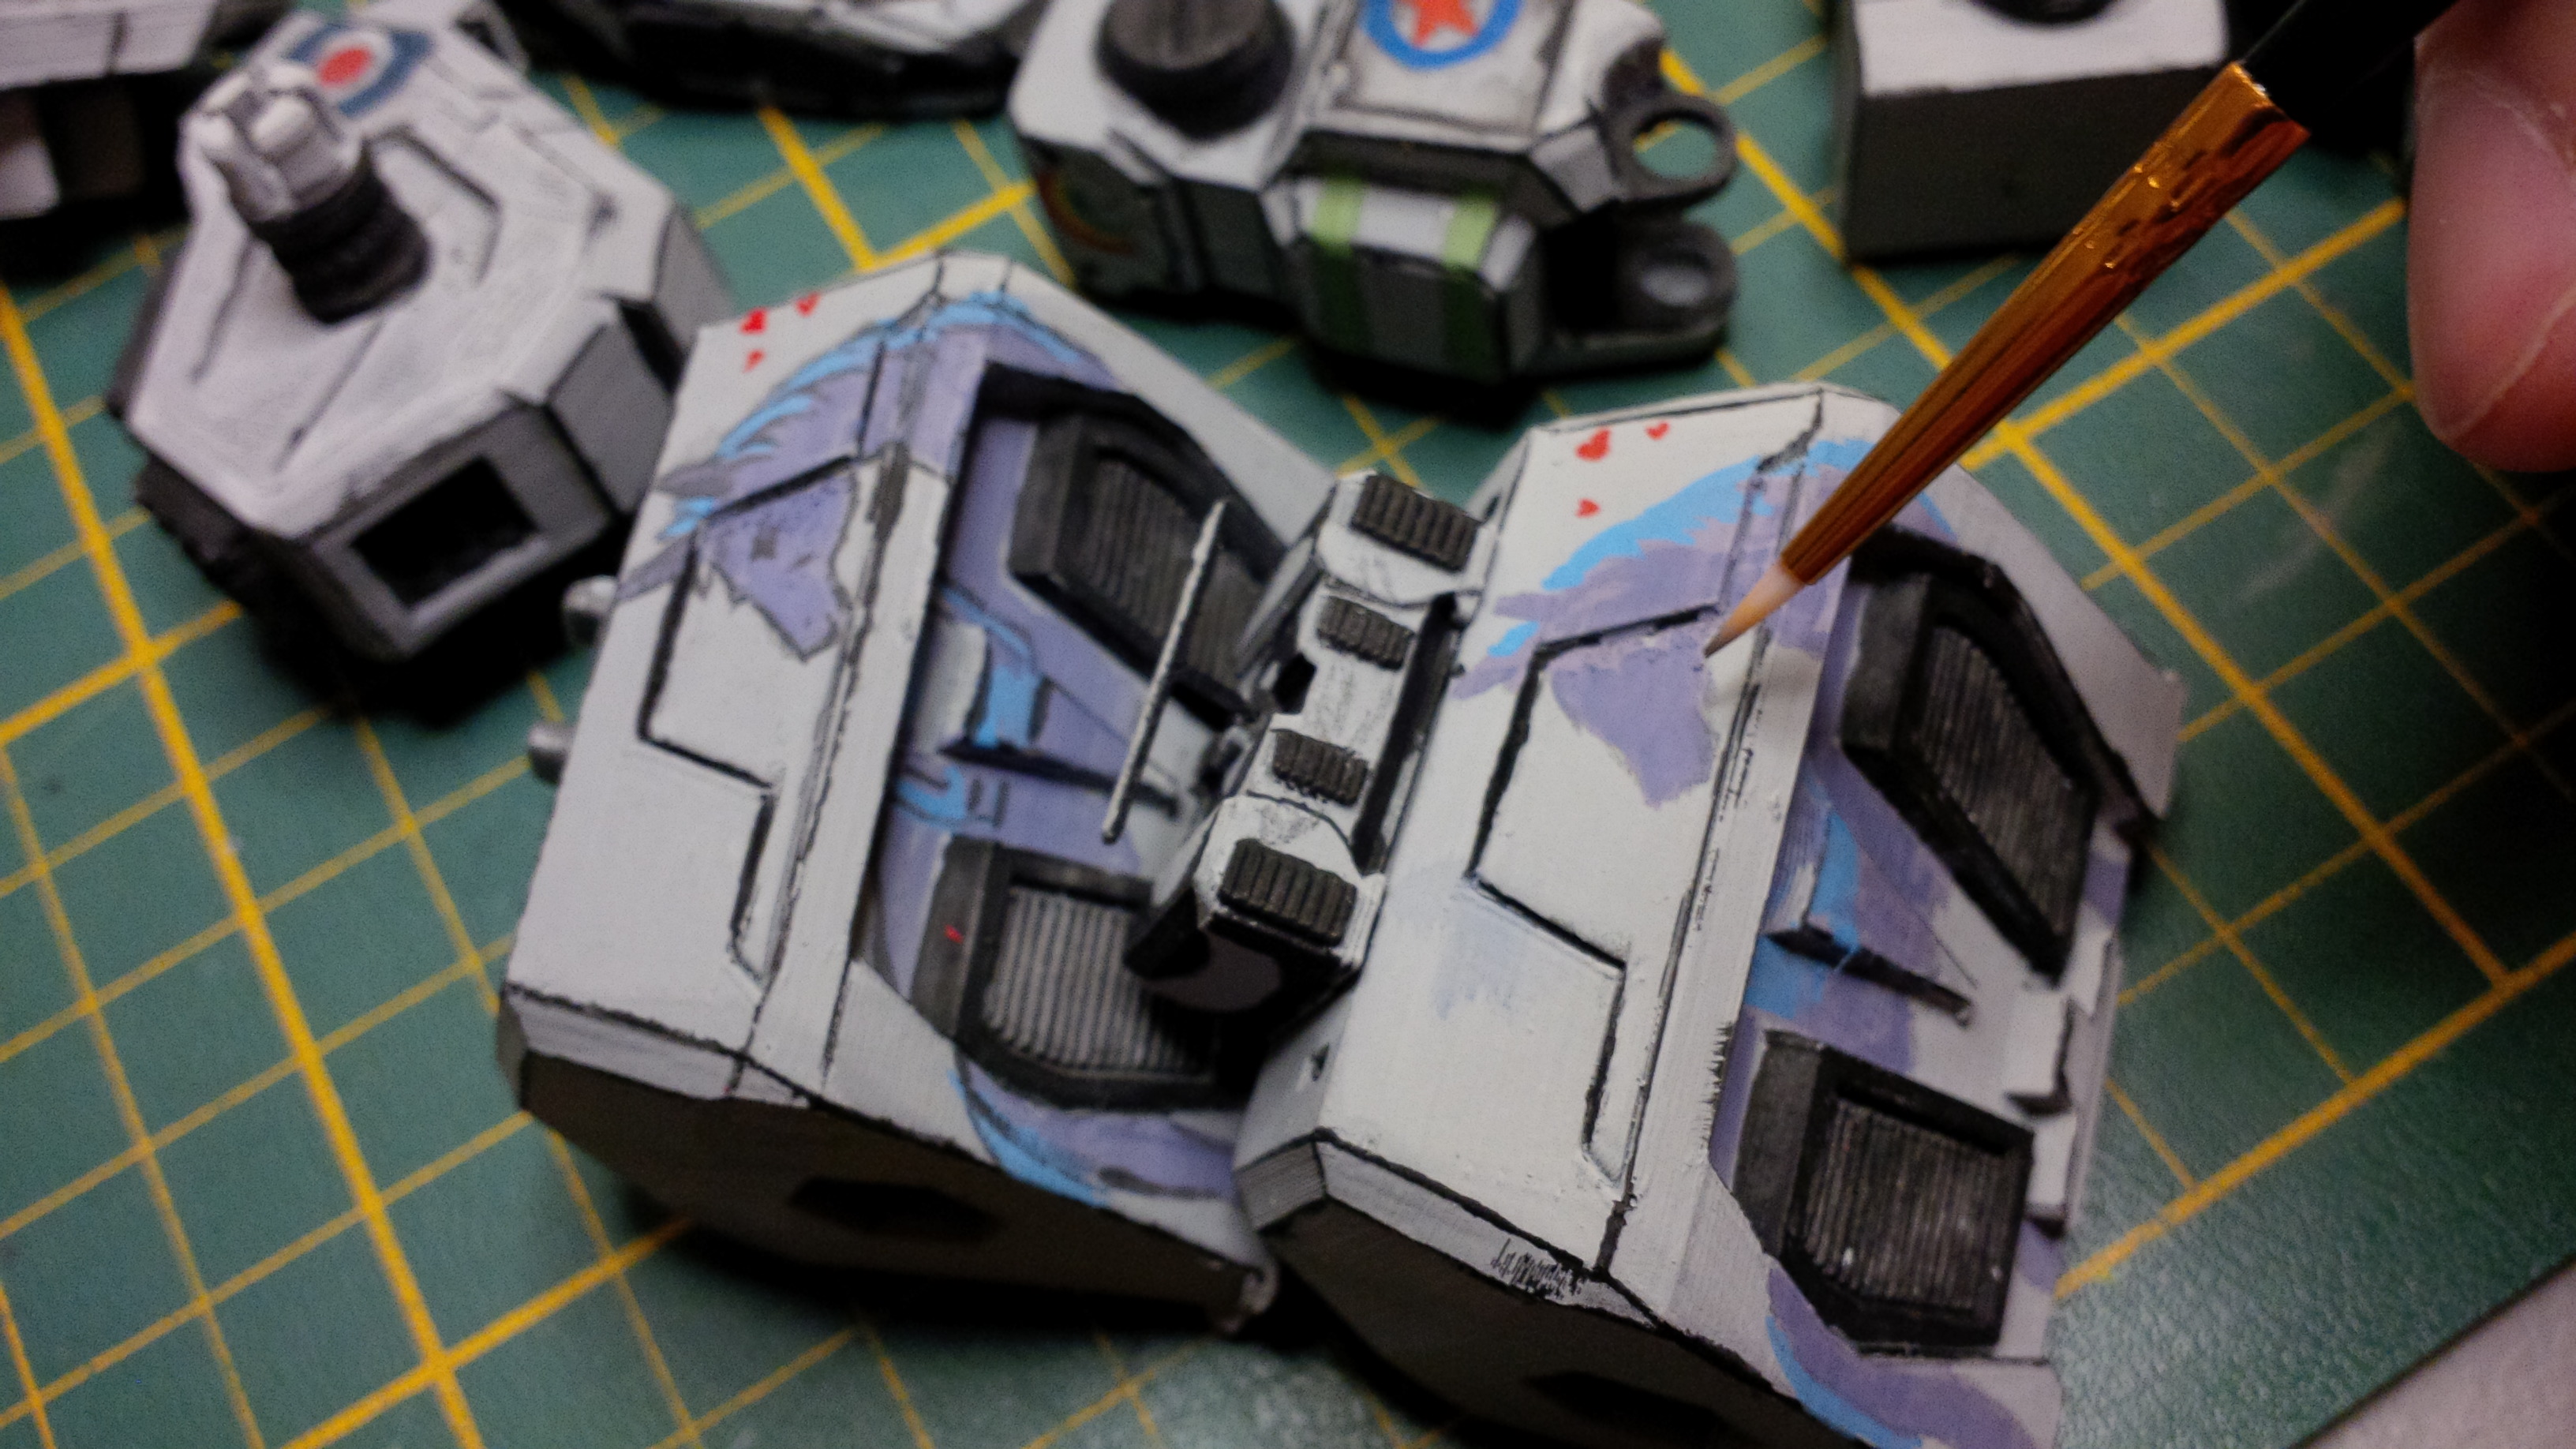
before and after outlines for unicorns.
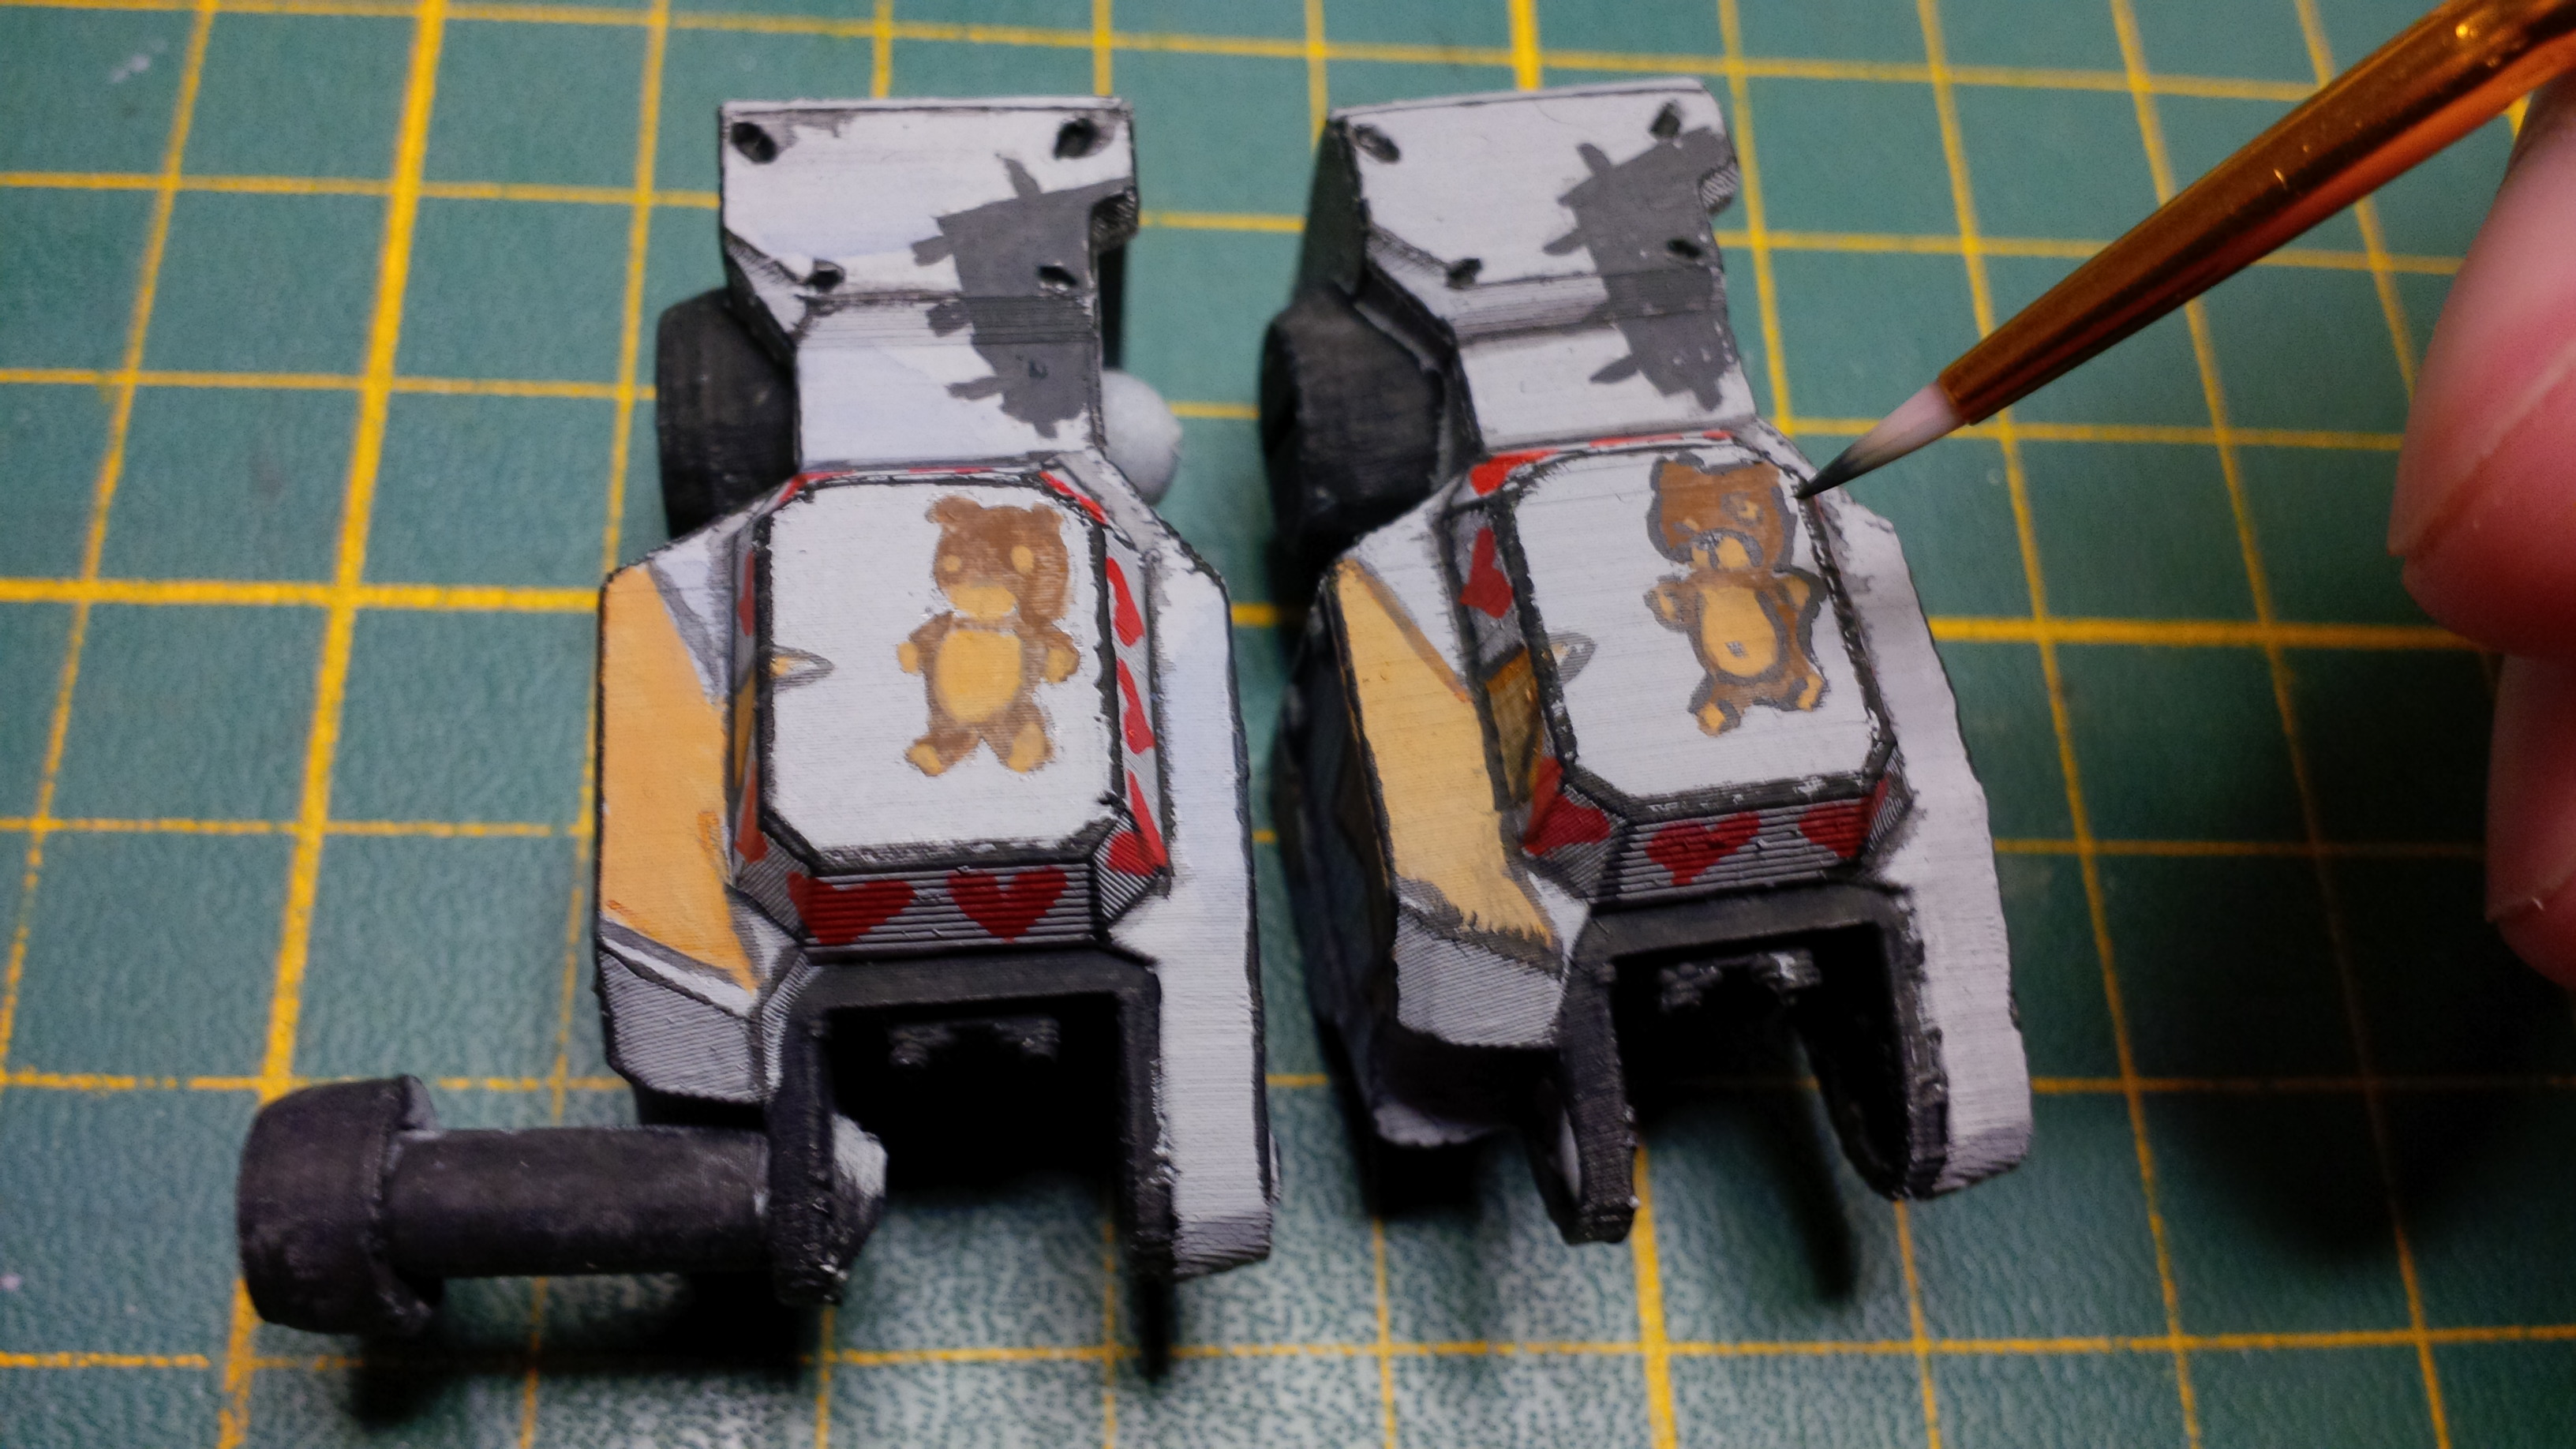
Before and After teddy bears.
(for scale, the shark drawing is 0.5cm tall)
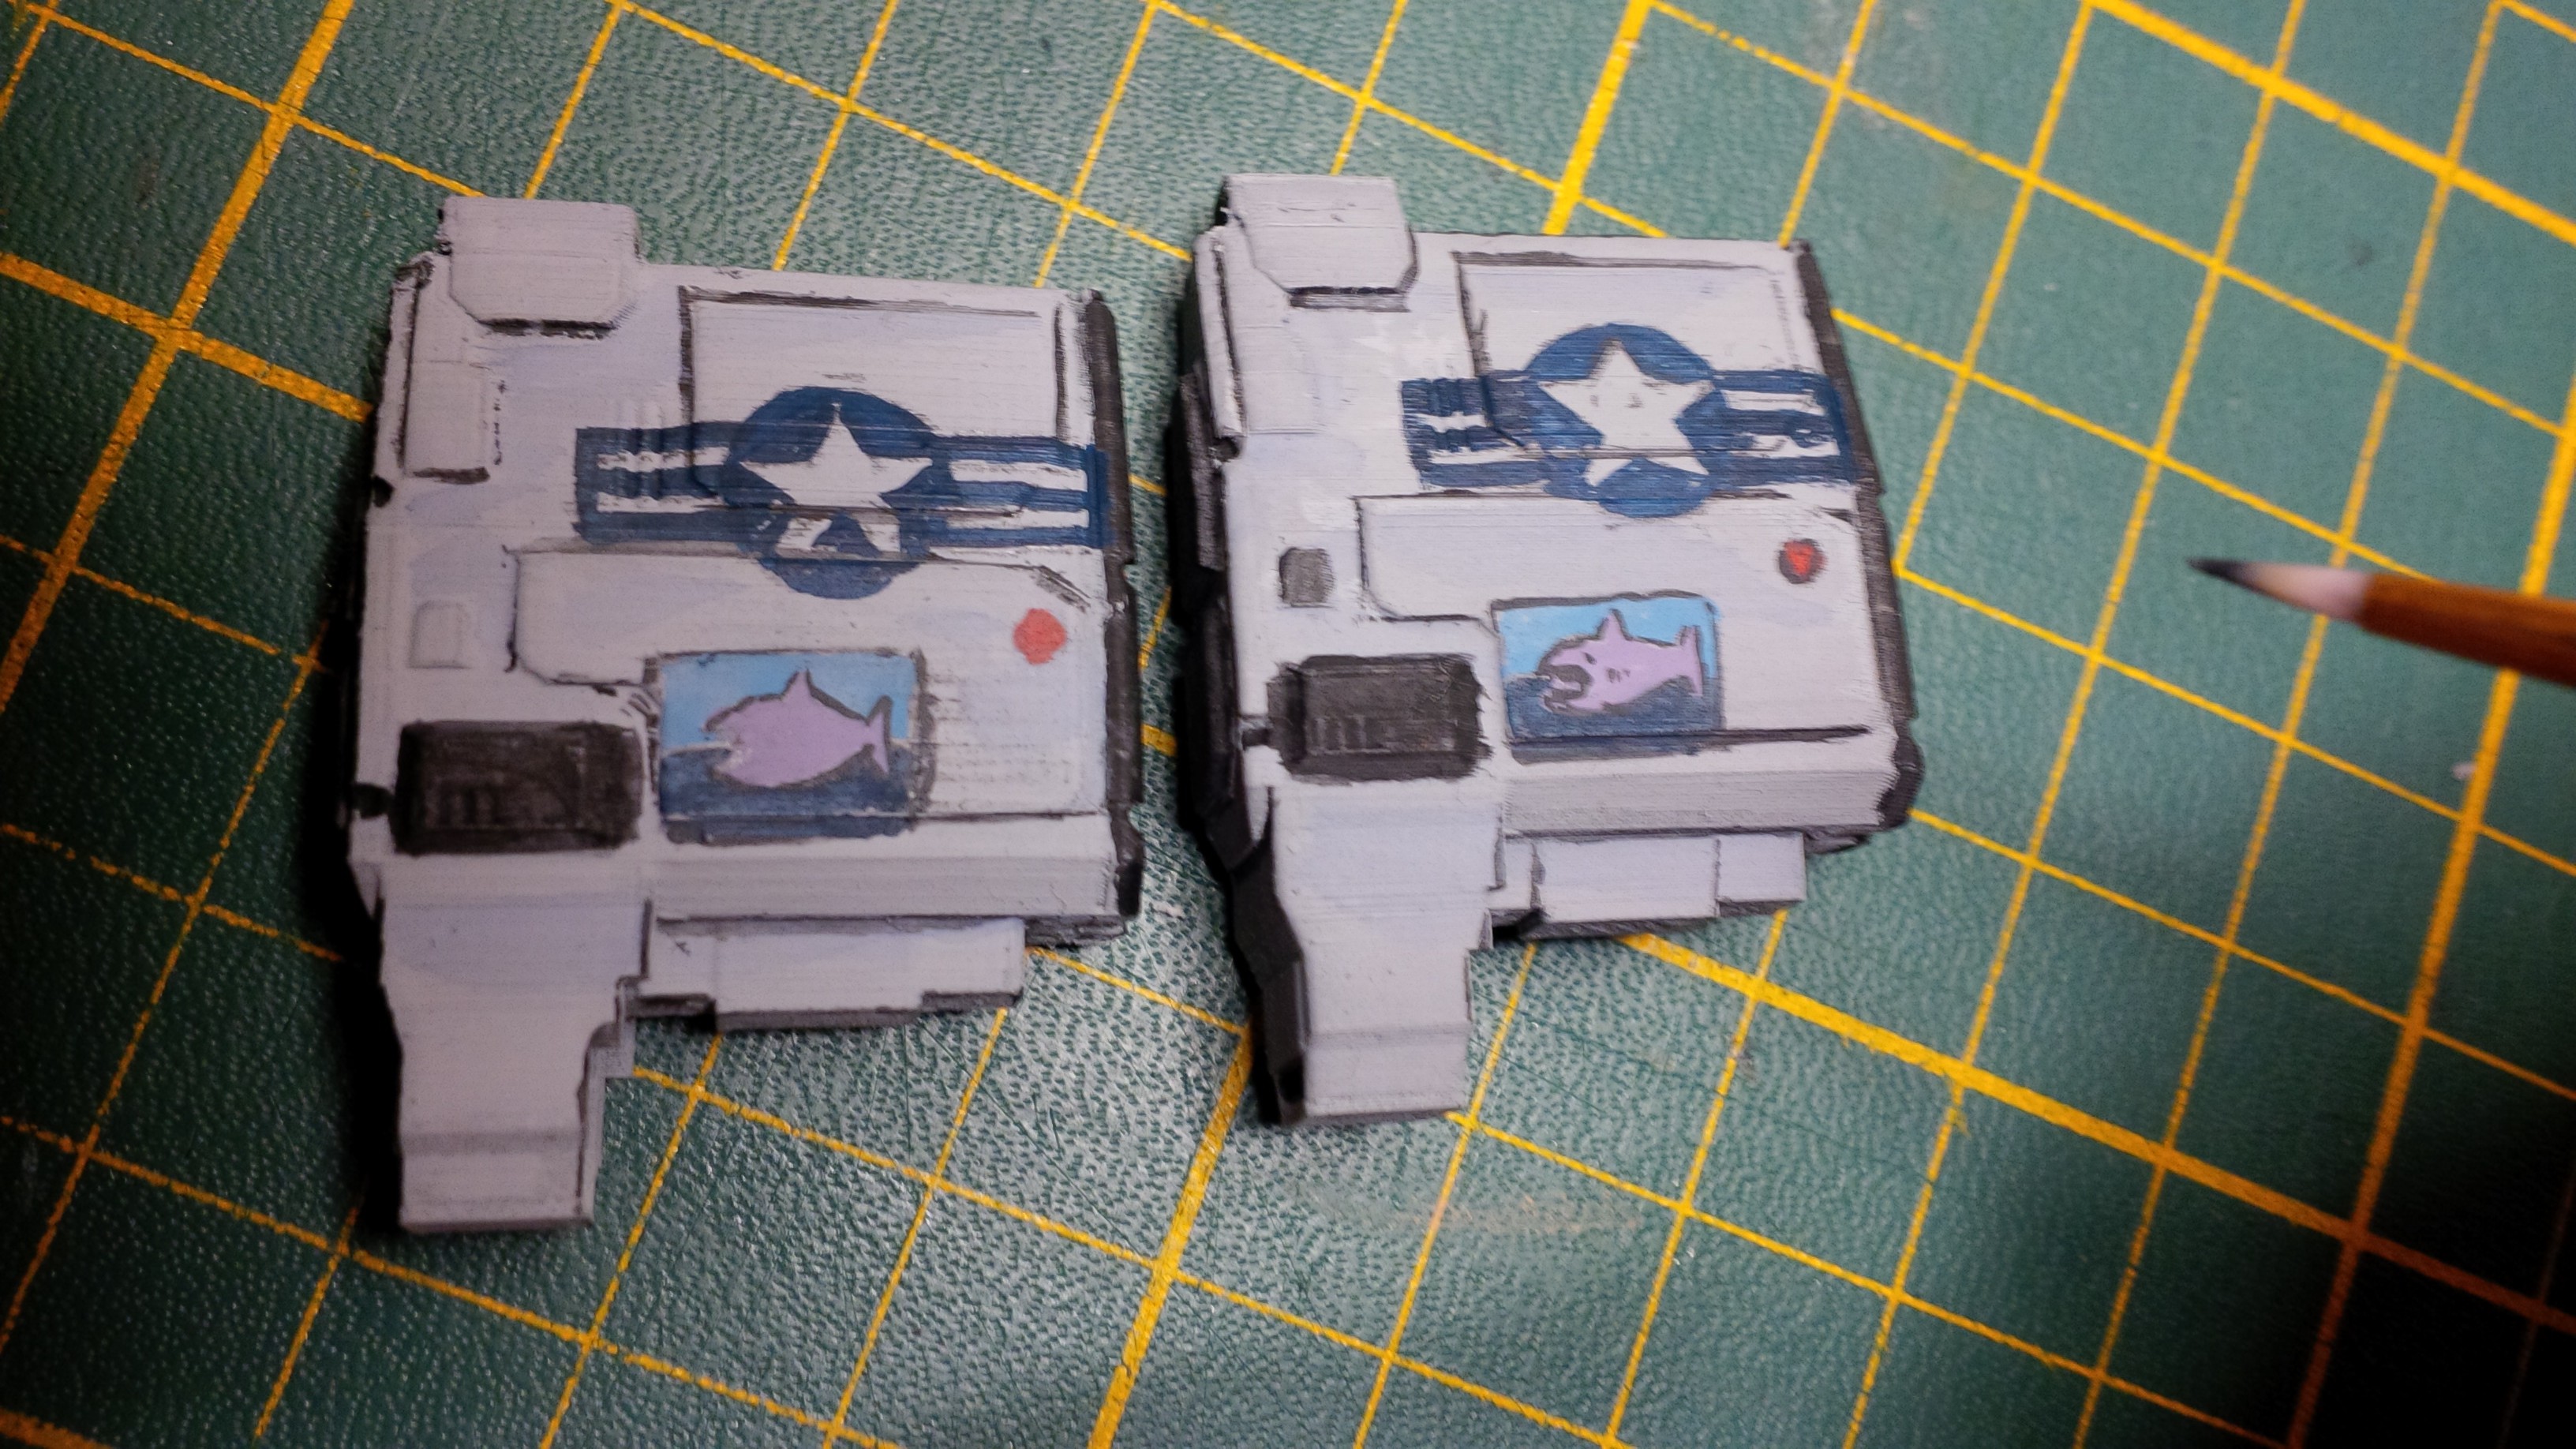
Looks a bit sloppy, but with every pass it gets more refined looking. Even the stars and stripes gets their outline.
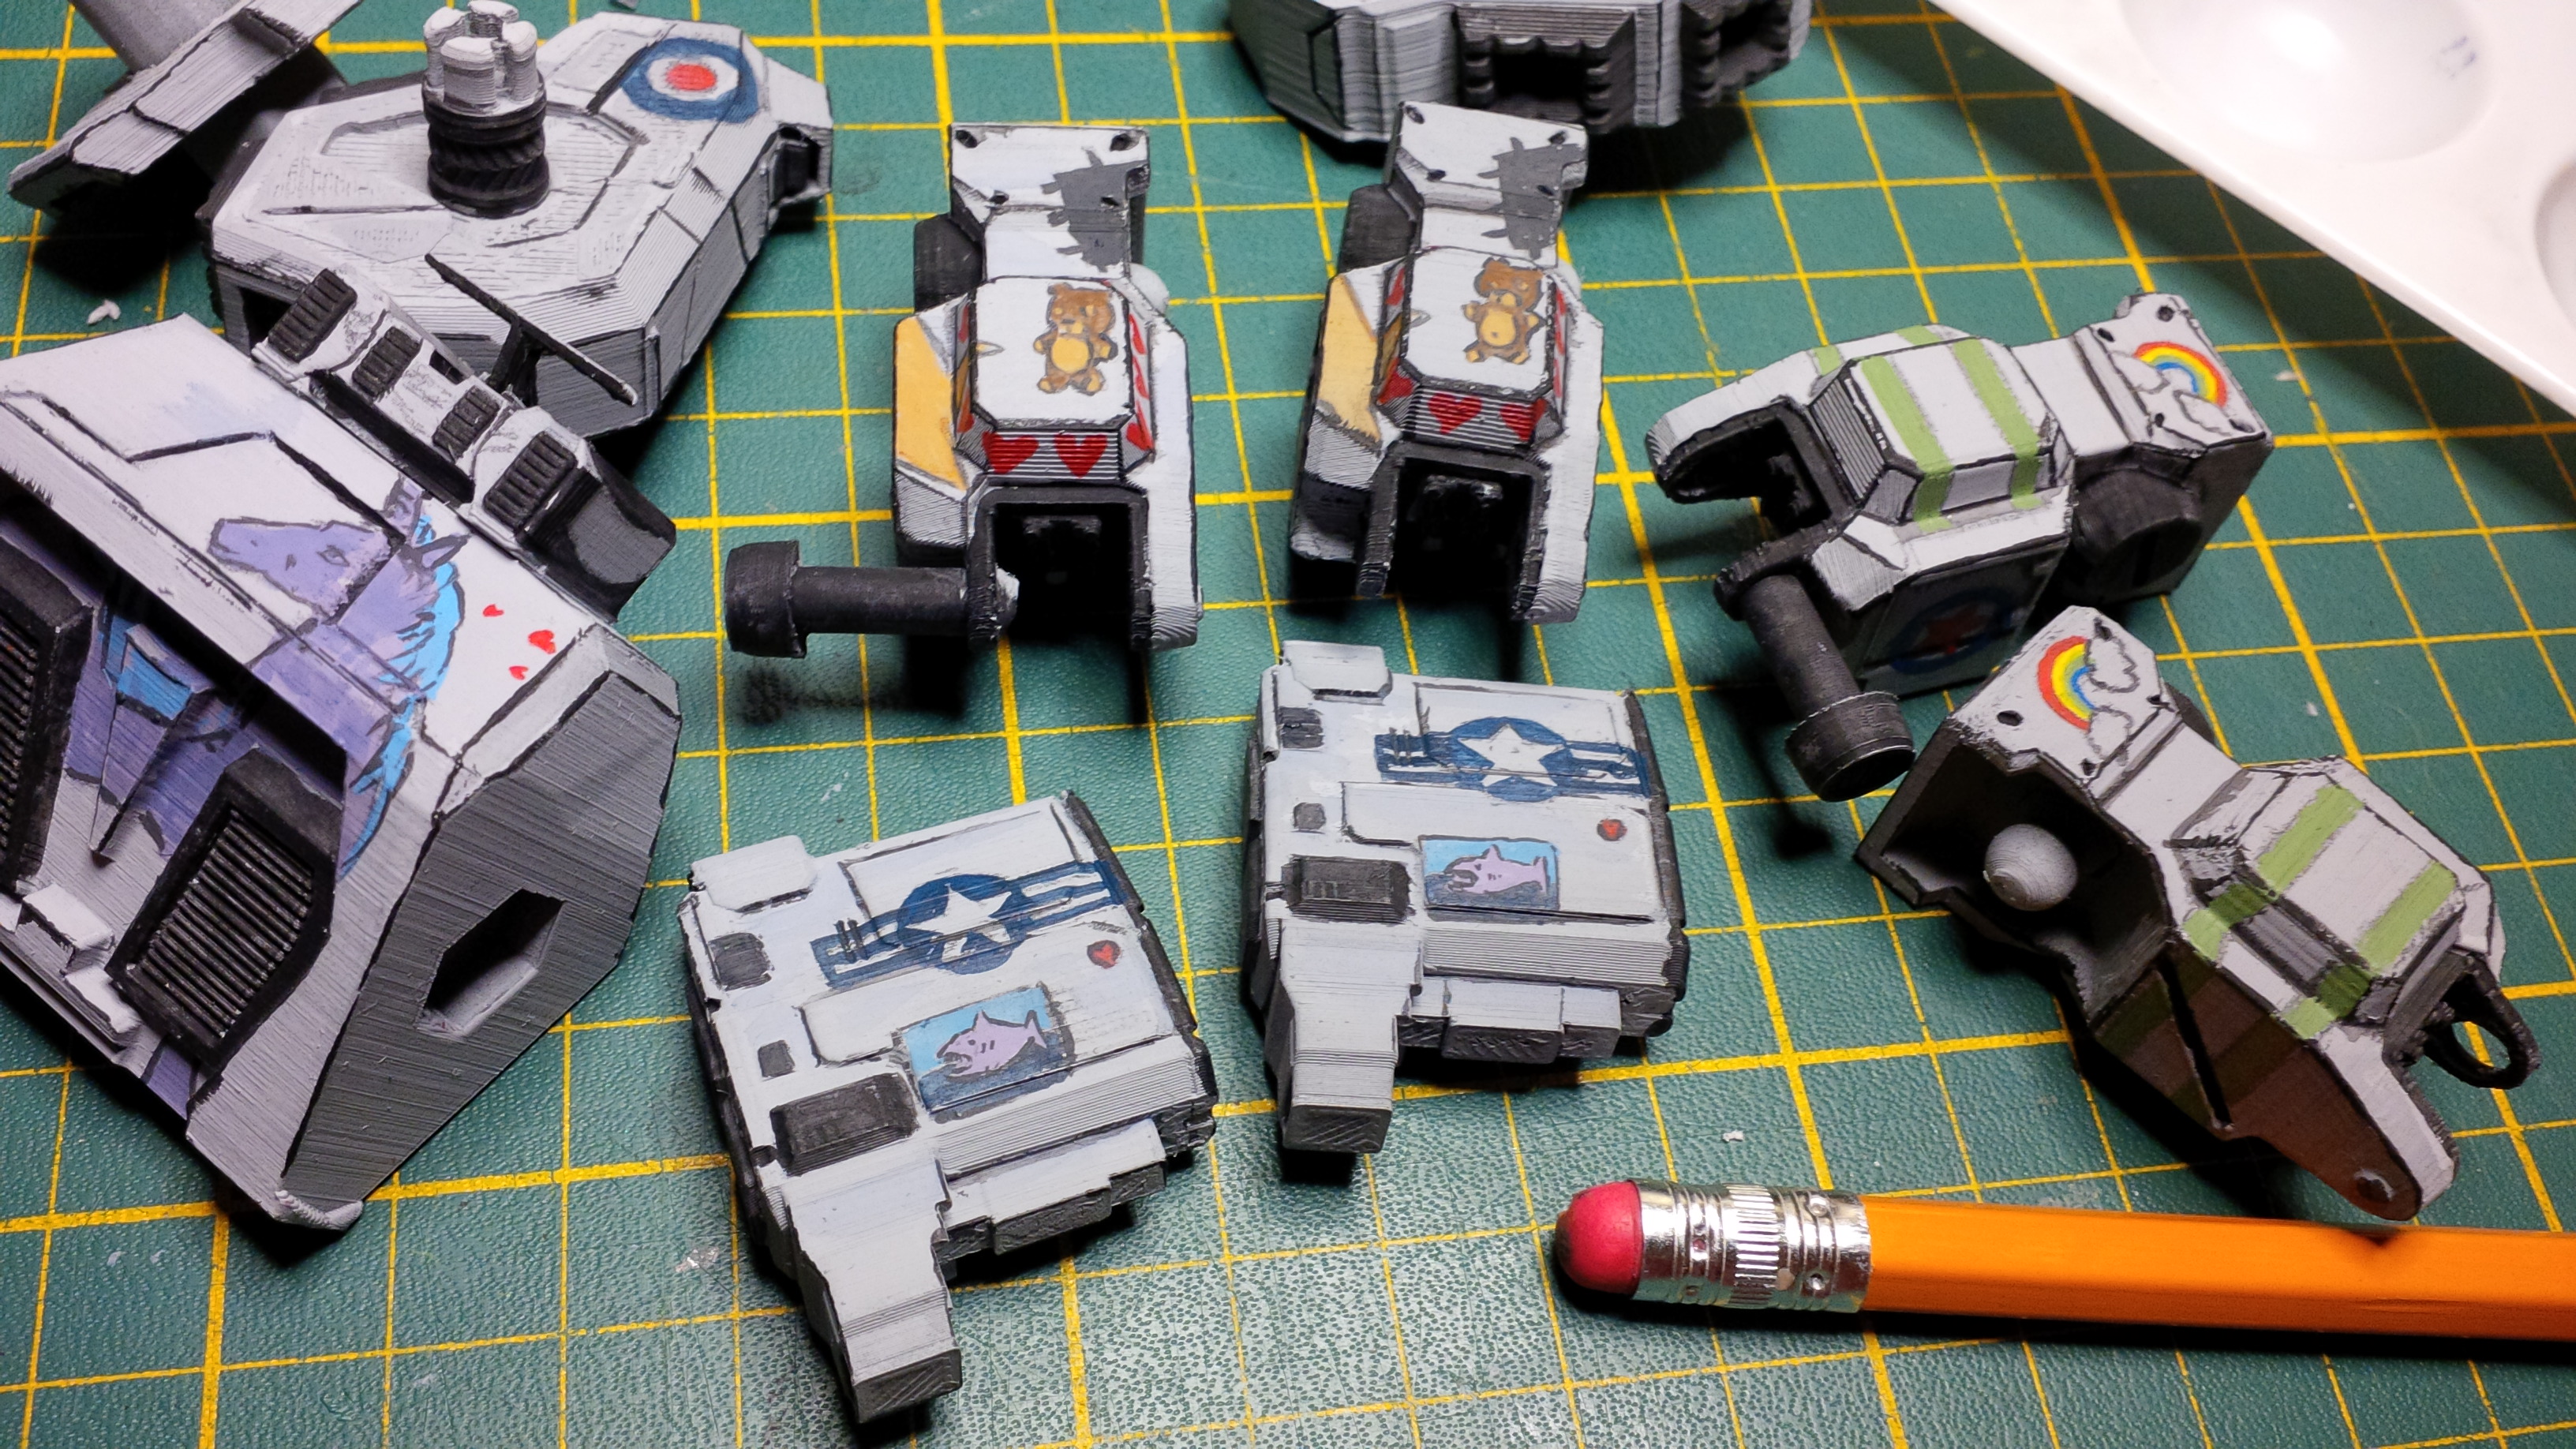
Outlined everything with dark grey! only 2 more major steps left... (pencil for scale)
A this point, shading begins. Washing the parts in really watered down blacks to simulate the dirt and grime that accumulates in grooves and highlighting parts that are corners. A welcome change after the detail work of outlining things. You get a big fat brush (relatively speaking) And just slather on the paint and it goes into the grooves automatically. Quite therapeutic actually.
You can see it start to bring out the definition of the shapes. Sometimes the paint pools in areas you don't want and you have to paint that whole panel in water to ensure that the paint pigments don't 'pool' around edges that you don't want. I just kind of go over parts that I feel like needs it until I get the desired shading effect. Doesn't take too long (comparatively... it still needs to be done over the whole model, and multiple times...)

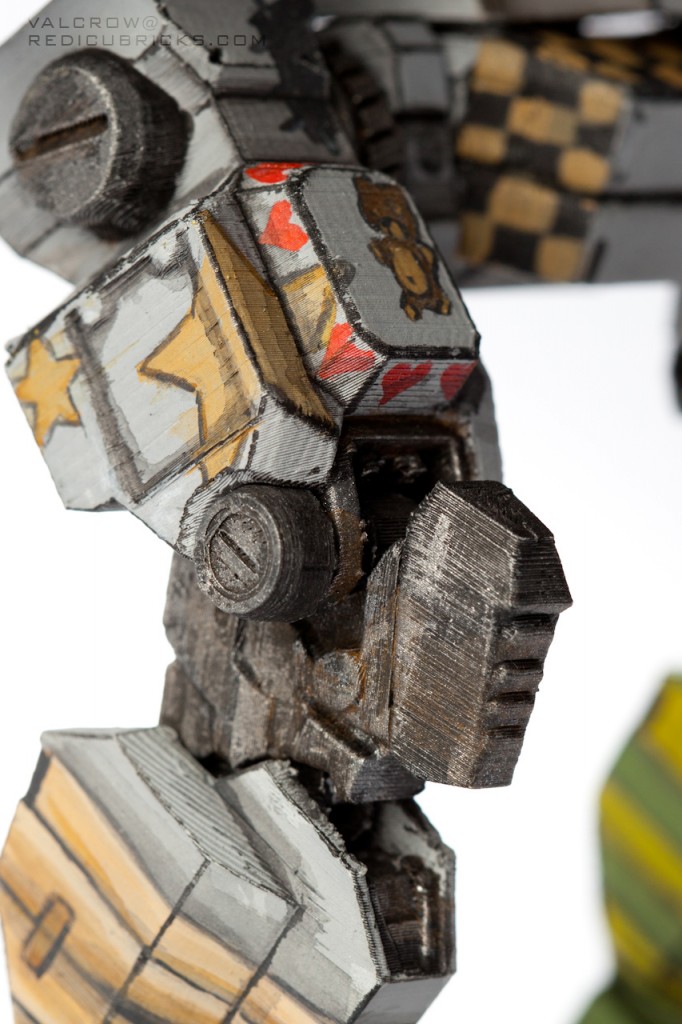
You can really see how the wash is working well on the underside of the pelvis. Looks properly weathered to me!
Finished dark washing in the grooves. This feels quite akin to rendering an ambient occlusion pass in 3D. At least that's how I determine where to make it darker. I use to do 3d texture painting so I guess that helps in the real painting.
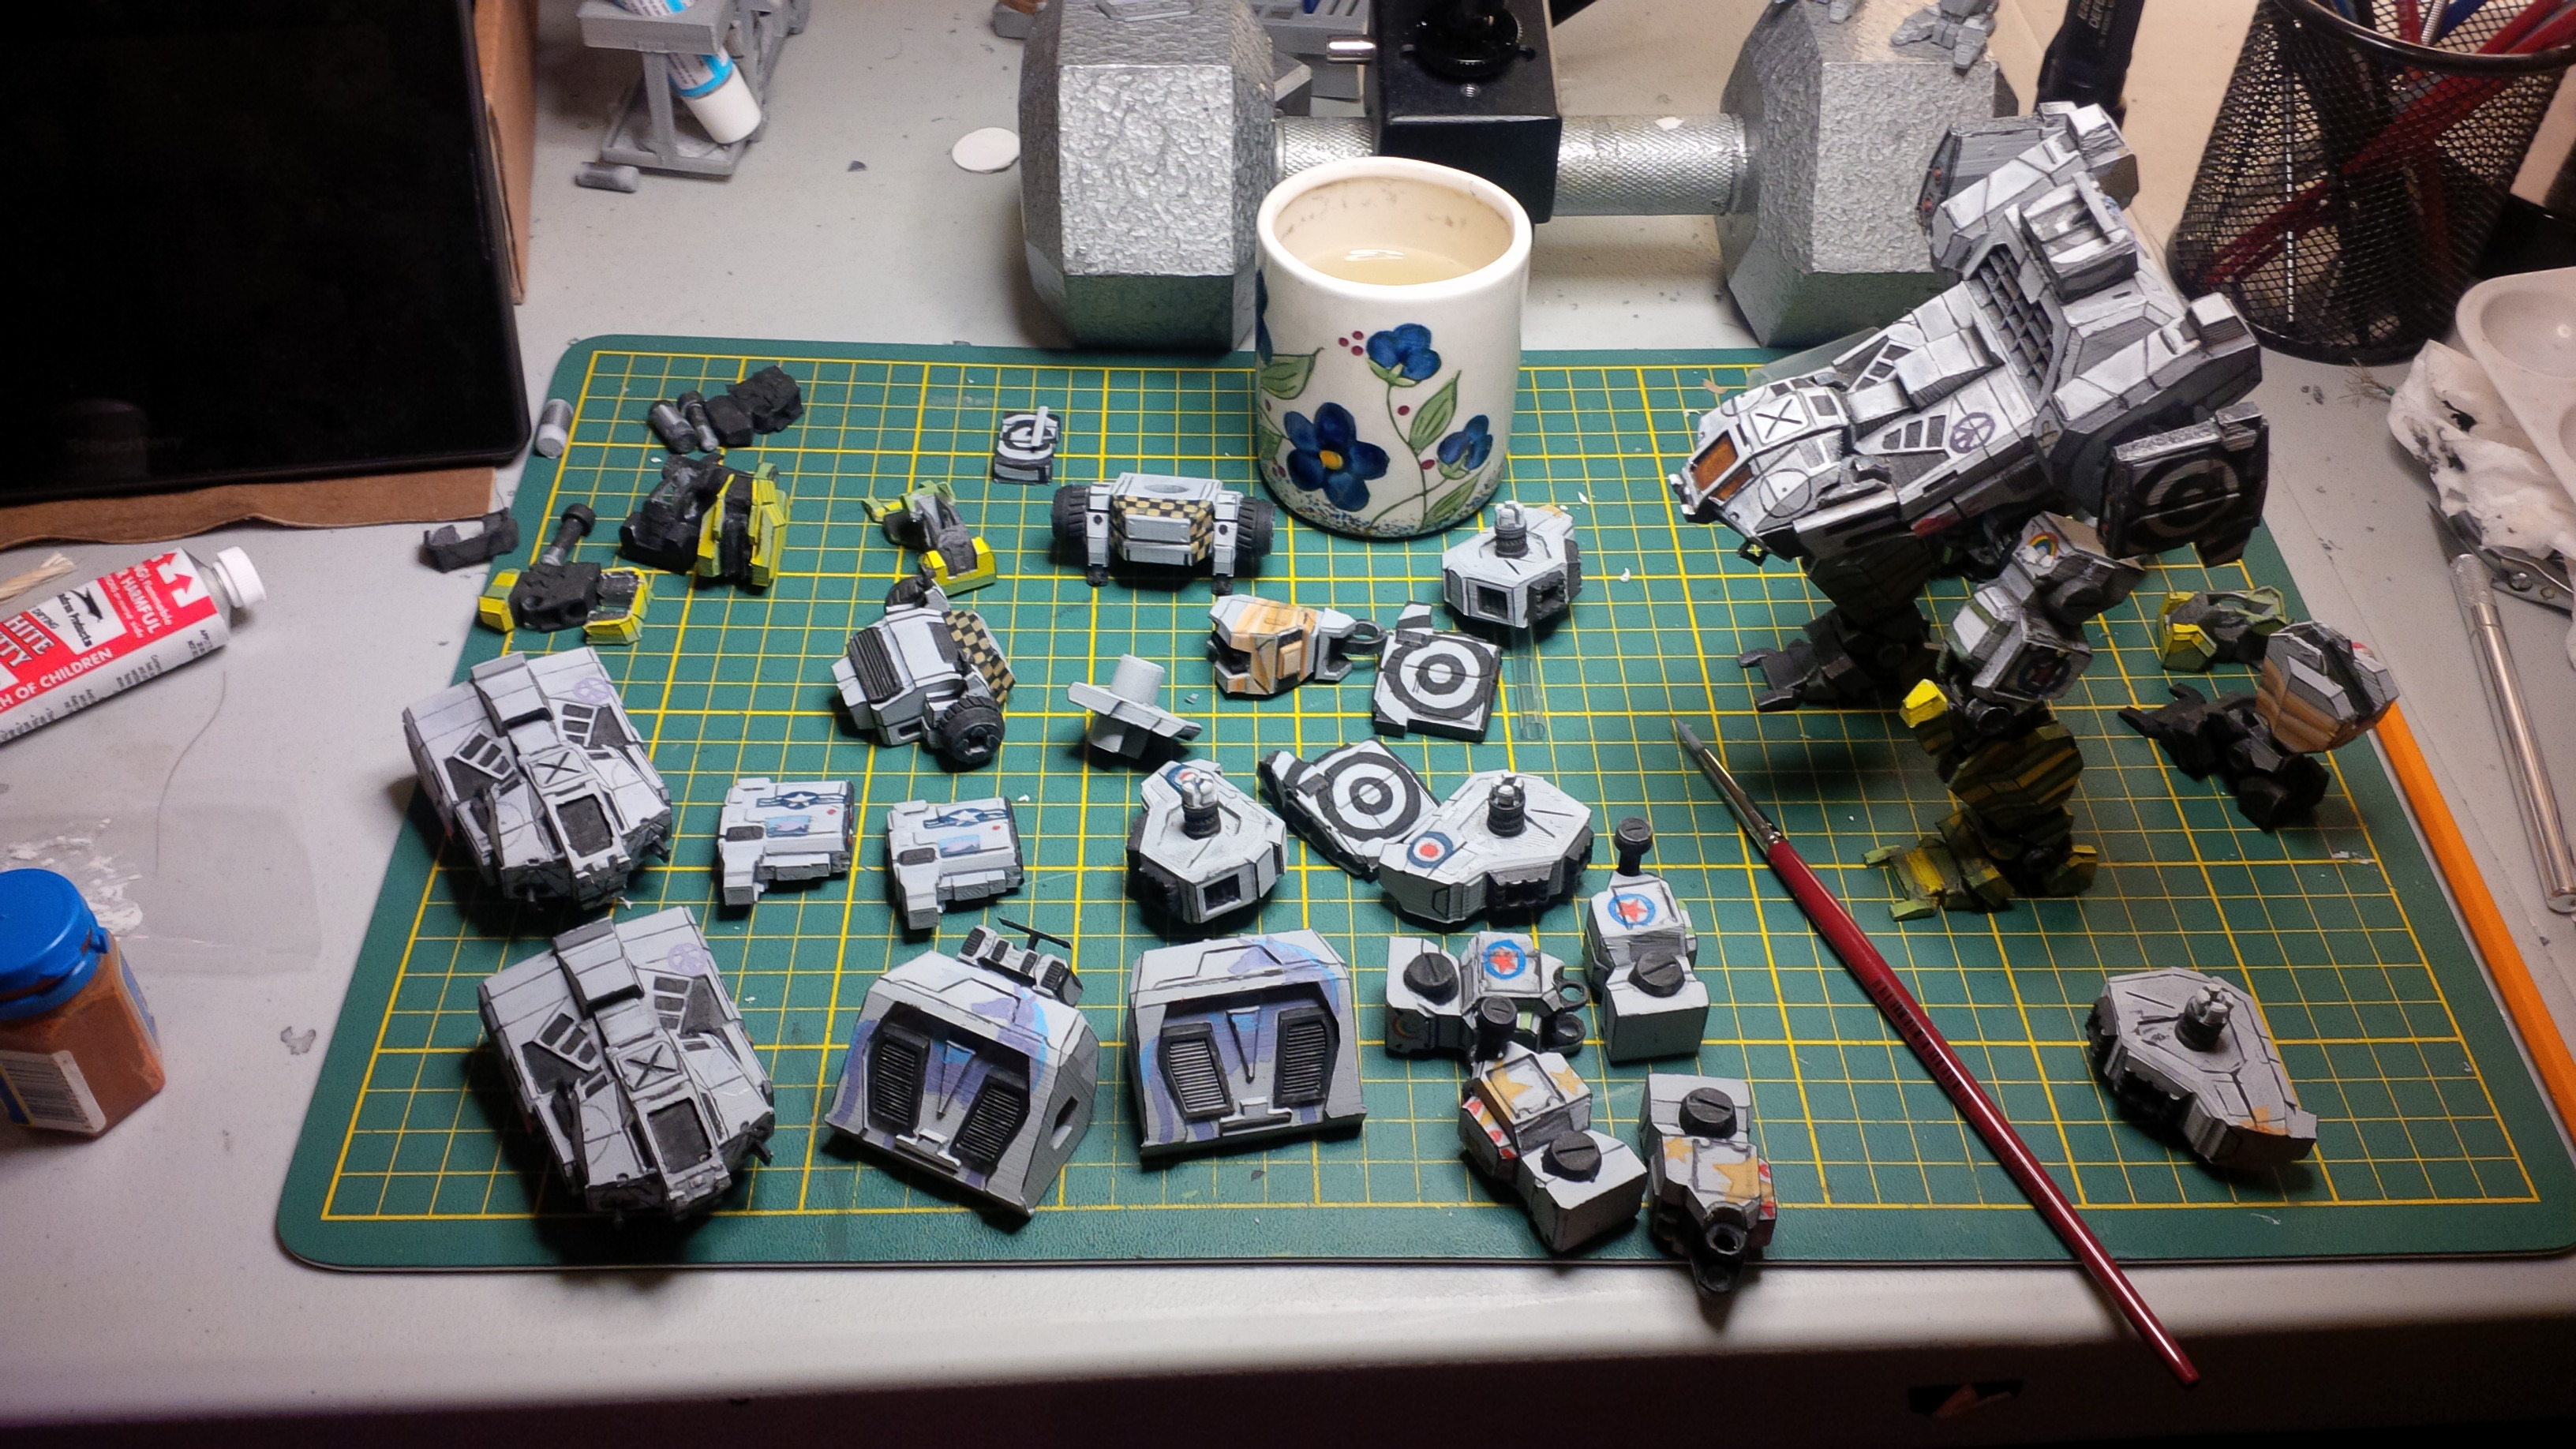
Finally, last painting step! highlights!. This part is also quite enjoyable. Adding silver to the edges and corners selectively to make it look like the black paint has worn off to expose the raw metal. This makes the black parts all awesome looking. Lots of dry-brushing here.
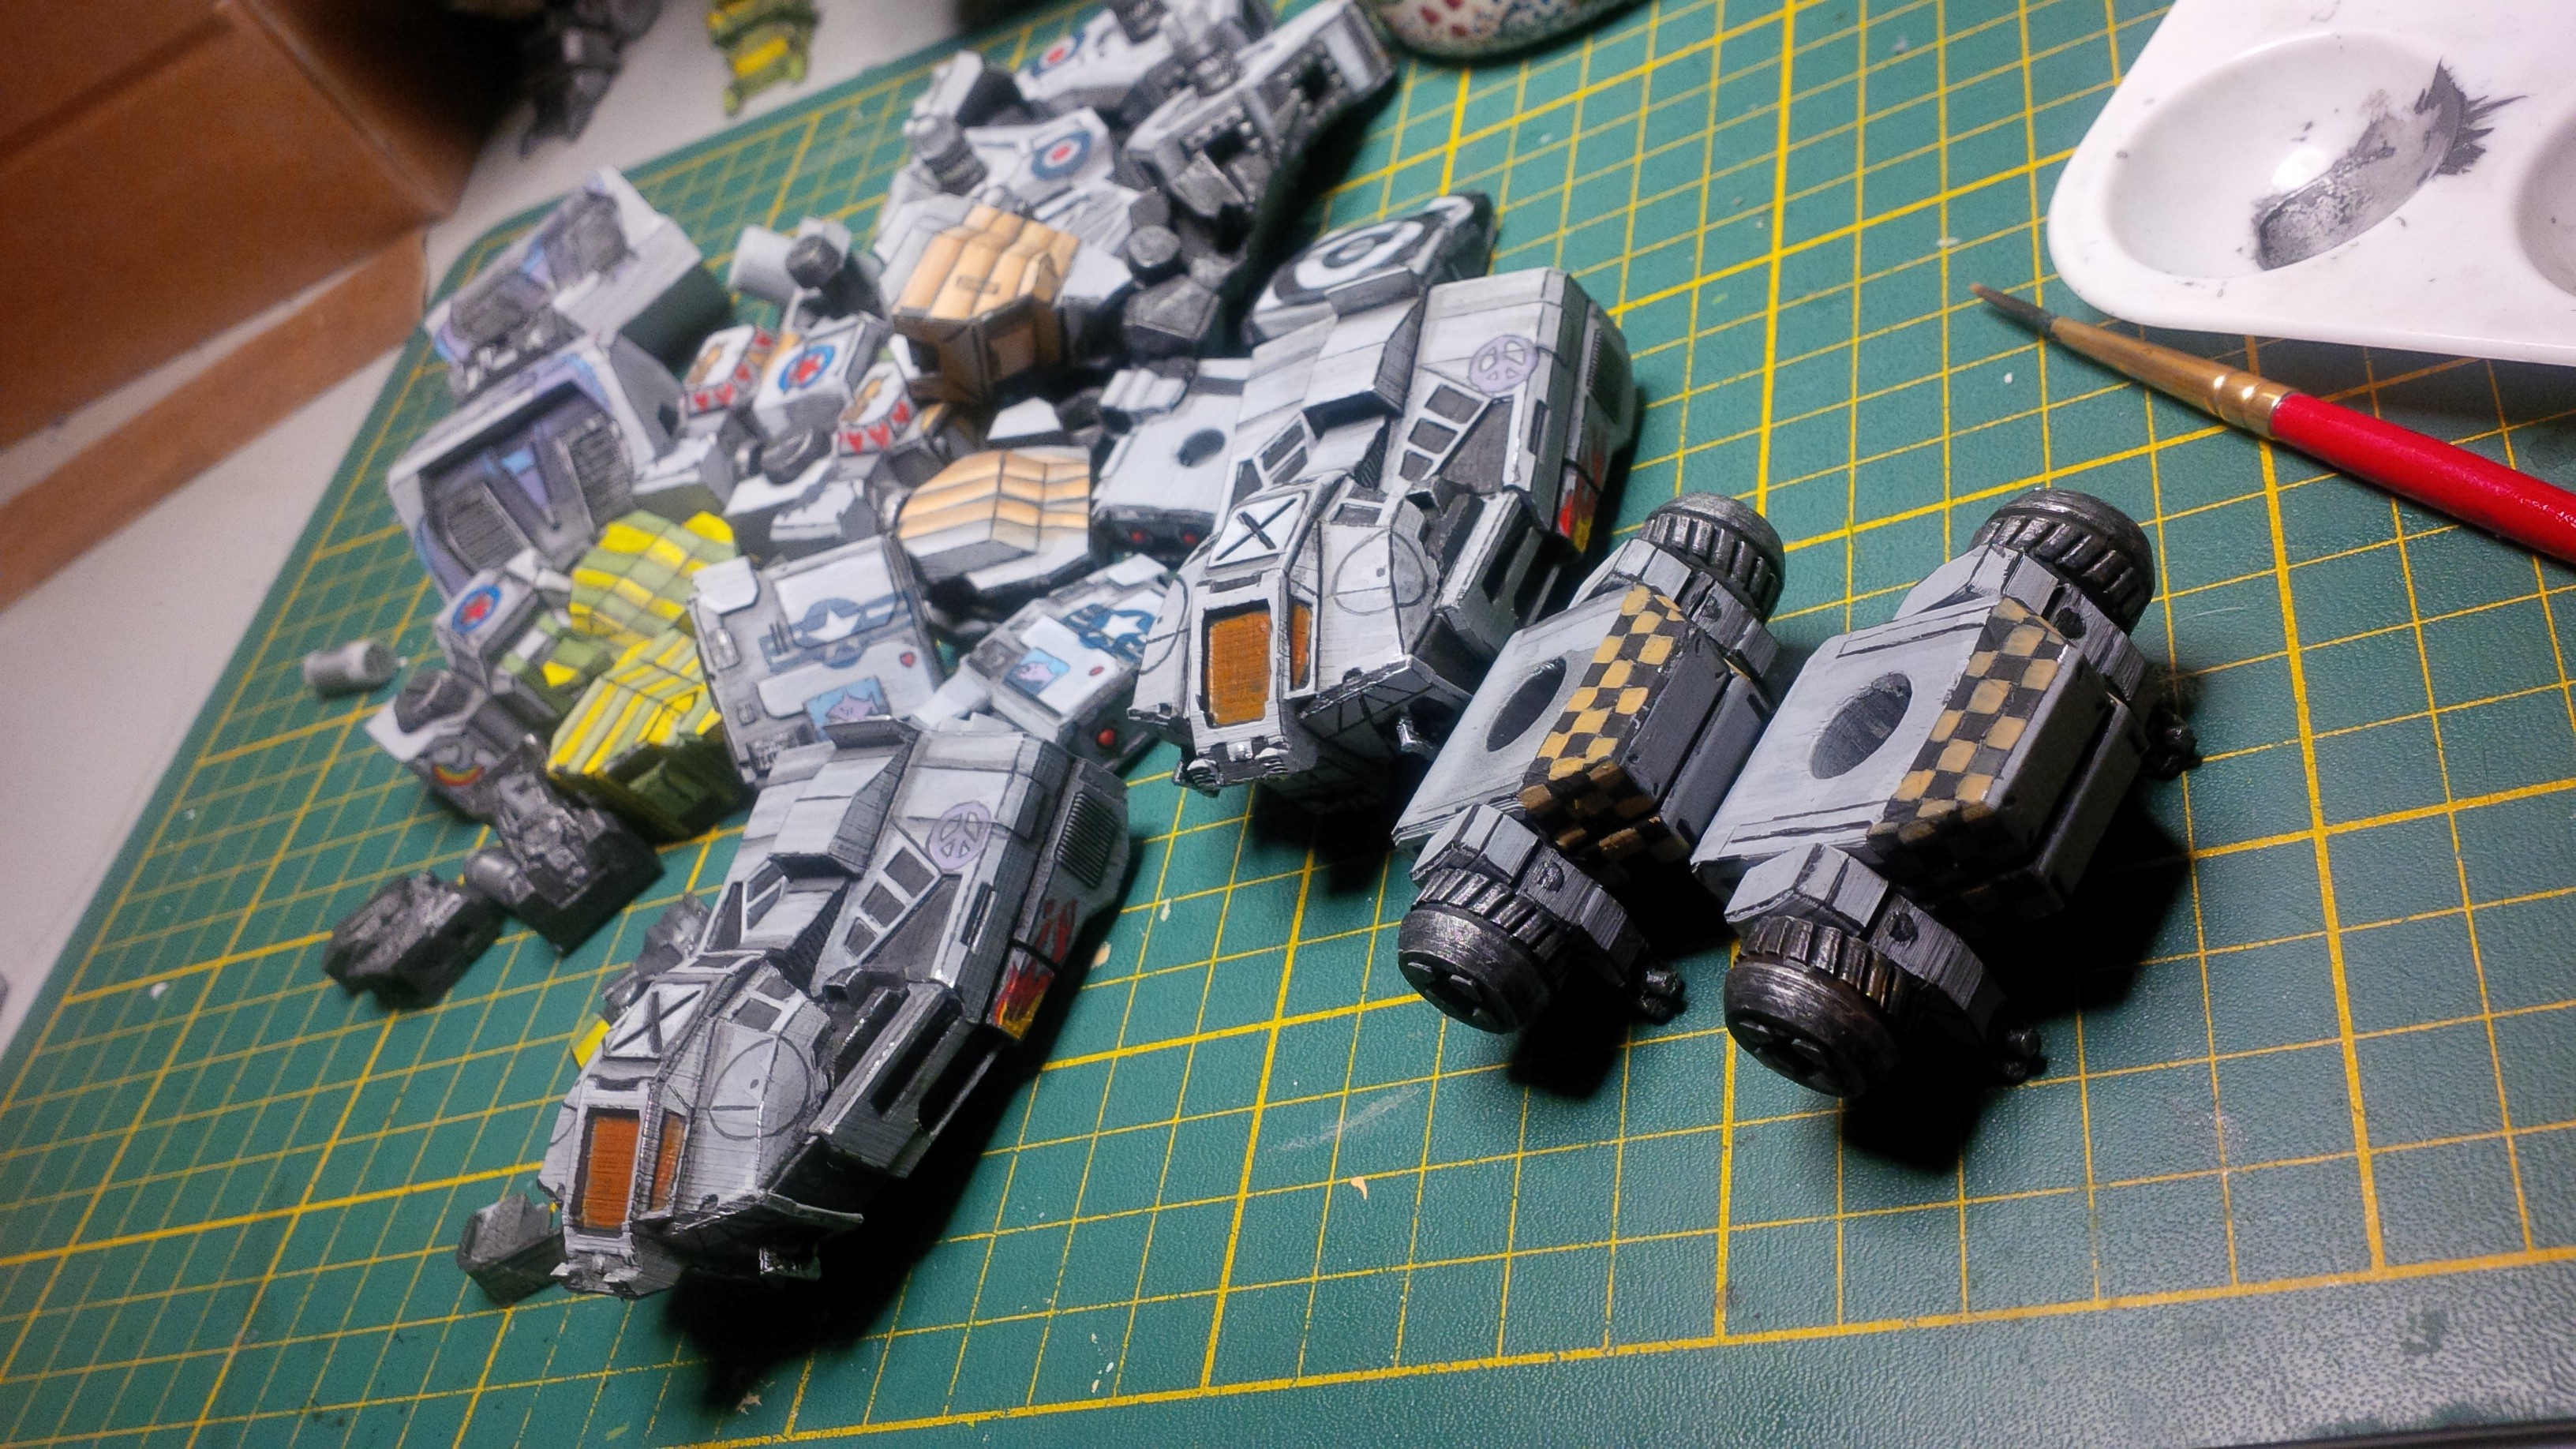
Here I have all the highlights painted on and silver touches on the edges. I also washed certain parts with a rusty brown watered down so that it sticks into the grooves making it feel like parts of it is whethered. For a touch of realism and to break up some of the really symmetrical parts. Cockpit glass also painted MW:O orange. A lot of people like blue glass on their models, but I wanted to stay as true as possible to the game.
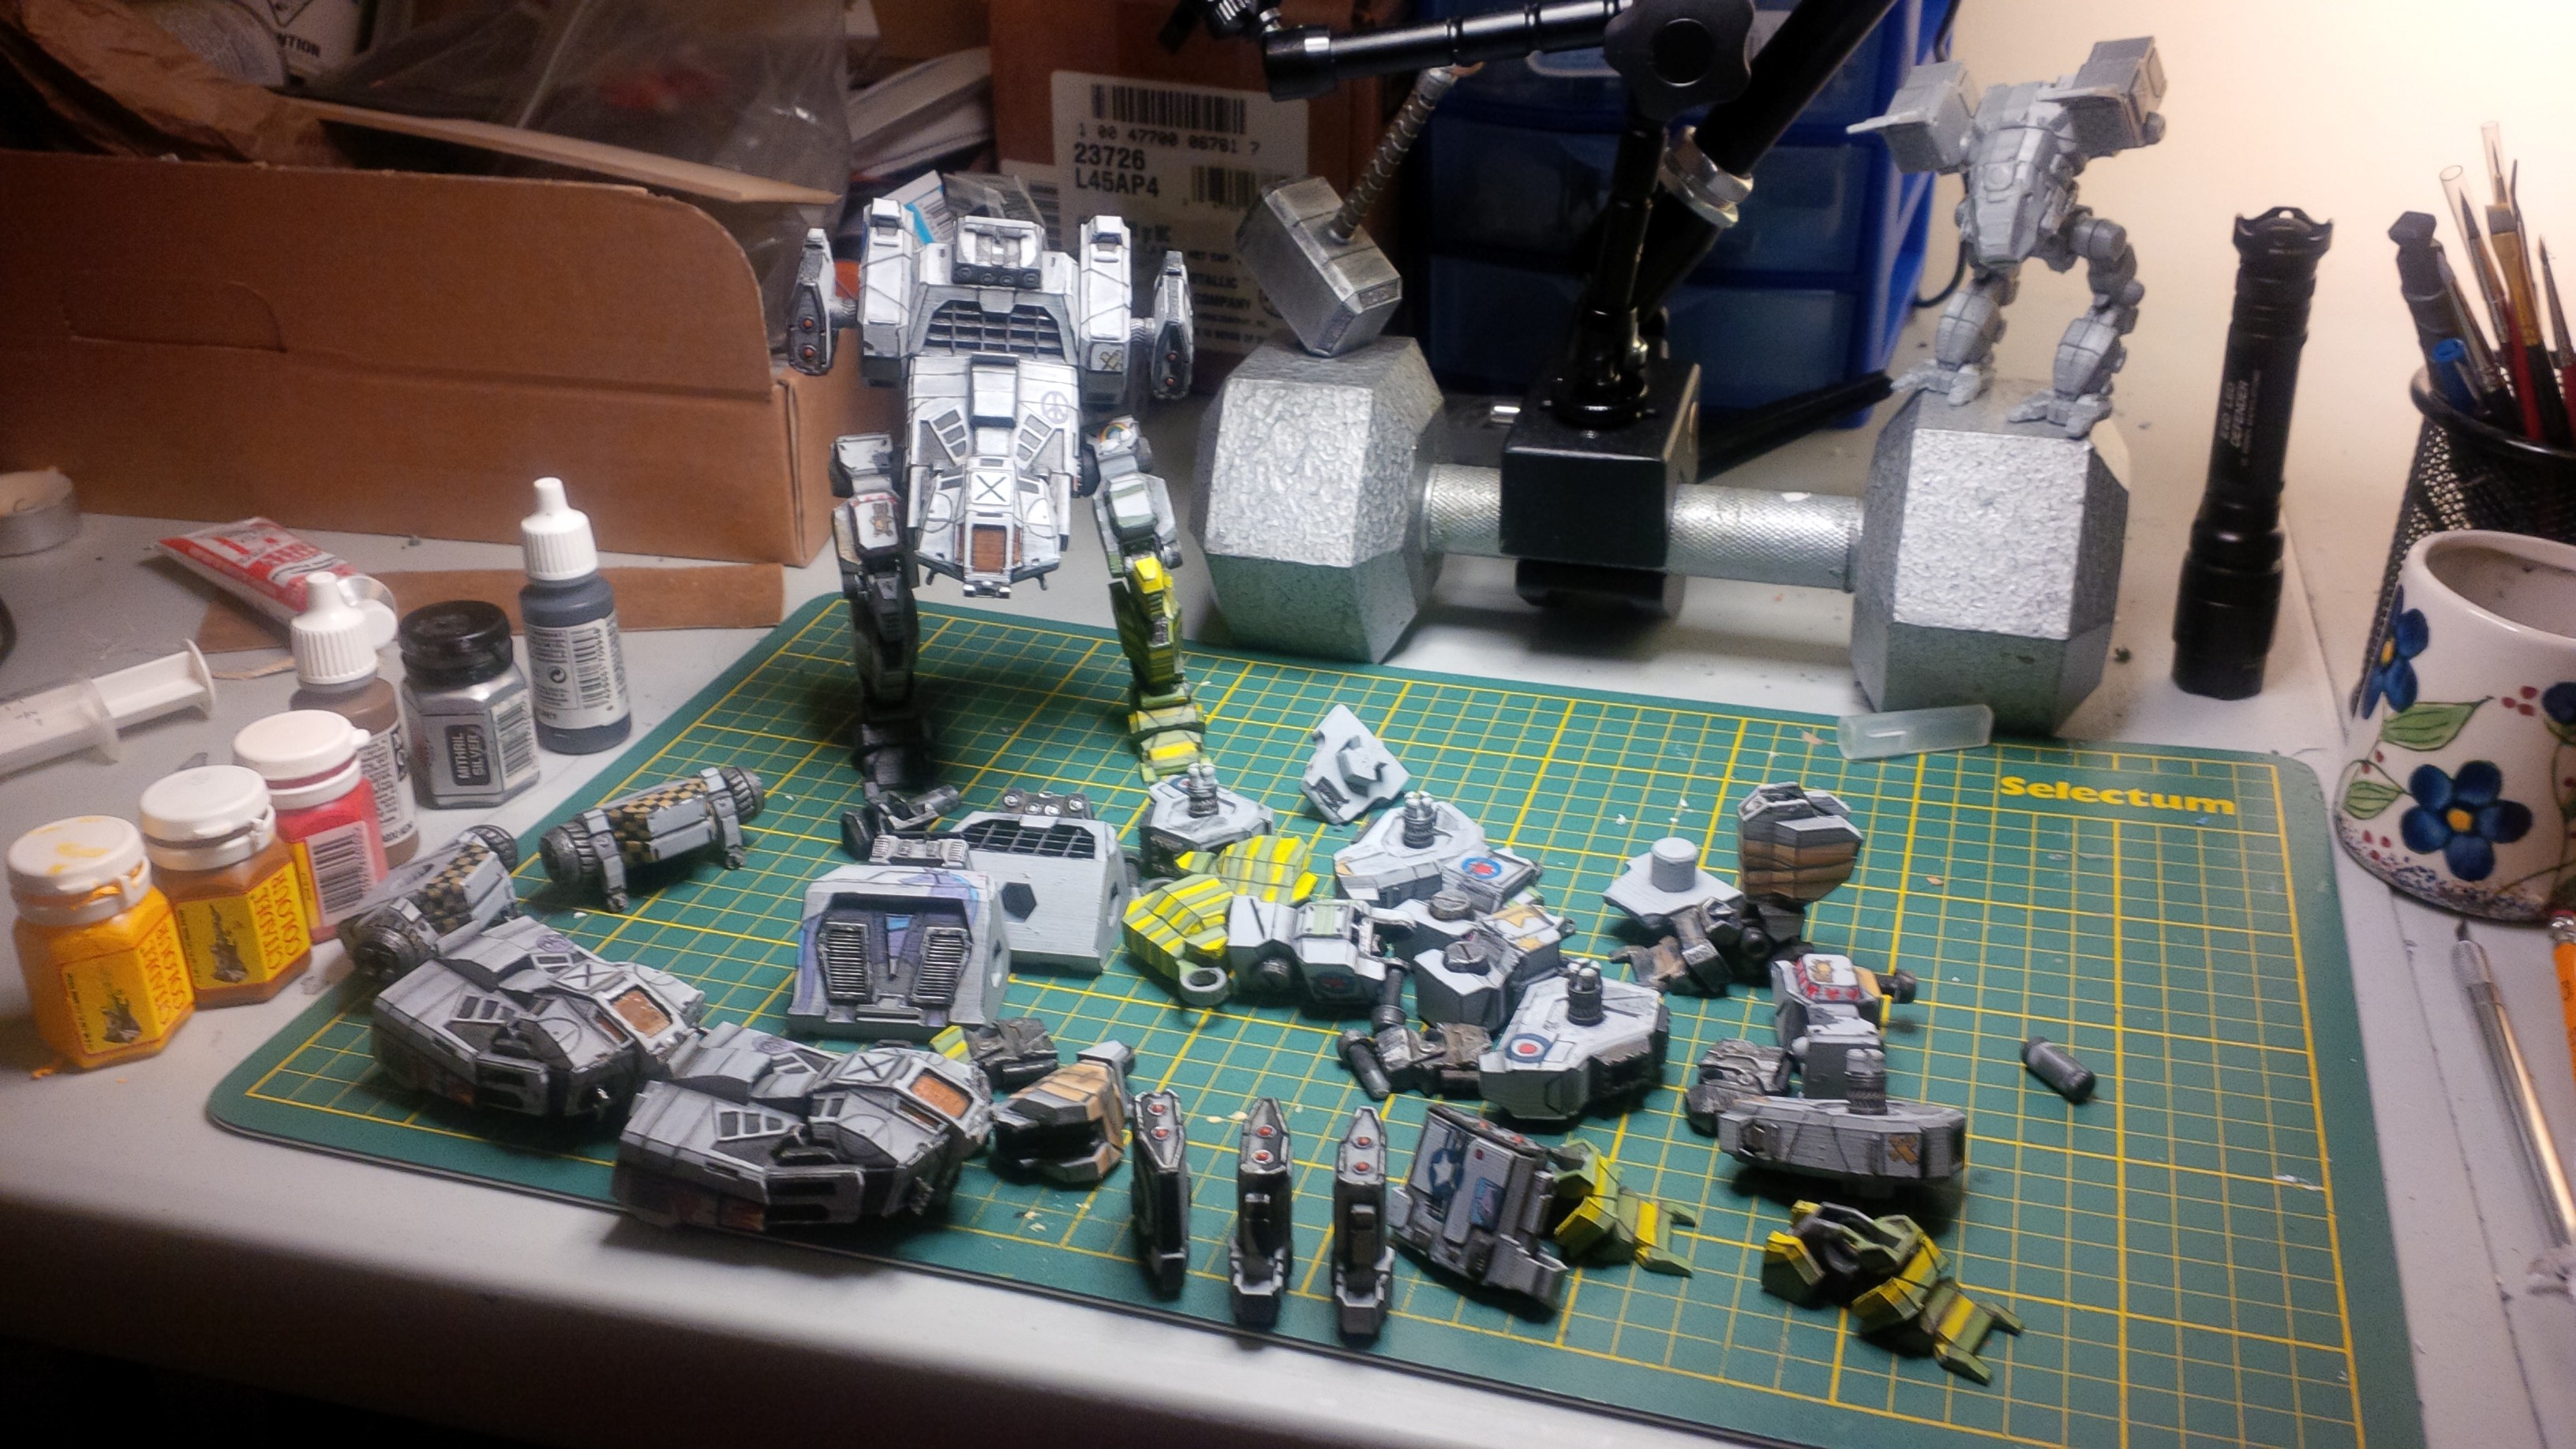
Jenner overwatching it's buddies being built.
Last last step. I painted some gloss varnish over the laser lenses to give it a bit more shine. Also on the cockpit window. It gives it a nice finish feeling where it catches light a little differently from the rest.
Last last last step. Coating in a seal so the paintjob is a bit more durable. Acrylic paints aren't the most durable things in the world. So I use a latex clear coat that doesn't seem to affect paint quality.
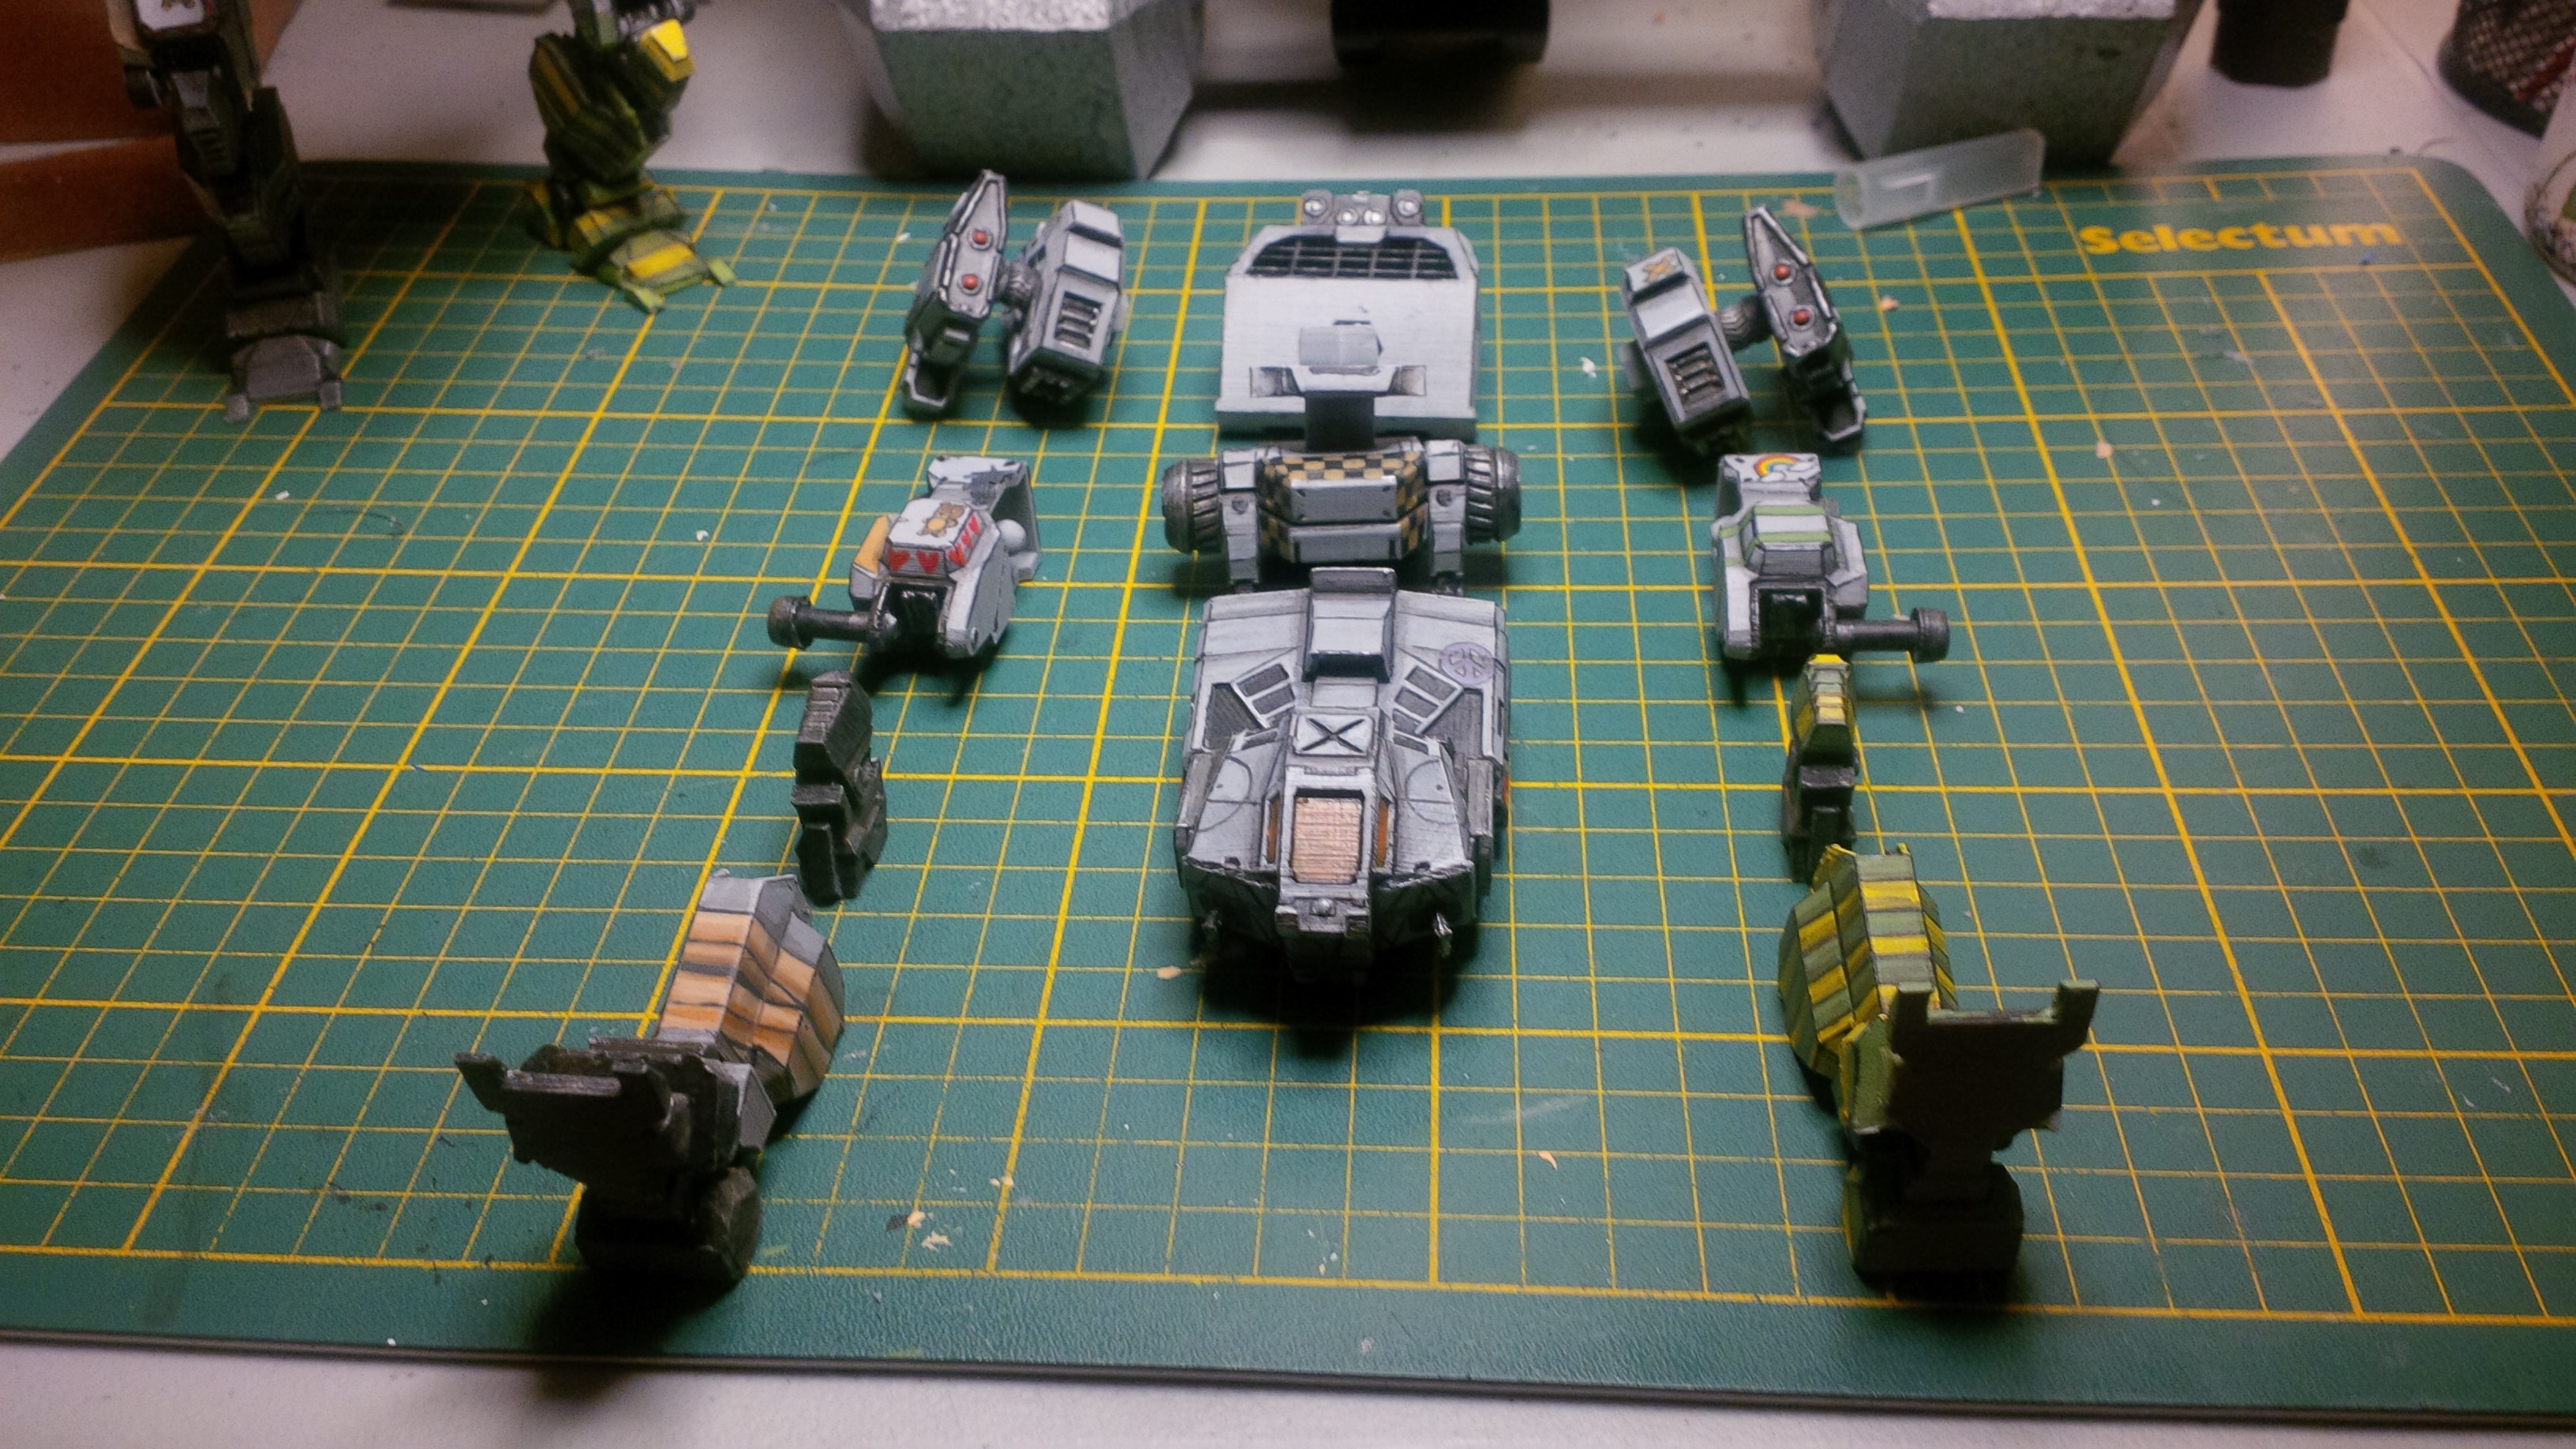
Assembly time! Literally slot, and push the pins in. (actually at this point I realized I made a horrible mistake in assembly. HUGE props if you can figure out what...)
Ta-Da! All that's left to do is to get some wires for the antana and we're done!
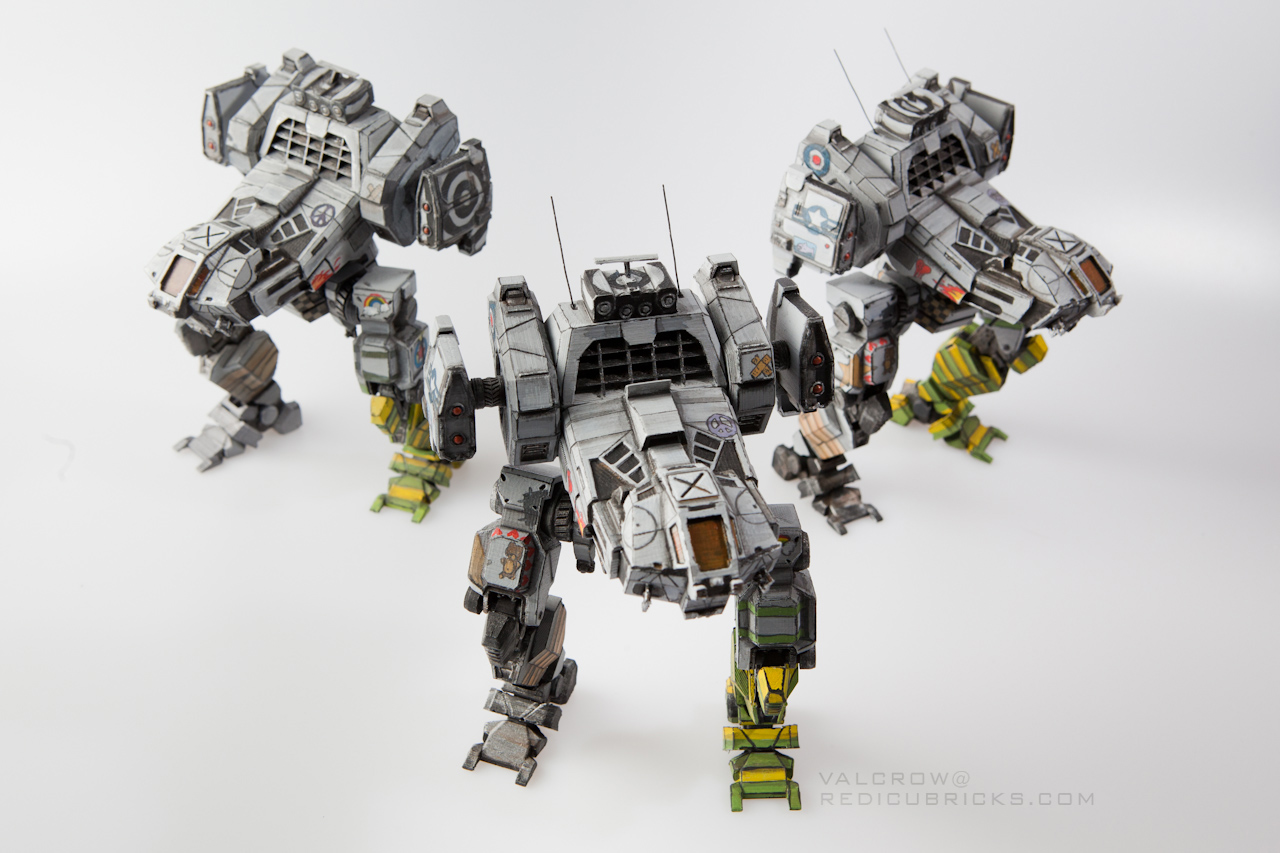
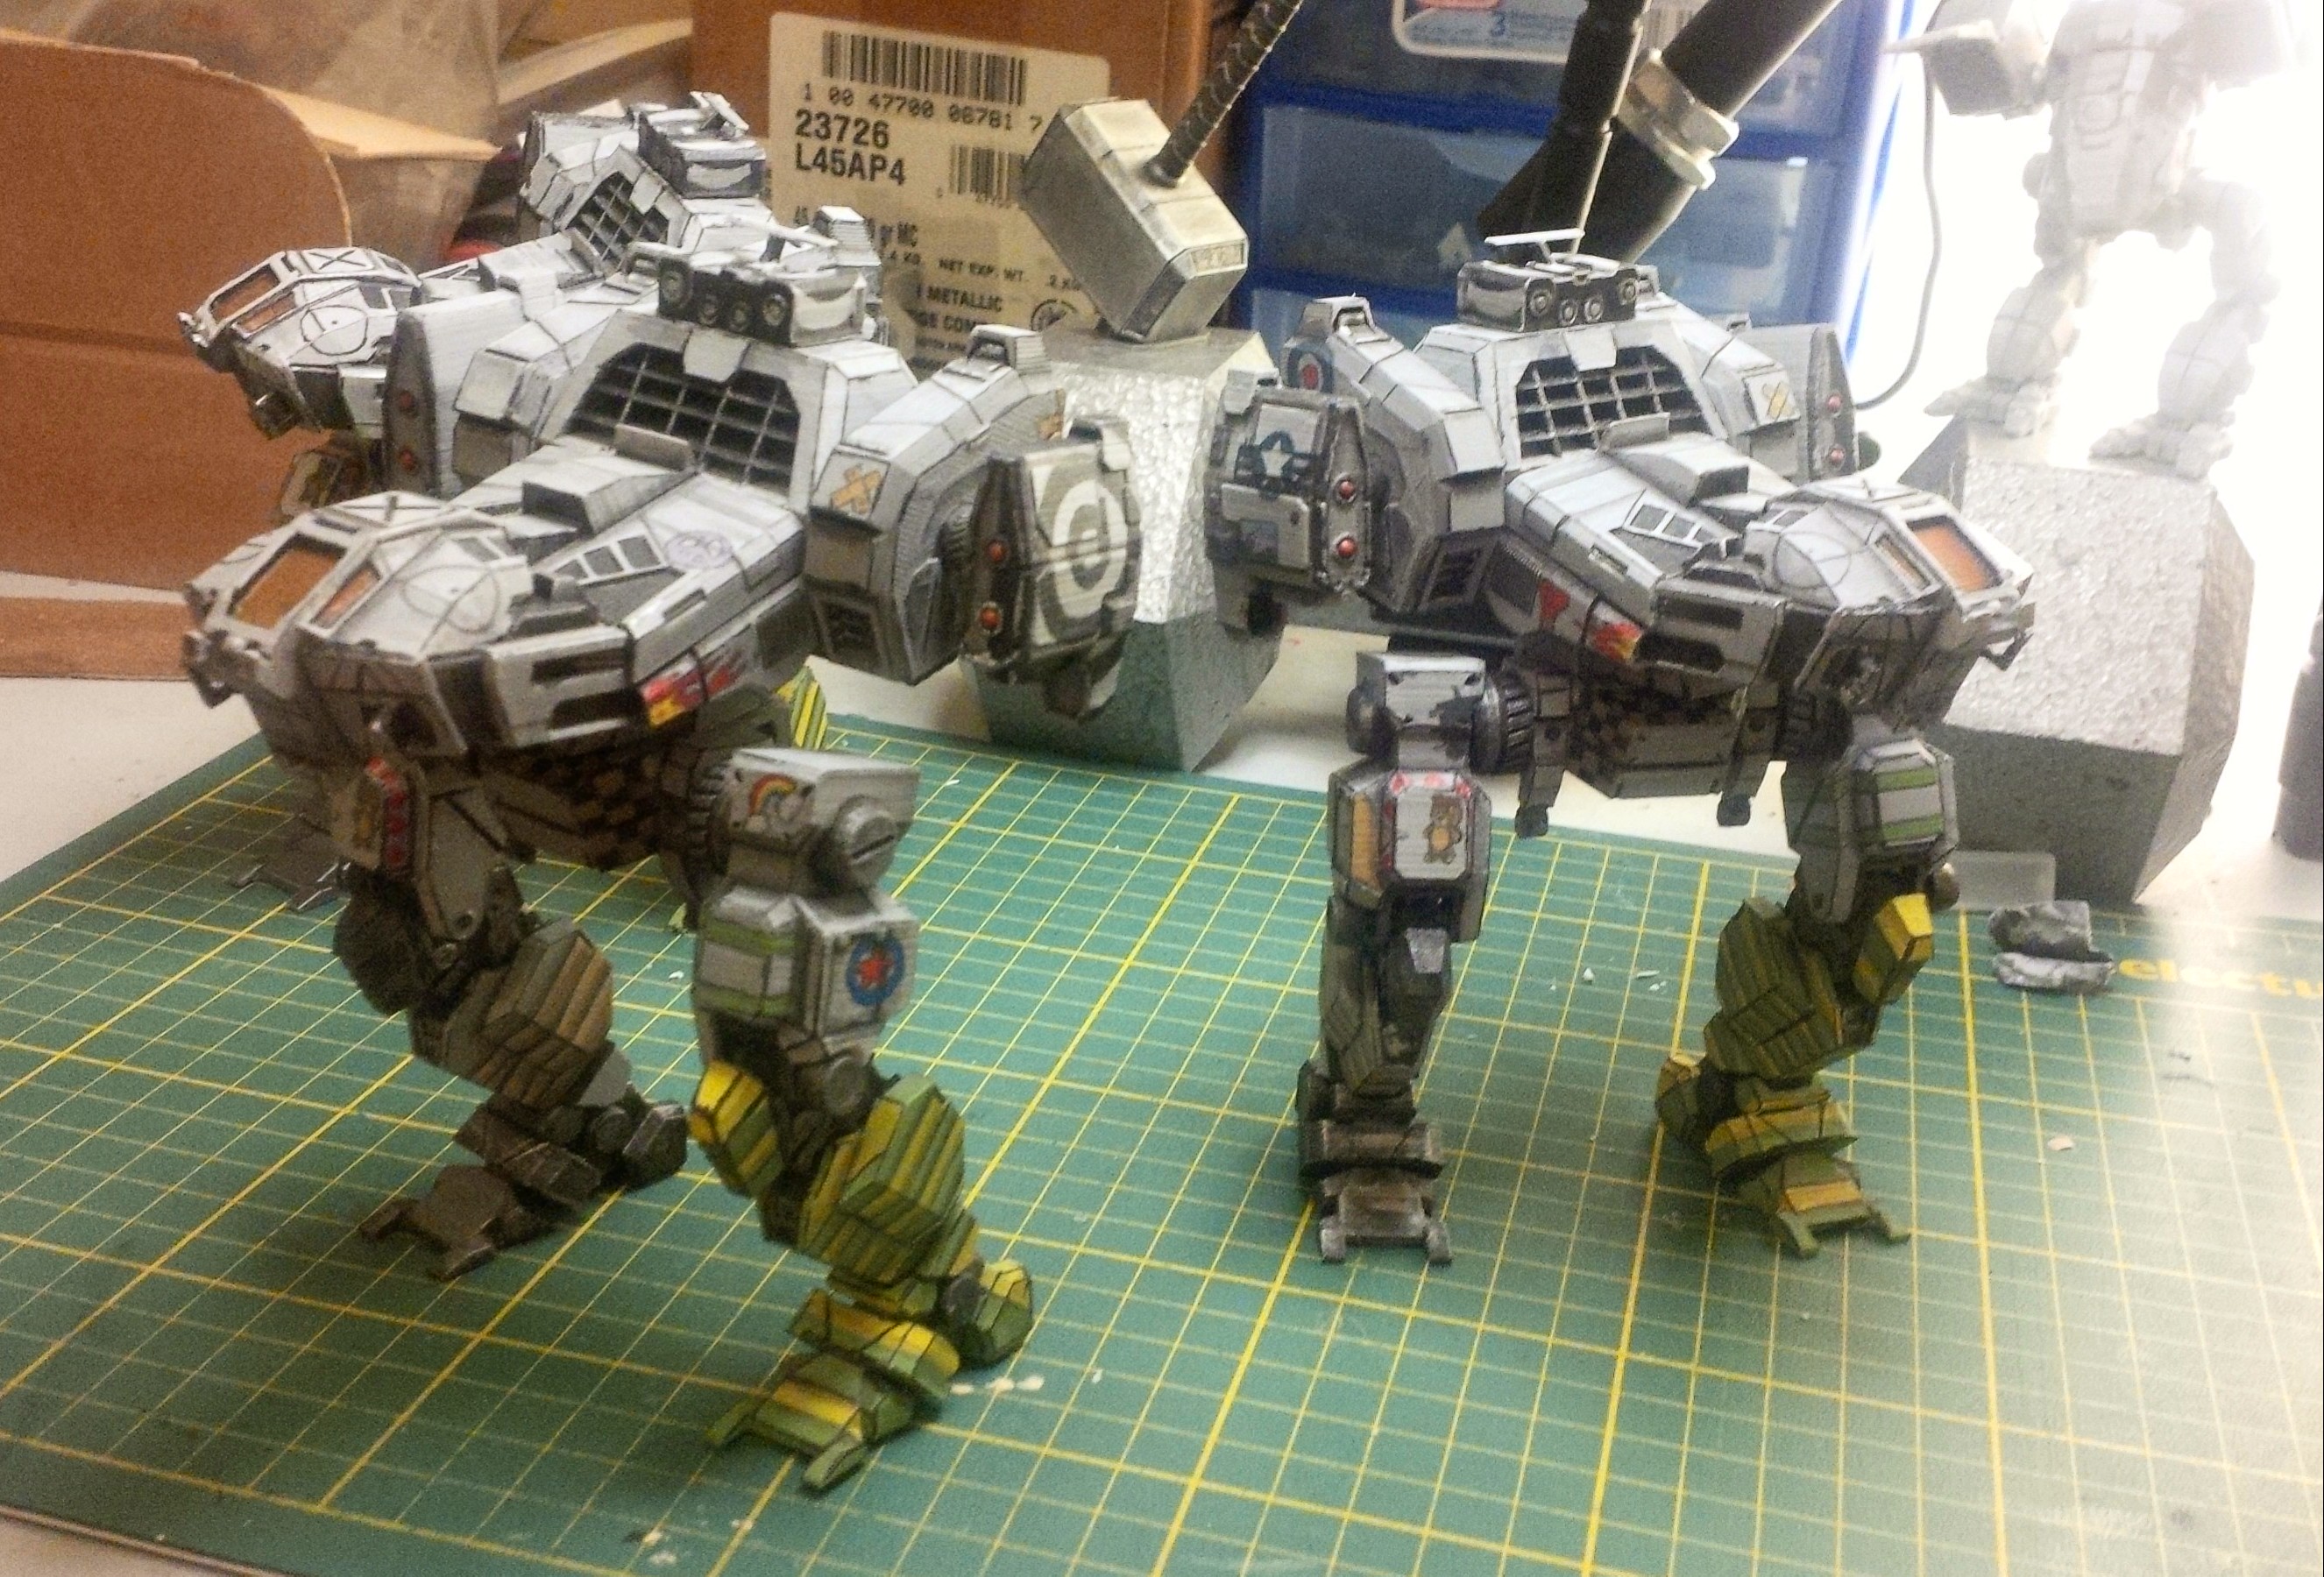
Photoshoot time! They will only be together for a few days before...
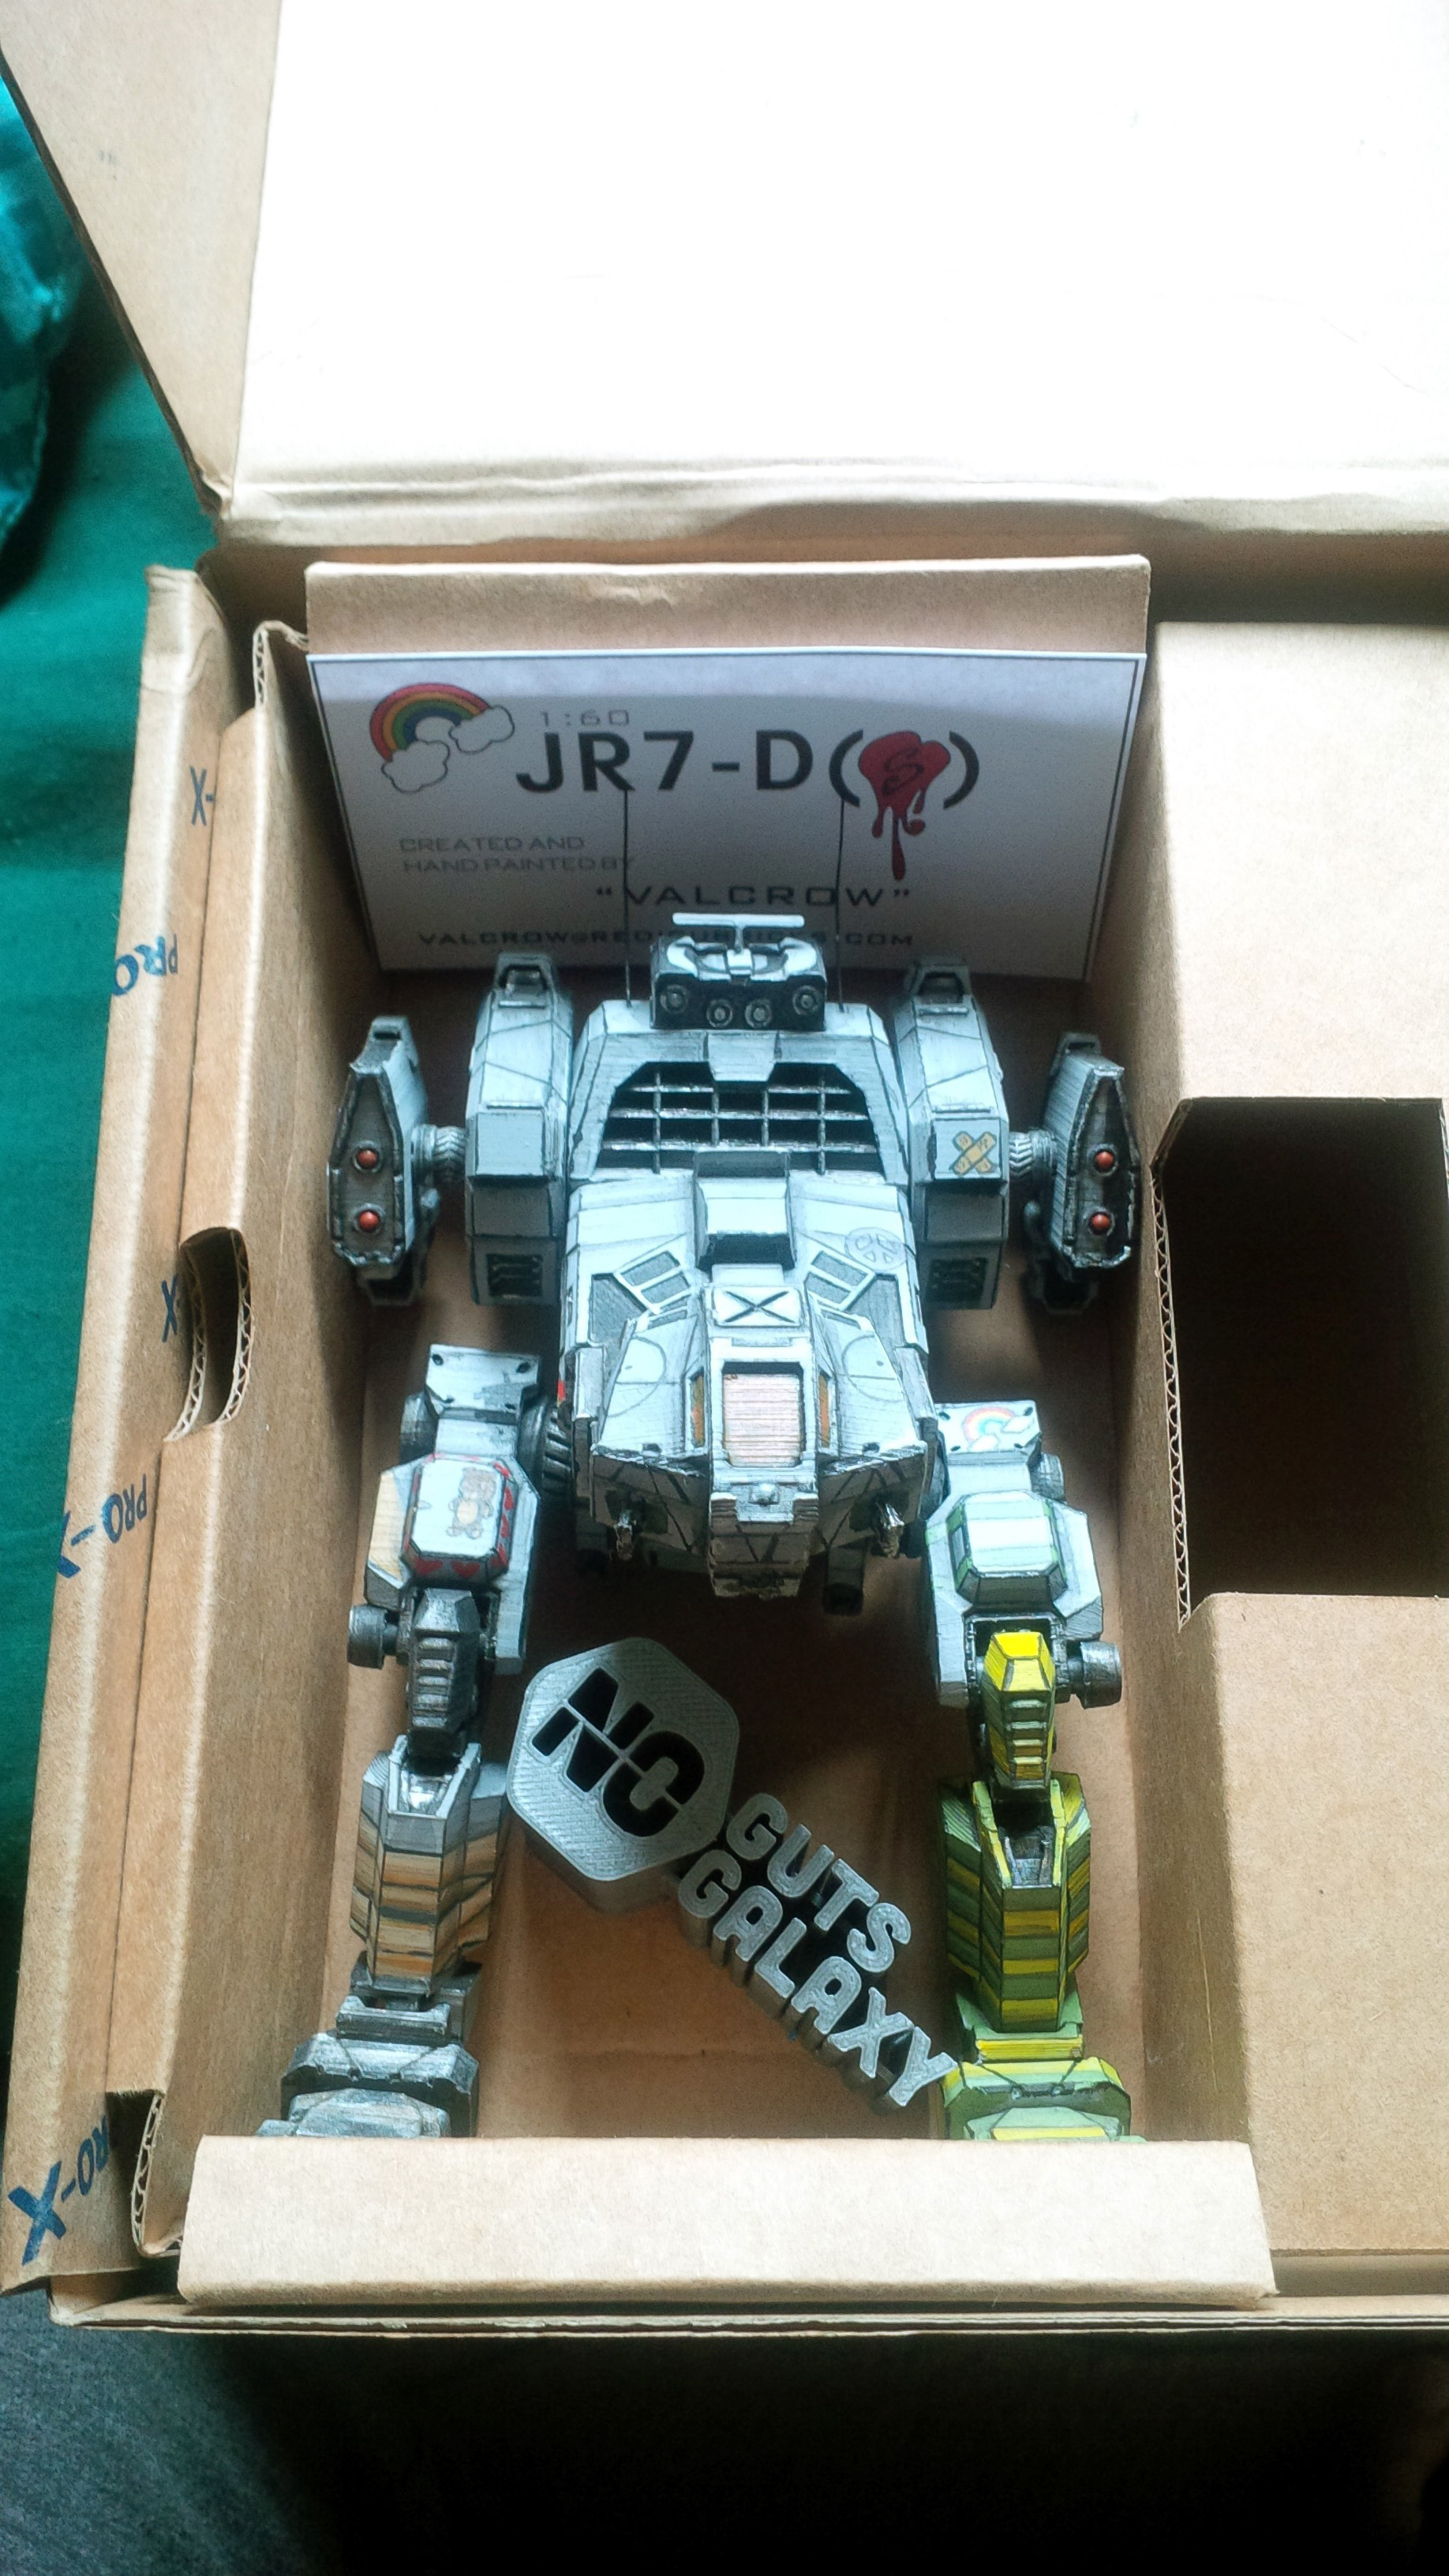
They go off to their new homes... *sniff*
And that's how Sarah's Jenners are made. or at least assembled and painted. I'm only a moderately experienced painter, so this was more or less of a learning exercise for me, I initially intended to get someone to paint them. But I'm kinda glad I did even though it probably took a lot longer than expected. Would love to hear your questions/comments!
Related Links:
Main Gallery
http://www.redicubri.../sarahs-jenner/
This article
http://www.redicubri...-the-making-of/
MWO links:
Sarah's Jenner
http://mwomercs.com/...-sarahs-jenner/
Atlas
http://mwomercs.com/...cture-overload/


 I'll expect pics from the King Crab when its done!