Posted 04 May 2014 - 01:34 PM
Better than starting a new thread.
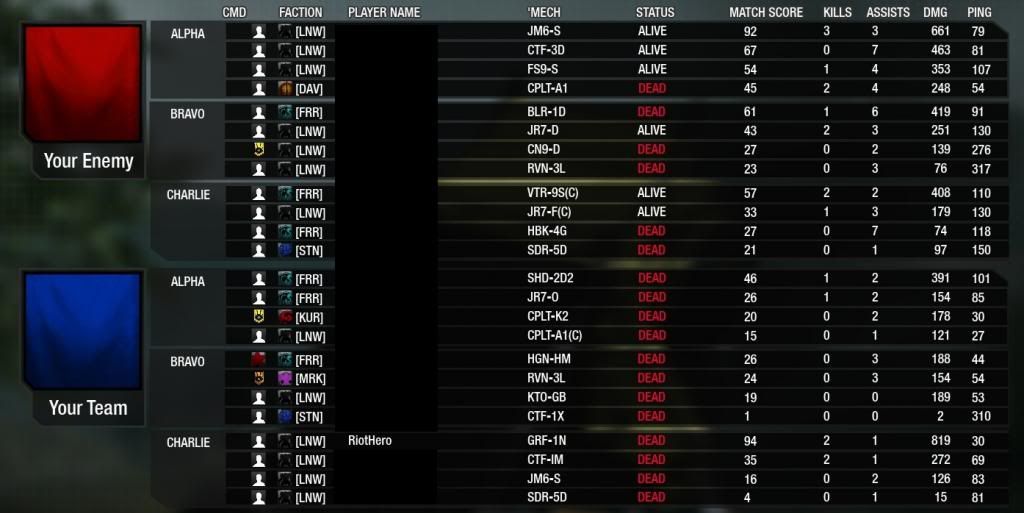
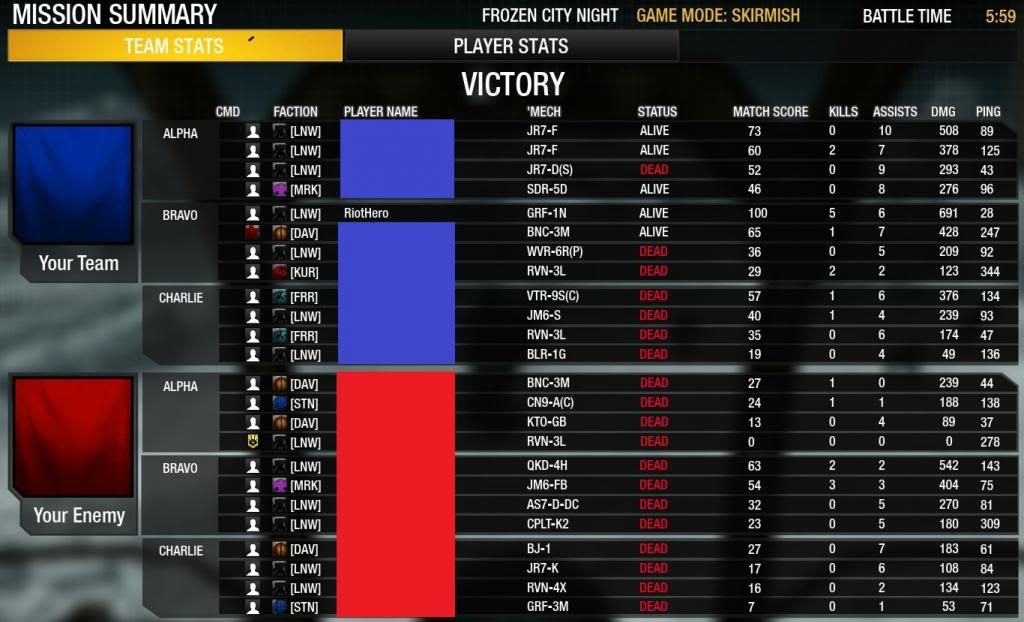
Griffin Feedback
After getting past Elite, I am confident on providing some Griffin feedback.
Generic Feedback - If you are not running max JJs you are missing out. My first use of a JJ Mech, I have found two techniques that are very effective in addition to having all 7JJs allows exceptional maneuvering over various terrain both climbing some high places and actually crossing gaps without hitting lower terrain. An example of the second, I discovered with 7JJs, I can go on the Canyon map and cross most canyons using JJs and never drop into the canyon, similar can be done on other maps including crossing building roofs. Once while fighting a Light in a city area, I noticed it ran around buildings to keep trying to hit my back, I was able to use my 7JJ to get on a building and cut off its circle attempt.
Technique #1 - Previously, I had encounters with Quickdraws where, in close combat, I noticed they used JJs to avoid getting shot. I tried the same with 7JJ Griffins and found this does allow a pilot to stay alive longer drawing out a fight thus increasing not only the pilot's chance of survival but also allowing time for allies to arrive and assist and tying up enemies. This is also useful when combined with Technique #2.
Technique #2 - I would make runs past enemies shooting them and torso twisting, Griffins have one of the best torso twist ranges in game. As I am moving away but facing back to them, I would jump and while going up, hit the F key. While ascending, my legs turn to match my torso facing so when I land, I have done a 130 degree turn. This maneuver both allows partial avoidance of enemy weapons and sets me up for another pass. I call this Jump Turning.
1N - I have run 3 different builds with this.
First - LPL, 2ML, 3Streaks, 300XL, 7JJ
Second - PPC, 2ML, LRM10, 2Streaks, 275XL, 7JJ
Third - LL (tried ERLL), 2ML, 3SRM6, 275XL, 7JJ
I prefer the speed of a 275 more because it is the same as running a 250 on a Hunchback and I like that. Provides enough speed and turn speed for me to handle. 300 is OK.
Of the 3 current variants, the 1N seems to lose the Right Arm most. More on this in the 1S section but this affected my playstyle and builds.
I know people who run LRM boat versions, I already had that in the 1S, more on that there. I think between the 2 the 1N would be too vulnerable as a LRM boat using my preferred tactics. It is better with something like the First or Third versions I tried.
First version was OK, I had some losses and waiting for Streak lock sometimes is a problem for me. It does play somewhat similar to the Third version. Difference is this one was designed with more close damage through LPL + 2ML and anti-light work through Streaks.
Second version, biggest problem was getting into position for sniping. Using 1PPC is different than 2 that I did on the AWS-8Q with success. Had a bit of a problem using 4 different weapon types.
Third, similar to the First. Difference is either LL/ERLL can be used for medium range and further sniping plus SRM18 provides more punch for kill shots and when the RA is lost.
I prefer the First and Third that share some qualities. There are:
- Initially focus on using the 3 Energy points at all ranges. This is to partially manage heat (I normally run cooler builds) and make most use of RA before it goes away, the 1N seems to lose the RA most.
- Streaks allow for anti-Light work or used little except as support when an enemy is near dead. Only when the RA is gone do they become a main weapon.
- SRM18 initially is saved for killshots, with recent changes improving SRMs, I have found even causing Ghost Heat an Alpha of SRM18 is manageable and makes an effective killshot weapon while the RA still exists. Once the RA is gone, the SRM18 becomes the main weapon and protection.
1S - Only tried one effective build, a modified version of the HBK-4J Missle boat with 2ALRM10s, 3ML, TAG, 275XL, only missing a BAP. Usually provides consistent output in damage, kills and teamwork used as I do, typically getting to mid-range (400-750 meters) using TAG to increase Missile damage. 3ML allows decent close range protection for either fighting or keeping enemies busy until reaching allies. Uses 900 missiles, I do not understand why people run more than 1080 on any LRM boat given how effective this build and my HBK-4J have been. For some unknown reason, the 1S loses the RA less, probably partially due to using this build at mid-range but even when I get in close range fights, still the RA survives longer than on a 1N. I find this odd because a 1S losing the RA in any build would have fewer torso weapons to fight with than a 1N so it makes more sense to kill the 1S RA.
3M - Only tried one build then a slight modification. First was 2MPL, 4Streaks, 300XL. Since it was only useful close up, this meant in the early game either waiting while sniping/LRM fire happened or daring to venture close to fresh enemies and risk serious damage/death. Not liking this, I switched to a 275XL and changed 1Streak for 1LRM10. Now I had the LRM10 for the early game combined with ally attacks while keeping most of the close range threat. Actually finished one match as the last one standing with 2 seconds left to time out!
Overall, Griffins have been a learning experience being my first true JJ Mech bought compared to the Awesomes and Hunchbacks I was used to running, learning how to use JJs and making best use of the Griffin's RA disadvantage on 2 of the variants. They should have at least 1 long range weapon if not used as a LRM boat and best to have some short range torso firepower if the RA goes especially on the 1N and 1S, the 3M suffers the RA loss far less perhaps making it the best LRM boat of the three.


