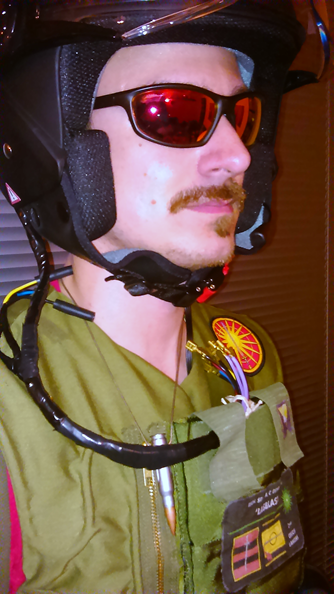
Cooling Vest – Part 4
Sorry for the delay getting an update posted – work has been ongoing, but somehow didn’t get round to actually posting. So today we have Cooling Vest Parts 4 and 5 in succession. As for cost, I’d have to charge Steiner double… but I’ll mention a few items as I go along, and try to give a rough estimate on everything by the end.
Digging through an old kit bag the other day (looking for green thread), I also turned out my ‘Camelbak’ platypus. Again, for those not familiar with the brand these are soft 2- 3 Litre (65 -100 Fl Oz) plastic bladders used to carry drinking water, often in an insulated cover. They are generically known as platypus due to the strange shaped drinking nozzle on the end of a hose. They are very handy things, much valued by NATO forces for convenient hydration and load-carrying. Prices vary depending on the type, size and quality, but in my case it was effectively 'free', as I didn't buy it recently or with the outfit in mind.
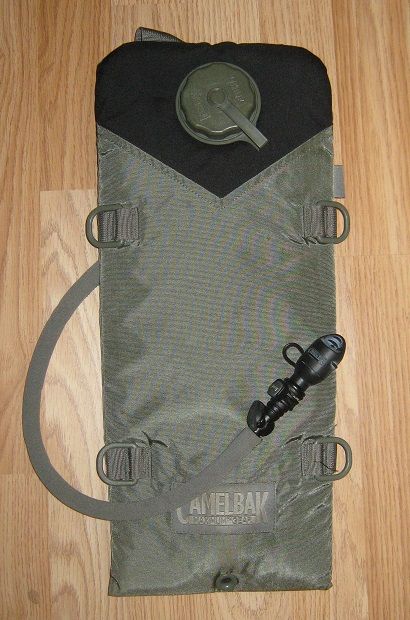
Anyway, having found it, I decided that it would very definitely be of use to a MechWarrior and would also look great as part of the outfit. It’s also a decent colour match to the cooling vest itself, which is a bonus. I’ve therefore added a couple of small carbineers to the rear armour pouch to allow the platypus carrier be attached to the vest.
After some consideration, I decided to simply create small pilot holes with a knife, and push these through the fabric – the pouches are formed from military-grade, tight weave rip-stop nylon, so it is usually possible to attach fixtures directly. Having slipped the carabineers into place, I then used a lighter to melt the frayed edges by heating the metal itself. This creates a nice snug, robust fit you can hand a couple of kilos (4-5 pounds) off without great concern.
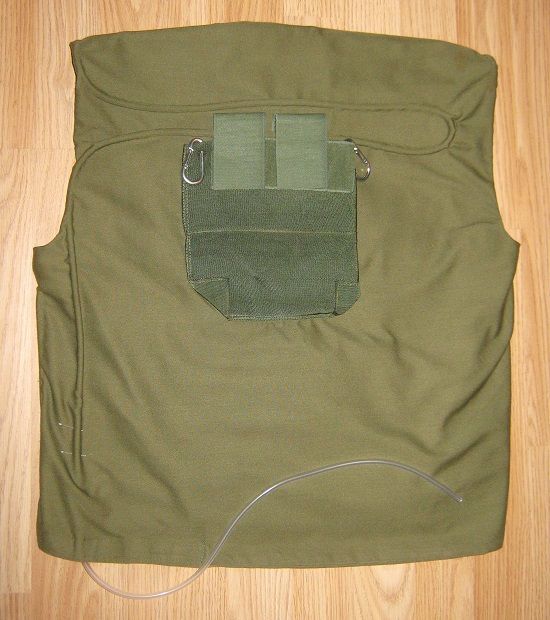
While working on the carbineers, and having fiddled with a few layouts, I also decided to run a loop of coolant line across the shoulder blades. This was quite difficult to position, given where the armour plate pouch is, and the fact that the tubing kept trying to ball up again (even after being stretched out).
To be honest, none of the lines in the vest are quite straight, but I’ve decided not to worry – I’m not going to go for perfection first time out, and from past experience most military kit gradually gets somewhat worn, twisted and bent out of shape once worn-in. So… yeah, it’s realistic, sort of.
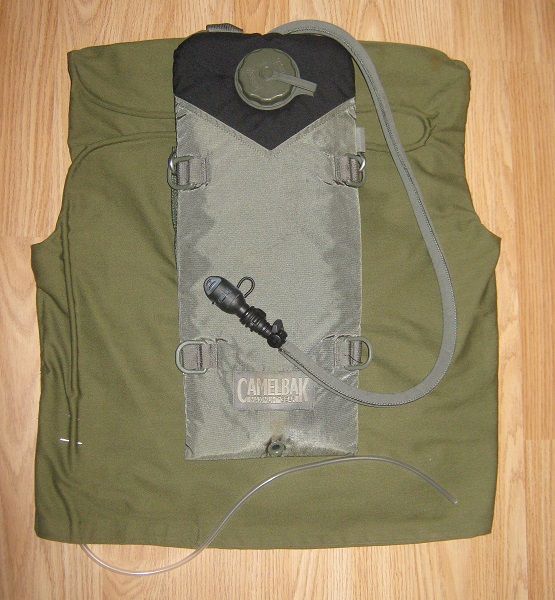
Having completed the above items, the platypus fits neatly in place, connected via its own mounting points (which were originally designed to fit onto the American MOLLE armour system). Having tried it on with the platypus art filled I think I may need to add an extra waist strap or similar, but that can wait for now.
So moving swiftly on…
Cooling Vest – Part 5 & Cabling – Part 2
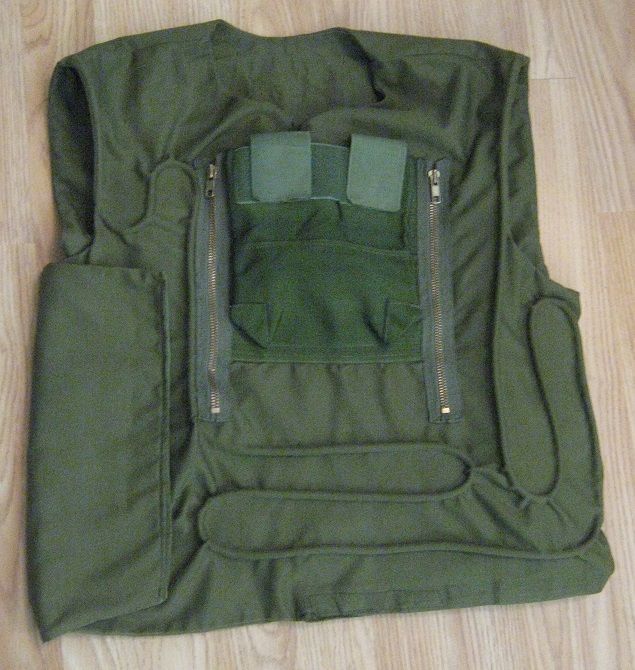
Finishing the cooling lines in the vest off was pretty much just rinse and repeat, albeit rather time consuming. Having considered whether I wanted to use mainly vertical or horizontal coolant lines, I eventually settled on a mix – not for any particular logical reason, I just preferred the overall look when I sketched it out.
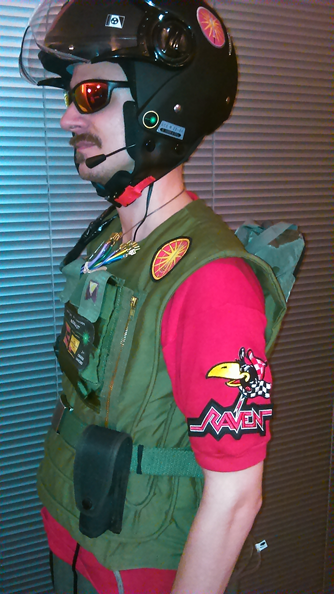
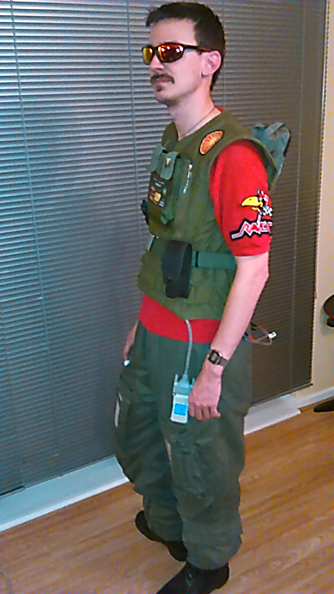
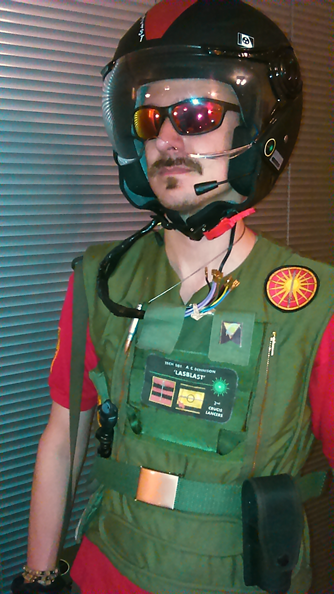
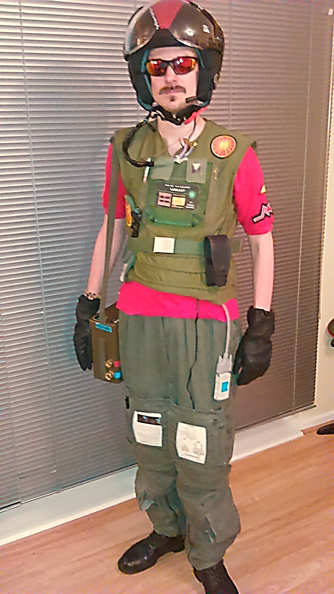
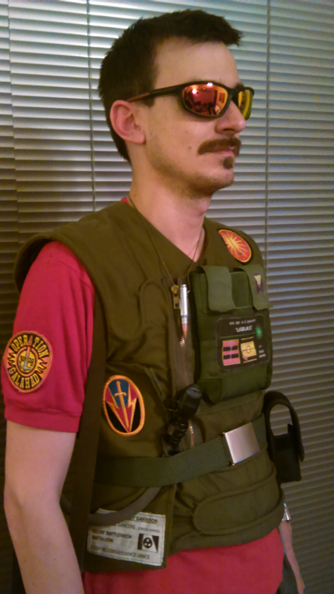
Having added all the tubing, it is harder to make the vest ‘sit’ neatly for a photo, and it has a bit more of a tendency to ‘ruck-to’. However, I can say that having tried it on, it actually stretches out and settles a lot better when worn. I’m saving pictures of the outfit being worn for the end of this blog though!
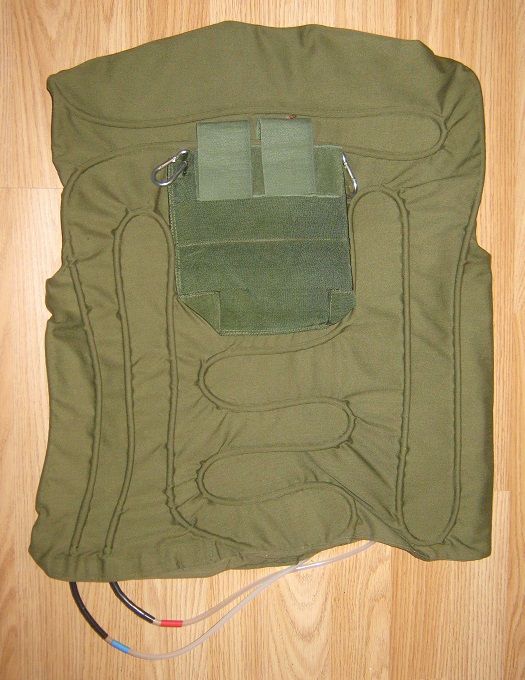
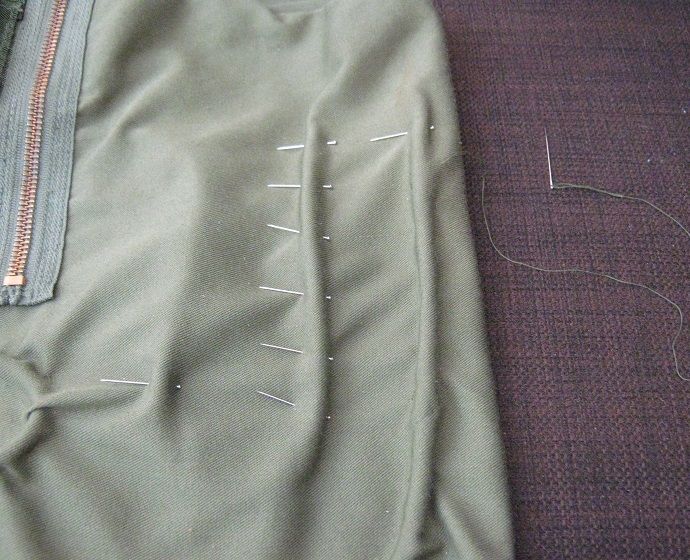
I decided on just running the coolant lines in/out through the opening at the bottom of the vest, with some extra sewing to hold them in place. They are positioned together on my left hip from where they can be easily connected. I did debate a more intricate plastic or metal panel, but this would have required a fair bit of extra effort, and may also be been rather uncomfortable to wear while seated.
For a bit of detailing and variety I wrapped some of the exterior sections in insulation tape, including red/blue tell-tales – I envisage these indicating the direction of flow through the vest. Having randomly thought about this, I decided the vest would initially send coolant my back and across the chest / stomach, before circulating fully across the back panel and out (thus providing more cooling to the front).
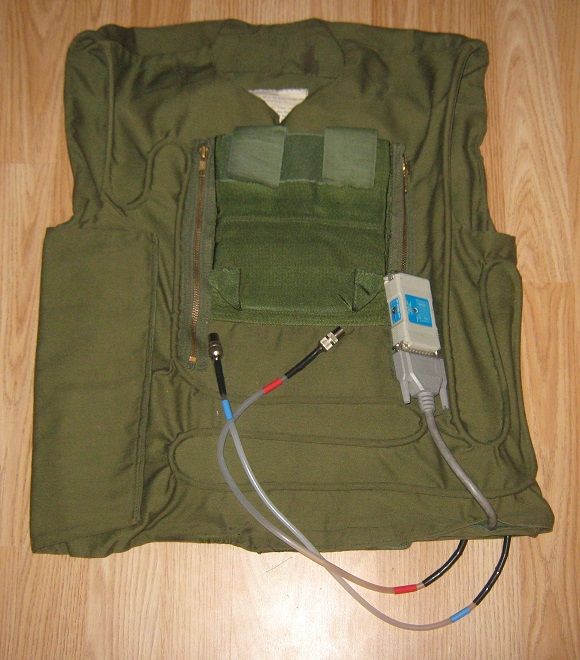
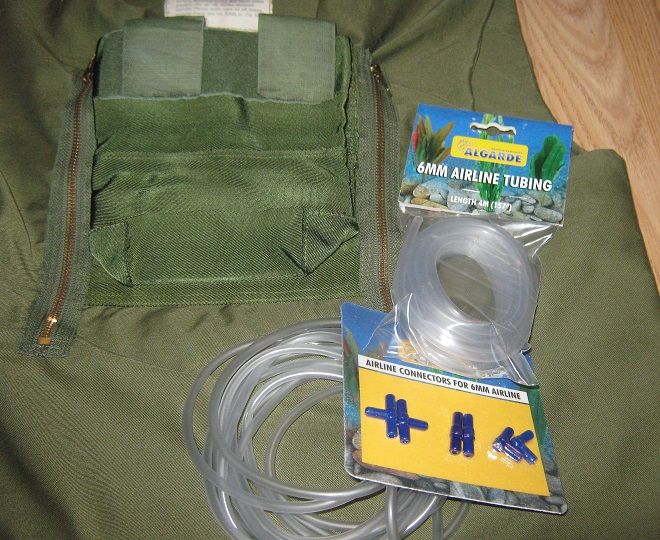
To finish the coolant system off, I used some space TV Aerial cable fittings at the end of each line to act as connectors.
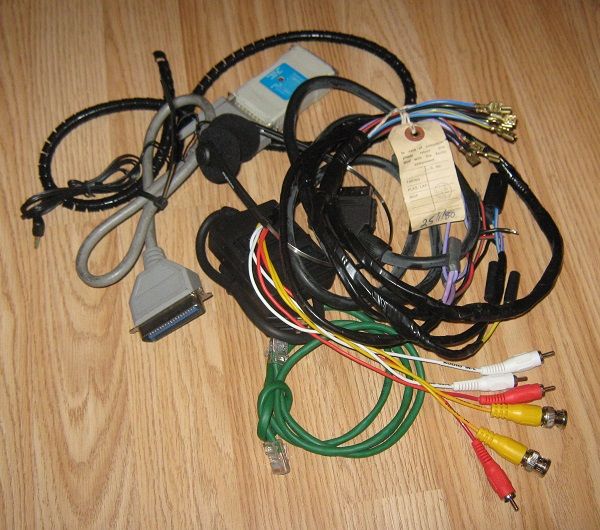
Lastly, I picked out one of my cables with a nice booster box on, and having removed a ‘Made in Taiwan’ label sewed this into the bottom edge of the vest so it hangs down my leg. I imagine it is some sort of thermostat / bio-feedback cable connected to sensors within the vest, perhaps controlling coolant flow as well monitoring pulse, respiration, blood pressure and so forth.
(For the record, I’m not actually going to build the sensors, as you wouldn't see them under the vest, but did want to hint at their presence and add extra detail to the outfit.)
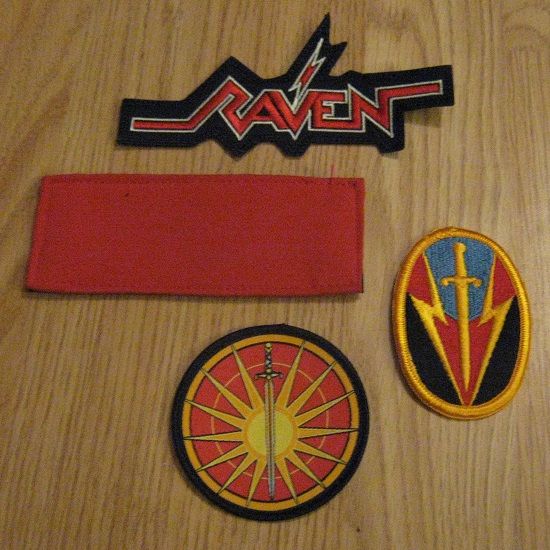
That’s pretty much it for today, and indeed for the vest – all I now need to do is add some patches, and any final details, and it’ll be ready to wear to the Expo.
Edited by LasBlast, 11 May 2014 - 02:02 PM.


