Animated Mech Gifs
#81
Posted 03 March 2018 - 09:09 PM
#82
Posted 05 March 2018 - 06:18 PM
#83
Posted 05 March 2018 - 09:57 PM
#84
Posted 06 March 2018 - 12:28 AM
#85
Posted 11 March 2018 - 03:28 AM
I made a few modifications myself.
I clocked it at roughly 84 kph. I eyeballed it and measured it after, so not too bad considering.

Quad UAC-2
fun experimental renders:
#86
Posted 12 March 2018 - 05:51 AM
#87
Posted 12 March 2018 - 06:00 AM
#89
Posted 14 March 2018 - 12:20 PM
ex:

#90
Posted 14 March 2018 - 01:29 PM
OP, you rock my stripey socks!
#91
Posted 14 March 2018 - 05:51 PM
 Pariah Devalis, on 14 March 2018 - 12:20 PM, said:
ex:

Yes, it is a bit floaty.
It was not an easy mech to animate with the lack of articulation the legs have, I would have to push the amount of geometry clipping further to have more foot pivot which could potentially break it even more.
I might do another version and slow it down a little bit and see about fixing the floatyness.
thanks
#92
Posted 14 March 2018 - 07:04 PM
#93
Posted 14 March 2018 - 07:24 PM
 Darbbo, on 14 March 2018 - 07:04 PM, said:
There is usually a pre-assembled 'render' model. If its there I use that as reference to position the rest of the parts by hand.
Either that or you can try Heffay's tools: https://mwomercs.com.../page__st__2160
#94
Posted 15 March 2018 - 05:36 AM
 jjm1, on 10 February 2018 - 05:01 PM, said:
thanks.
My system was haphazard, but basically start with a good ground tile, there should be some sort of formula out there based on number of frames and travel distance to get the right length of tile. Then animate the tile at the opposite of your vehicles travel speed (if your vehicle is walking in place). Copy paste it with offsets equal to the tiles length. If the formula was right the end position (the last frame +1) of the tile matches the position the next tile started at and so on.
(+1 frame because the start end positions are identical, so you crop the last frame to make the loop smooth)
I will have to figure out the correct formula myself before I do more of it, otherwise its quite tedious to make.
I didn't do any of that stuff that you told me how just tried to set a start and end position for the ground with a flat vector for the ground to move at a linear rate.
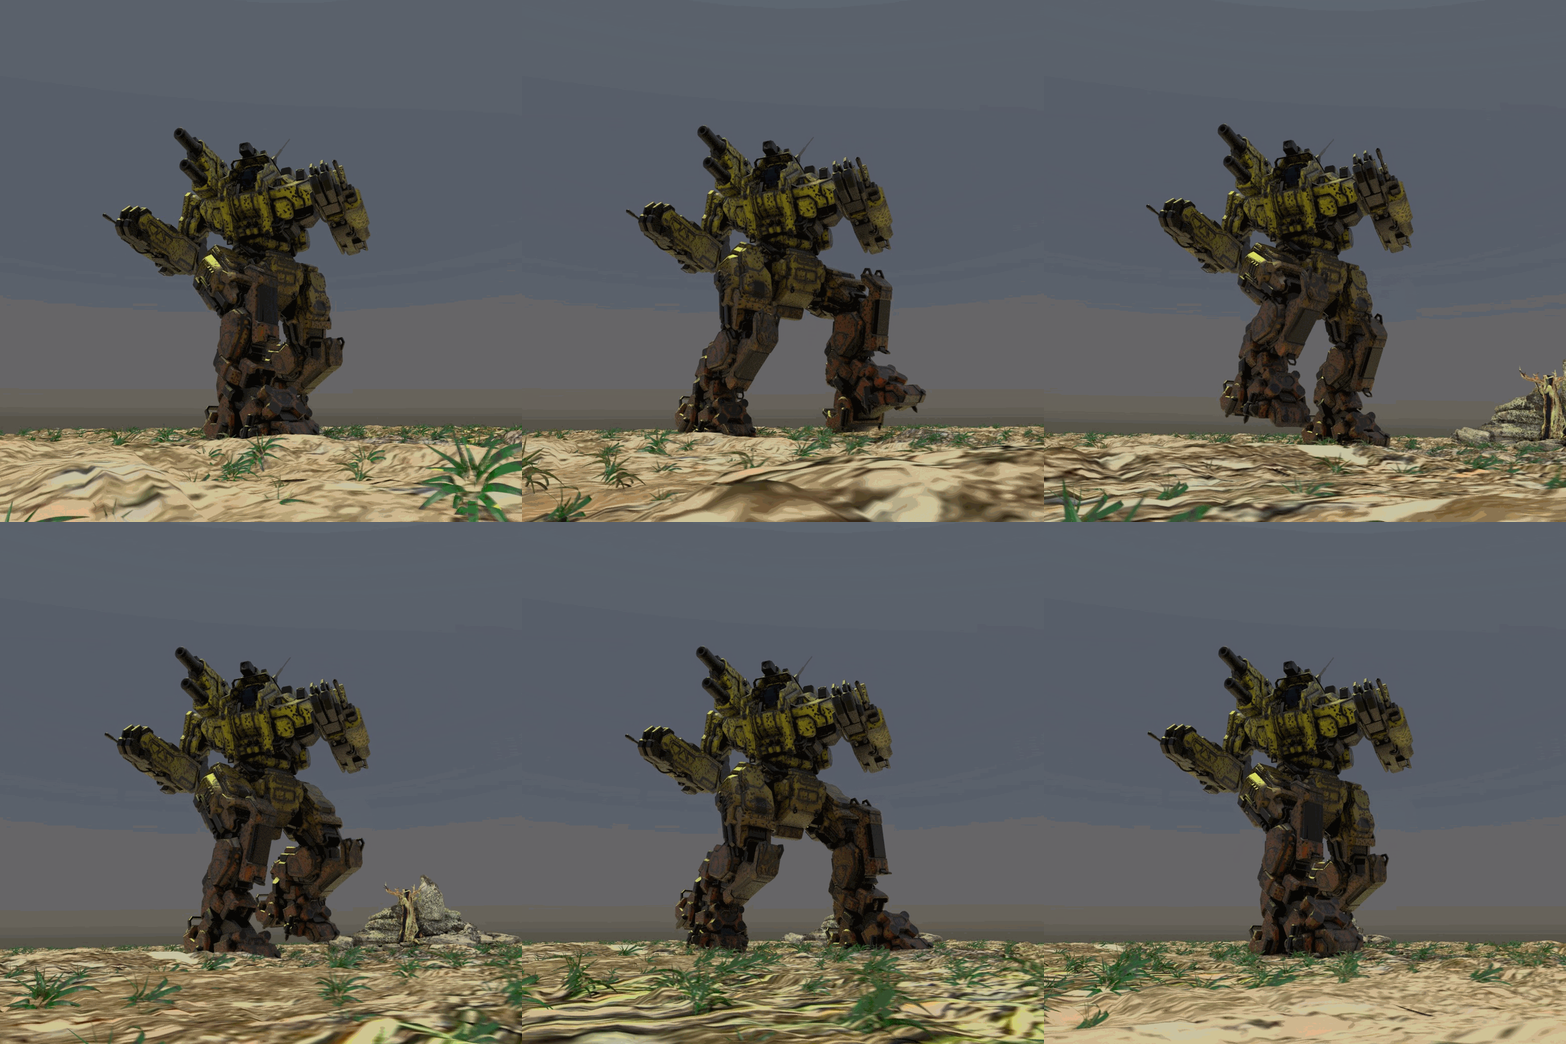
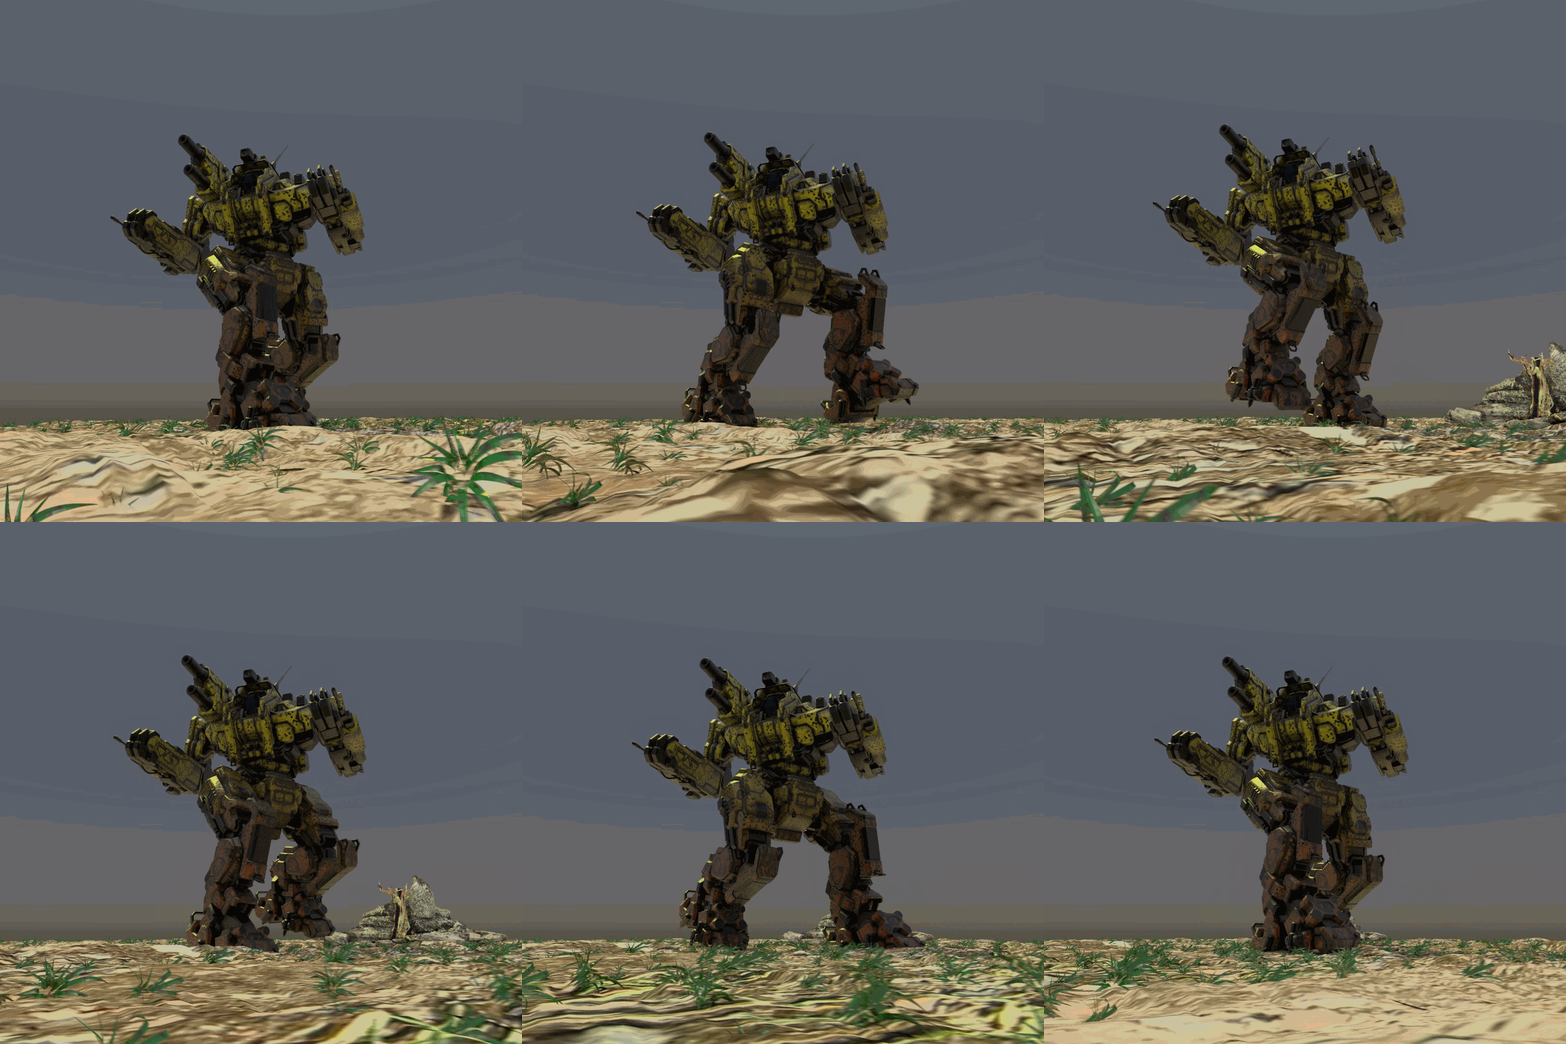
There is little 'slip' and a disappearing rock but close enough with and without bob:


Edited by mad kat, 15 March 2018 - 05:42 AM.
#95
Posted 21 March 2018 - 03:18 PM
 jjm1, on 14 March 2018 - 07:24 PM, said:
There is usually a pre-assembled 'render' model. If its there I use that as reference to position the rest of the parts by hand.
Either that or you can try Heffay's tools: https://mwomercs.com.../page__st__2160
Awesome thanks for responding.
Uh followed link but didn't see any tool from Heffay.
Edited by Darbbo, 21 March 2018 - 03:24 PM.
#96
Posted 29 March 2018 - 02:48 AM
#97
Posted 31 March 2018 - 10:59 PM
 xR1pp3Rx, on 29 March 2018 - 02:48 AM, said:
UVs are part of the geometry, you could use photoshop/mudbox/mari or whatever works to edit or make new skins. If you're referring to the decals though, I used some floating 2D planes.
#98
Posted 01 April 2018 - 03:05 PM
#100
Posted 02 April 2018 - 10:08 PM
P.S You should totally do a assassin running
P.P.S you also should do a mech falling face first
1 user(s) are reading this topic
0 members, 1 guests, 0 anonymous users


