#3943
Posted 01 April 2013 - 11:23 AM
Or was it someone else's?
#3944
Posted 01 April 2013 - 11:32 AM

#3947
Posted 01 April 2013 - 04:08 PM
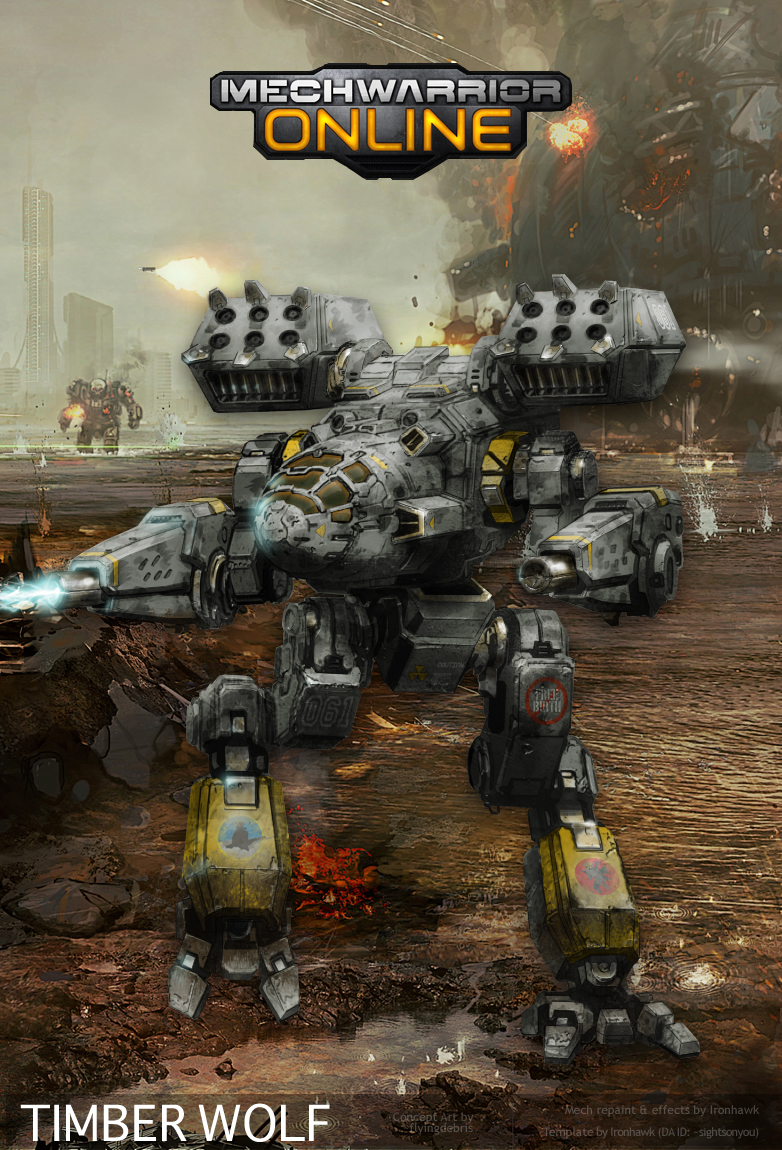
Here is the repaint template for Timber Wolf Mark IV. It features:
- Original concept art by Alex Iglesias with many personal restoration touch ups (extensive damage repairs, sticker stripping, PPC nozzle rebuild, etc.) in hopes to best represent his art in MW:O style
- Many details not yet featured in my repaints, such as subtle PPC nozzle paintable bands
- Mech model is detached from the background layer, making it exportable (please make sure to give credit to Alex or his ~flyingdebris DA nick)
- As per the usual, layers for repainting, softlight setting config, etc.
- Special FX layer that can be activated to display the PPC firing effect, complete with light reflection on the 'Mech itself
Here's the link (for MW:O fan repaint only please...)
Timber Wolf Mark IV Template
Thanks and enjoy!
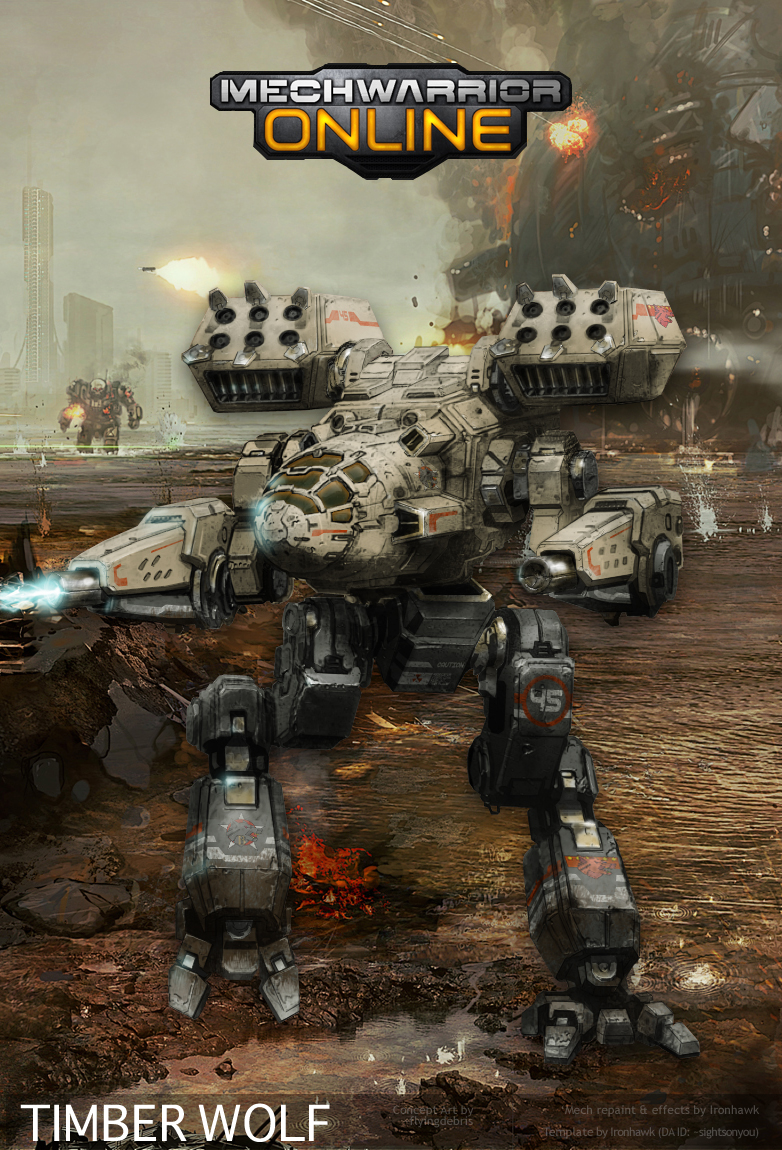
EDIT: Just tested the template and came up with this Ghost Bear skin job:

Edited by Ironhawk, 01 April 2013 - 05:28 PM.
#3948
Posted 01 April 2013 - 05:45 PM
 Ironhawk, on 01 April 2013 - 04:08 PM, said:
EDIT: Just tested the template and came up with this Ghost Bear skin job:

This is pure goodness !! Alpha Galaxy Golden Bears Huzzah !
I have not done a repaint in awhile, but I think its time for a few
Edited by Bushmaster, 01 April 2013 - 05:59 PM.
#3949
Posted 01 April 2013 - 05:58 PM

#3950
Posted 01 April 2013 - 06:19 PM
 Jack Gallows, on 31 March 2013 - 09:06 PM, said:
Alright, here goes, and I'll keep generic to match both Gimp and Photoshop:
- prerequisite: pressure sensitive pen tablet (Wacom) is a must
- create a layer for your gold base, still within clipping mask of your base paint (multiply mode layer)
- then you can choose 1 of 2 possible techniques to establish your metal paint base (I tried both): base color plus effect layers or gradient
1- if you elect to go with a gradient, then you must set up a nice gold gradient by selecting your palette carefully (you can google for gold gradient patterns but they all end up being the same somewhat, going from shade to intense yellow-tan to shade for horizon to tan for sky then to light tan.) This technique can be interesting but has limitations. The idea here is to select the areas you want to paint and then apply the gradient in the direction that makes your gradient realistic (lighter shades should not be in the bottom). Tricky part is though parallel surfaces should display the horizon in the same line so it may require some tweaking. This technique is fun for some metal paint here and there since you can get a nice metallic feel in one shot. Careful to respect angled shapes though as the gradient should shift accordingly or else you lose realism.
2- second technique delivers the best results I find but requires a bit more practice.
- For your gold base, just use a yellow-tan color that you feel represents the desired shade of gold (which will depend upon environment and the actual type of gold) and lay it down on your selected areas.
- once finished, select all the gold-base painted areas (I usually Select All then toggle up and down with the arrow keys)
- Then above this layer, create a new layer (still as a clipping mask) and label it metal shade.
- While keeping your areas selected, set up an airbrush with a decent width (I'd say 65+) and use black paint at 70-80% opacity. You can still tweak the layer opacity afterwards so no worries. The idea here is to use your brush on the areas of shade and horizon reflexion to create a gradient like effect.
- Then repeat the same step with a white brush to create the highlights. For this one you need to decide where you put the light source(s). For an outdoors image, this should be the sun but you still have to be consistent as to what position it is supposed to have. On areas most exposed to the sun, you can pass twice for greater brightness. You can tweak the layer opacity afterwards to obtain the desires highlight effect.
- Since you are still in clipping mask mode, you can't get glare effects from this last layer. So the trick here is to create yet another layer above the others but you have to make sure that one isn't setup with the clipping mask option. You can label that one Glare if you want...
- Then on that layer, use the airbrush again, but this time with a tighter nozzle setting (13-35 should do it). With it then just spray on key places where you'd expect glare from your light source exposition. Should be limited to a few spots. Too much doesn't make it realistsic.
Voila! Have fun and tell me about it (or show us your exploits!)
#3951
Posted 01 April 2013 - 06:45 PM
#3952
Posted 01 April 2013 - 08:16 PM
 Ironhawk, on 01 April 2013 - 06:19 PM, said:
- prerequisite: pressure sensitive pen tablet (Wacom) is a must
Snatching defeat from the jaws of victory...
Edited by Jack Gallows, 01 April 2013 - 08:18 PM.
#3953
#3954
Posted 01 April 2013 - 08:29 PM
 Hayden, on 01 April 2013 - 08:18 PM, said:
It's not a must. I didn't even use a tablet when I was doing my repaint stuff. You can find ways to work around
That's actually what I was going to try to do, poked a bit around in GIMP with some of the instructions and I think I might be able to get it done. The explanation was super helpful and I'm sure it'll help a lot with that while also teaching some other neat tricks along the way.
Man...it's been a while since we've heard anything from those St. Ives Expeditionary Force 'mechwarriors, must be a story rattling around....
Edited by Jack Gallows, 01 April 2013 - 08:30 PM.
#3955
Posted 01 April 2013 - 08:52 PM
 Jack Gallows, on 01 April 2013 - 08:29 PM, said:
That's actually what I was going to try to do, poked a bit around in GIMP with some of the instructions and I think I might be able to get it done. The explanation was super helpful and I'm sure it'll help a lot with that while also teaching some other neat tricks along the way.
Man...it's been a while since we've heard anything from those St. Ives Expeditionary Force 'mechwarriors, must be a story rattling around....
Haha, SIEG is dead. Since I'm with PGI I'm not running it anymore. No time, and this way I can avoid any potential conflicts of interest. I'm keeping the sig for posterity. I'll probably change it some time.
#3956
Posted 02 April 2013 - 03:01 AM
 Hayden, on 01 April 2013 - 08:18 PM, said:
It's not a must. I didn't even use a tablet when I was doing my repaint stuff. You can find ways to work around
 Jack Gallows, on 01 April 2013 - 08:29 PM, said:
That's actually what I was going to try to do, poked a bit around in GIMP with some of the instructions and I think I might be able to get it done. The explanation was super helpful and I'm sure it'll help a lot with that while also teaching some other neat tricks along the way.
Man...it's been a while since we've heard anything from those St. Ives Expeditionary Force 'mechwarriors, must be a story rattling around....
Yes, there are several ways to skin a (mad) cat! But, doing actual gradient using technique #2 and glare effects will become very teeeeedious to say the least (will have to play with brush size and pressure settings constantly). A Wacom makes it so natural and fast that you don't end up being discouraged (and you get more time on your hands to try things out!)
Though you can get a cheaper version of Wacom with decent results, the price of the middle and higher end tablets are a deterrant to many of us. With the advent of iPad and other tablets, Wacom should end up lowering their price or they'll get crushed by competition sometime soon...
#3957
Posted 02 April 2013 - 04:37 AM
 Hayden, on 01 April 2013 - 08:52 PM, said:
Haha, SIEG is dead. Since I'm with PGI I'm not running it anymore. No time, and this way I can avoid any potential conflicts of interest. I'm keeping the sig for posterity. I'll probably change it some time.
That was more me hinting that I was going to do more SIEG 'mechs with an attached story to go with them like the last two times
SIEG might be dead due to time constraints, but it doesn't mean that we can't still fill it's 'mech roster. One never knows (and it's not like it isn't a color scheme that has to go away.)
 Ironhawk, on 02 April 2013 - 03:01 AM, said:
Though you can get a cheaper version of Wacom with decent results, the price of the middle and higher end tablets are a deterrant to many of us. With the advent of iPad and other tablets, Wacom should end up lowering their price or they'll get crushed by competition sometime soon...
I'm going to attempt it without one just to have a look at the process, at the very least it'll give me another tool to use when doing repaints or other visual work. If it is incredibly tedious, I'll probably only use it sparingly for great effect. I still am very grateful for the write up.
What's funny is the iPad and other devices like how advanced cell phones are becoming, technology is starting to overlap in a lot of different places, kind of like how e-readers now are basically cheaper iPads that aren't as open for customization/programming since they use cell phone operation systems.
Edited by Jack Gallows, 02 April 2013 - 04:41 AM.
#3958
Posted 02 April 2013 - 05:34 AM
(Alternatively, if there's any way to open a PSD in GIMP, I'd love to know)
Thanks
Edited by deadborder, 02 April 2013 - 06:43 AM.
#3959
Posted 02 April 2013 - 06:45 AM
#3960
Posted 02 April 2013 - 08:52 AM
 Ironhawk, on 30 March 2013 - 10:53 AM, said:
Clan Smoke Jaguar Timber Wolf

EDIT: Adding a Clan Wolf repaint (Beta Galaxy circa 3052 and later)

This is not a Timber Wolf, this is a Savage Wolf. This mech first appeared in Mechwarrior Dark Age and will not be making an appearance in-game for 80 years. Please check your facts.
#3961
Posted 02 April 2013 - 08:55 AM


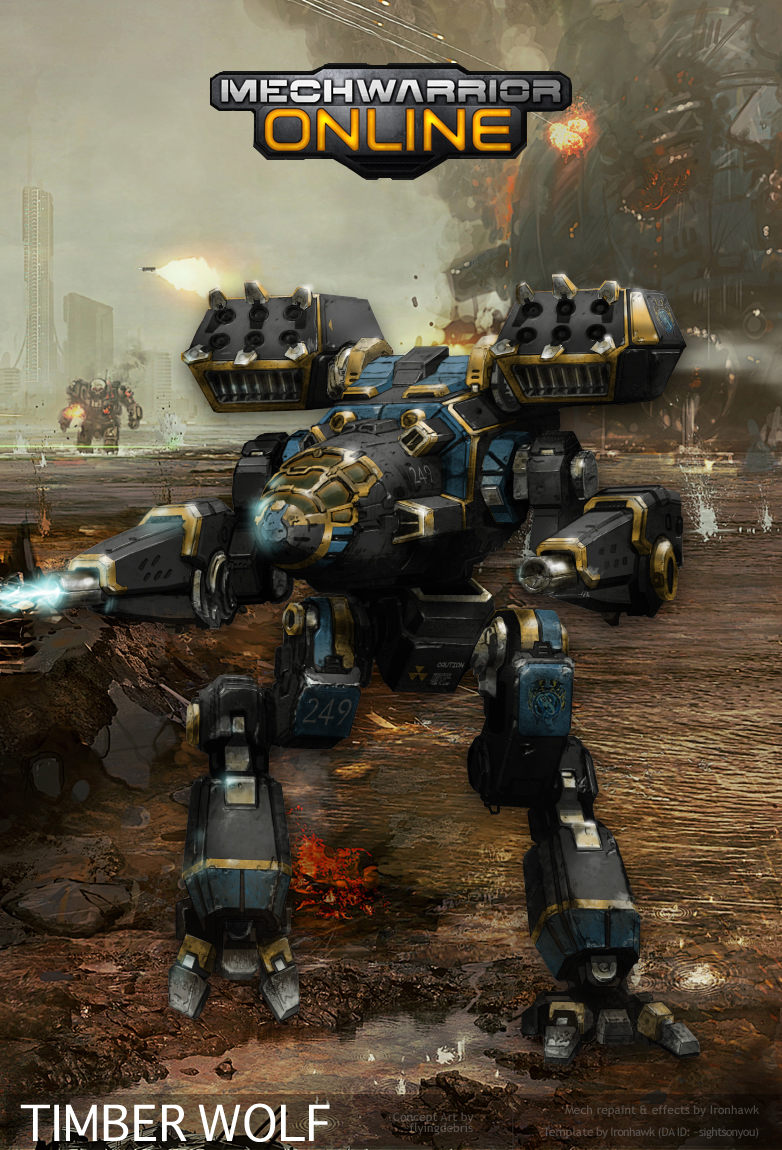
And just because it looked cool, I had a go at the Timberwolf IV courtesy of Alex and Ironhawk.

20 user(s) are reading this topic
0 members, 20 guests, 0 anonymous users


