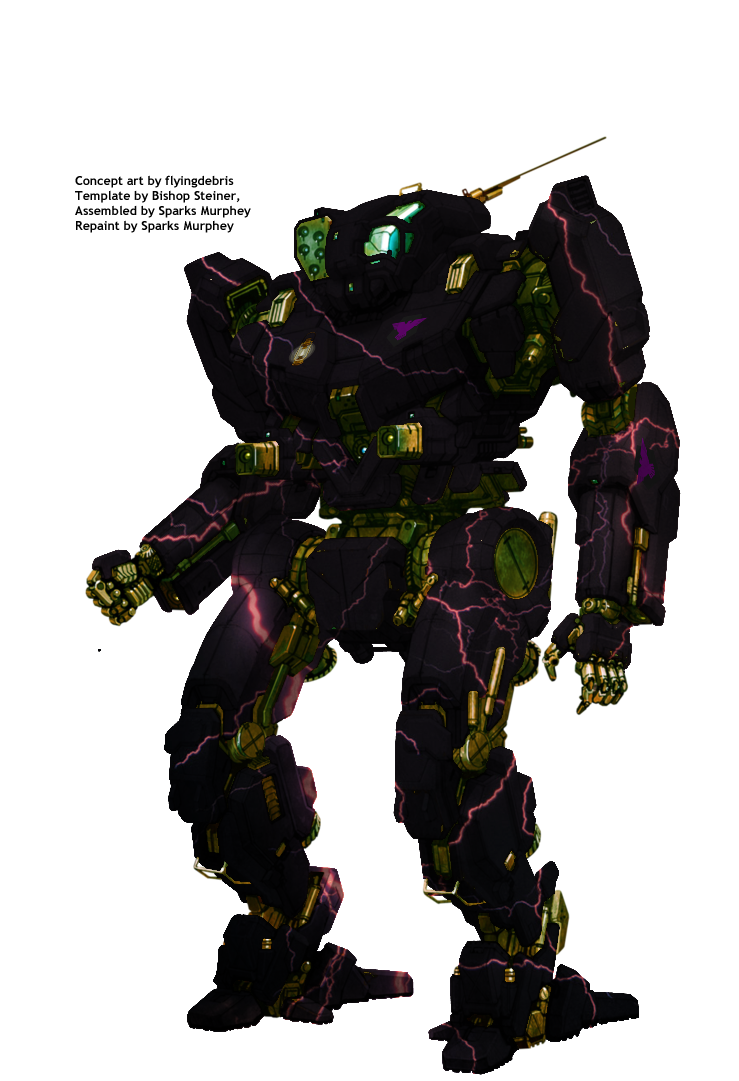
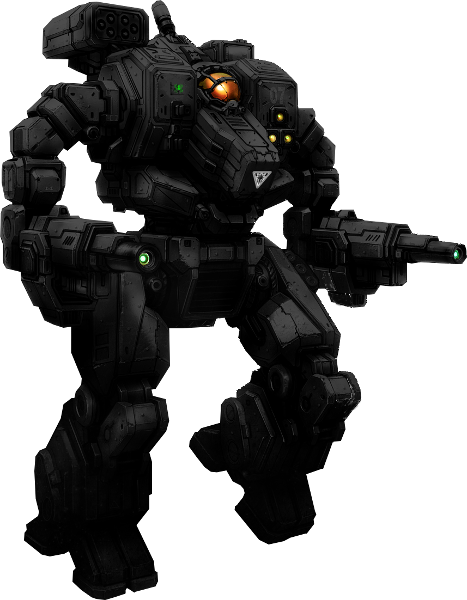
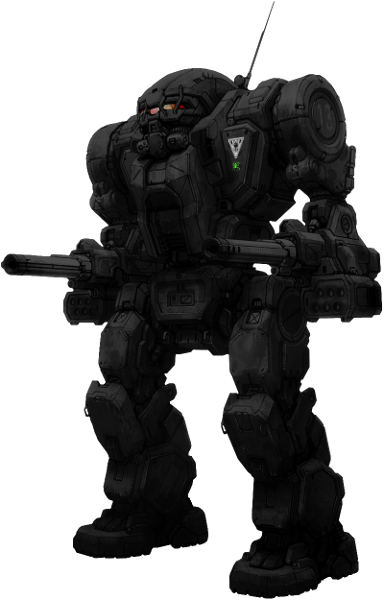
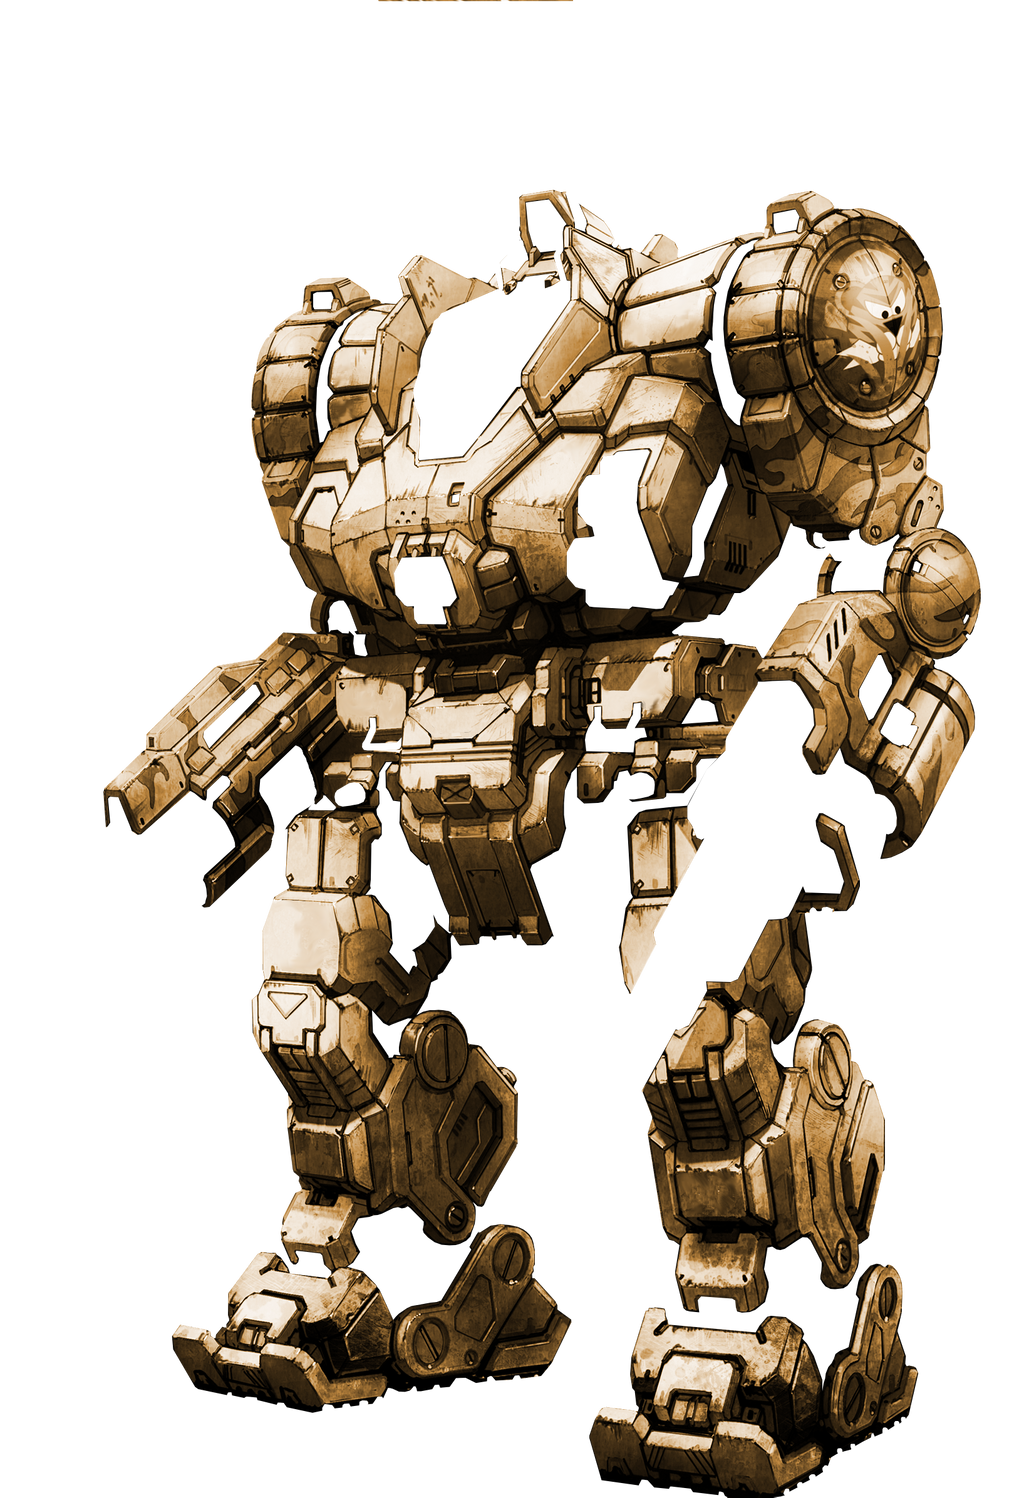
 Bishop Steiner, on 31 October 2014 - 12:52 PM, said:
Some of it can't be replicated in GIMP, to my knowledge, but here's the procedure for Photoshop.
It's basically just a stack of layers with different filters applied. From bottom to top:
1) Your original cleaned layer with joints
2) Your original cleaned armour panels without the joints (note that this won't actually be seen in Photoshop, but keeping it in here makes it easier for GIMP users)
3) The armour panel layer again, desaturated (ie converted to greyscale)
4) A white layer masked to conform to the armour panels, set to "soft light" blending mode. To do this, I:
4a) Selected by RGB (click the Channels panel in on the bottom right, then Ctrl-left click the RGB channel)
4b) Inverted the selection
4c) Created a white solid colour layer (the selection should be automatically applied as a mask)
4d) Adjusted the curve of the mask so that an input of 0 -> an output of 0 and an input of 4 -> and output of 255 (basically, everything not black in the mask becomes white)
4e) Rasterized the colour layer and applied the layer mask.
4f) Change the "Normal" blending dropdown on the layers panel to "Soft Light". This brightens the armour panelling on the 'Mech, giving it more of a "white" feel that we can darken from.
5) A duplicate of the soft light layer, but with the blending mode set to "Multiply". This darkens the result of the underlying layers by whatever this layer is, which since it's white (mathematically, 255/255, or 1), means nothing happens immediately
*.
6) A blank layer set to clipping mask (right click on the layer, "create clipping mask"). Because this is immediately above the multiply layer and is set to clipping mask, it modifies the multiply layer
before the multiply layer acts on the rest of the stack, meaning that any colour changes here are applied to the multiply layer, and then passed on to colour shift the armour panels below.
Additional layers created with clipping masks on top of layer 6 continue to mix in with the paint.
* For the curious and mathematically inclined, the "Multiply" blending option takes the red, green and blue values of the result of the underlying layers, divides them by 255 to get a proportion from 0 to 1 of "brightness", then multiplies those values by the red, green and blue values of the current layer, again divided by 255. The result of that is then multiplied by 255 again to get a new RGB. So, if a the original value was, say, 128,128,128 (a mid grey, such as found on the arm of the Grasshopper), and the multiply layer is 255, 128, 128 ( a salmon-pink colour, with full red, but only half-brightness green and blue), the final colour will be 128, 64, 64, a darker version of the salmon-pink as if the original mid grey was a full-brightness white.
Or, in matrix arithmetic: [Rnew, Gnew, Bnew] = ([R1, G1, B1]/[255, 255, 255]) * ([R2, G2, B2]/[255, 255, 255]) * [255, 255, 255]
 Odanan, on 30 October 2014 - 10:28 PM, said:
 Edweird, on 31 October 2014 - 02:41 AM, said:


