Jump to content

MechWarrior PC Gaming Desk Build


214 replies to this topic

#101 Archtus

    Member

  • PipPipPipPipPip
  • 138 posts

Posted 04 April 2012 - 12:50 AM

I'm following this thread over on ROG forums. It's looking amazing...

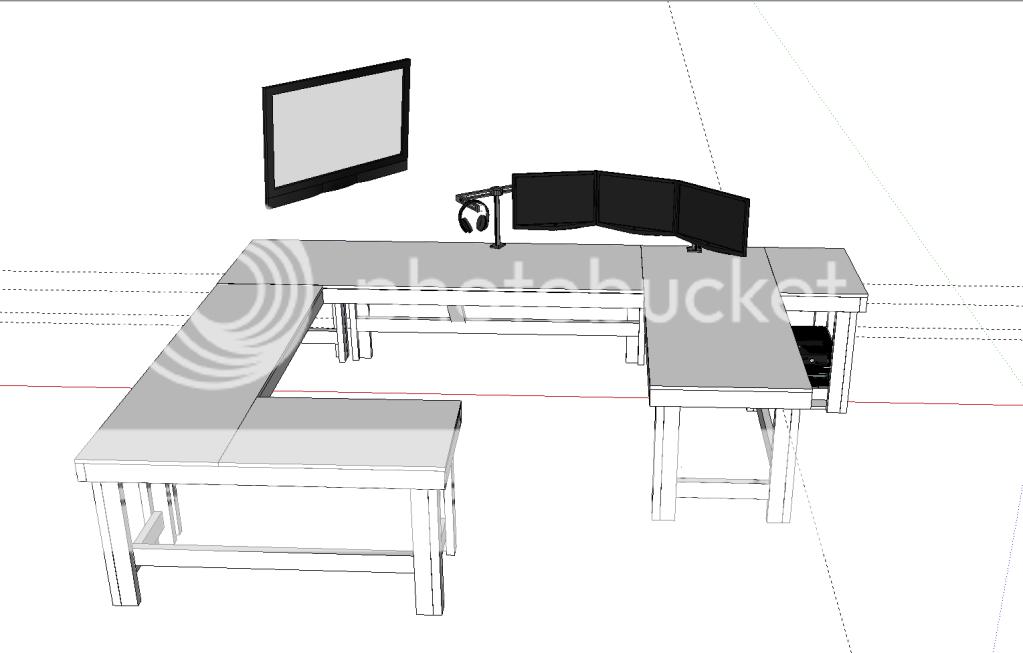
If I provide materials, tools, and beer... Would you build this for me? :)

#102 Vincent Vascaul

    Member

  • PipPipPipPipPipPipPip
  • 858 posts
  • LocationEverett, Wa

Posted 04 April 2012 - 09:12 AM

If materials include money then yes!

#103 Archtus

    Member

  • PipPipPipPipPip
  • 138 posts

Posted 05 April 2012 - 03:19 AM

Heh heh. I'll keep you guys in mind.

#104 Sammael55

    Member

  • PipPipPip
  • Legendary Founder
  • Legendary Founder
  • 59 posts
  • Location613

Posted 06 April 2012 - 08:21 AM

Nice build so far.. that is a lot of work, but I see it has been well thought out. I agree on how creating something yourself brings great satisfaction.

Ill be watching this build so keep us updated!

55

#105 Power Triping Guild Leader

    Member

  • PipPip
  • 49 posts

Posted 06 April 2012 - 10:20 PM

I think I am going to try and do something simular.

Edited by Power Triping Guild Leader, 06 April 2012 - 10:24 PM.


#106 Chiyeko Kuramochi

    Member

  • PipPipPipPipPipPip
  • 204 posts
  • LocationSecond star to the right.

Posted 08 April 2012 - 02:41 AM

Looks awesome and building your own things is great as you can get just what you need and beside if you don't have the tools it is worth getting them as they will come in use ;)

#107 Vincent Vascaul

    Member

  • PipPipPipPipPipPipPip
  • 858 posts
  • LocationEverett, Wa

Posted 09 April 2012 - 03:08 PM

Here is the desk sketchup file, I couldn't upload it to 3D warehouse for soem reason so its on 4shared.com http://www.4shared.c...knoPCparts.html feel free to post any questions or pm me.

#108 Vincent Vascaul

    Member

  • PipPipPipPipPipPipPip
  • 858 posts
  • LocationEverett, Wa

Posted 16 April 2012 - 03:08 PM

Big surprise coming soon, stay tuned ^_^

#109 Vincent Vascaul

    Member

  • PipPipPipPipPipPipPip
  • 858 posts
  • LocationEverett, Wa

Posted 16 April 2012 - 09:00 PM

OK guys sorry for the lack of updates, between work and Sketchup constantly crashing while I am finalising the desk design there hasn't been much to post. However I decided to start working on a different part of the build and also reorganize and clean up my office. So as I have said from the get go this desk is going to have a MW theme but other than a map I printed off there hasn't been much in the way of actual MechWarrior stuff done to the desk. Well not any more!

Posted Image

Yes that is a custom made Mechwarrior Branding iron :huh:

I would like to thank Bryan Phillips who built this for me. He does great work and is super fast. I hit him up with the idea for this last week then I got a hold of him today and told him I wanted to have it made he went over the artwork with me in chat at about 12:30 and he told me he would have it ready this afternoon :blink: seriously I had it in my hands around 6pm and I could not be happier. I also got to meet his 37 day old Emu Gerry who was awesome!

Posted Image


Anyway on to the branding iron. Its 2.75 inches tall so it will fit on 2x4s and is made out of plasma cut steel and then welded together.

Posted Image

Now could not resist trying it out when I got home so here are some teaser shots.

Posted Image

Posted Image

I did a bunch of test runs on scrap pieces of 2x4 left over from the desk build and I think I am starting to get the hang of it.

Posted Image

Here is one Bryan did at his shop as well.

Posted Image


Once again I cannot recommend Bryans work enough he showed me some awesome Roman style armor as well as some futuristic armor from a popular video game franchise he is still working on. His rates are very reasonable and he is really patient when it comes to tweaking stuff to perfection. He can be contacted at RAPTORRED2@GMAIL.COM he also does 3D digital modeling please shoot him a email if you need anythign metal fab related and mention that I referred you, I know that this wont be the last piece of work i have him do on this or several other projects I have coming up.

Now I plan on doing the actual branding on the desk this weekend and I am looking to the community for where I should actually place the branded logo. Please post or pm your suggestions and whichever suggestion is the best/makes the most sense I will go with (I may actually give the person who makes the best suggestion a prize aswell we will just have to see ^_^ 
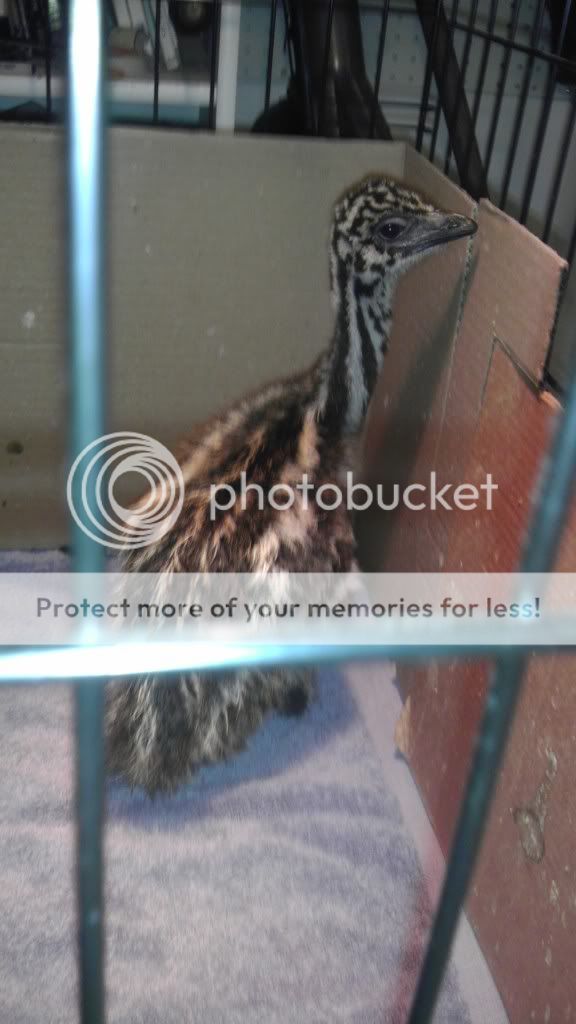
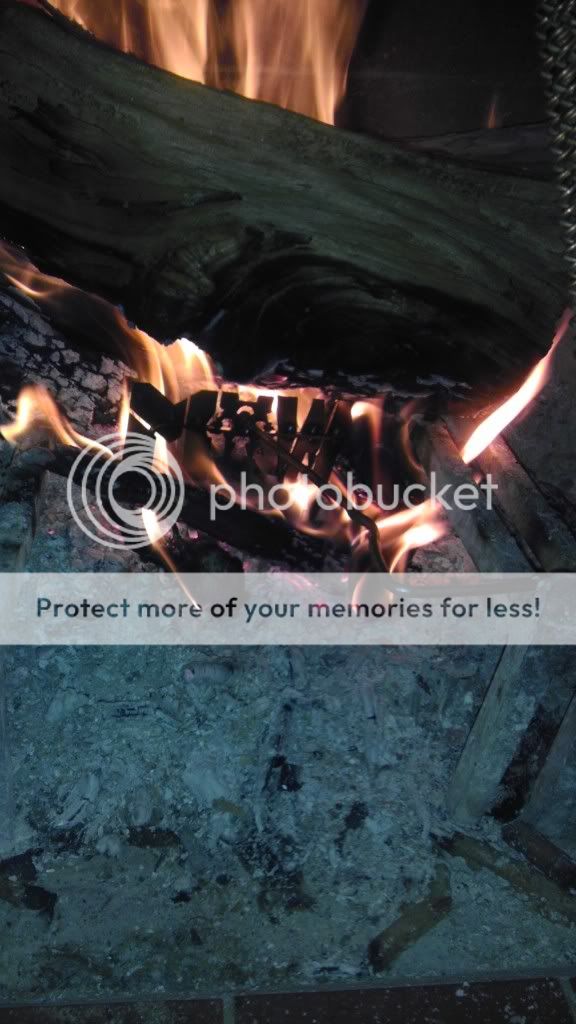
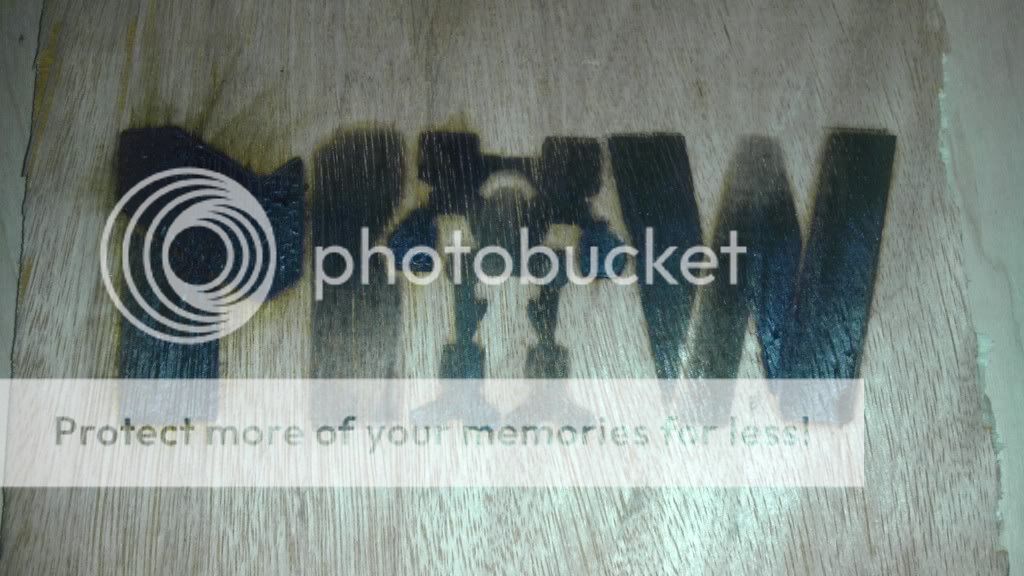
) Two other things I am thinking about doing is videoing the branding process and posting it up for everyone to enjoy, the other thing is I am thinking about having Bryan make a branding iron for every company that decides to sponsor this build and dedicate a area of the desk to true Sponsor "Branding" so let me know what you think of that.

Lastly I am hoping to cut and fit the lid to the PC enclosure so look for pictures and commentary on that. I am debating going over to videoing the build as it progress (thoughts?) Anywho thanks for reading and please let me know what you think!

Edited by Vincent Vascaul, 16 April 2012 - 09:02 PM.


#110 Psychopuppet

    Member

  • PipPipPipPipPip
  • Knight Errant
  • 171 posts
  • LocationUnited States

Posted 16 April 2012 - 09:07 PM

That is the coolest branding iron i have ever seen and ya it would cool to have each company branded on a section of the desk

#111 Coralld

    Member

  • PipPipPipPipPipPipPipPipPip
  • Caladbolg
  • Caladbolg
  • 3,952 posts
  • LocationSan Diego, CA

Posted 17 April 2012 - 08:01 AM

I so want a MWO branding iron.

#112 Gun Bear

    Member

  • PipPipPipPipPipPipPipPip
  • 1,016 posts
  • LocationGarrison duty on some FWL Planet and itching for action.

Posted 17 April 2012 - 02:36 PM

That's rockin'. You're welcome for help finding the silhouettes

#113 Vincent Vascaul

    Member

  • PipPipPipPipPipPipPip
  • 858 posts
  • LocationEverett, Wa

Posted 17 April 2012 - 04:32 PM

Thanks for the compliment and thanks again for the silhouette!

#114 HighlandWolf

    Member

  • PipPipPipPipPipPip
  • 226 posts

Posted 17 April 2012 - 05:01 PM

Must say i am impressed, was a tad dubious at the beginning when i saw the drawing for the wrap around desk and then as you were building it i thought a smidge small, but..looks like it is coming along very nicely. Also rather impressed with the computer/monitor/screen setup..i have plans for a computer / tinkering / inventing lab..and your computer desk is sort of along the same lines as the computer setup portion of the lab. Very nice work mate, keep it up..looks like its going to look grand.

#115 acheronlv426

    Member

  • PipPipPip
  • 81 posts
  • LocationWI

Posted 17 April 2012 - 05:20 PM

Are the leg portions kind of overbuilt and are the interior corners going to hold up with no leg support? I see the angle pieces to help support the interior, and I'm guessing you don't want legs on the interior so you can pull up at any point.

#116 Vincent Vascaul

    Member

  • PipPipPipPipPipPipPip
  • 858 posts
  • LocationEverett, Wa

Posted 17 April 2012 - 05:49 PM

Legs are somewhat overbuilt but not really considering how hard I am on furniture. So far we have had almost a thousand pounds on the desk and it has not budged at all the way we increased the structural support was to make the 3/4 inch plywood top overlap with each framework corner so that the legs of the next section are supporting the previous one. Basically only one section of the desk (the smallest end) has 4 corner supports that come in contact with the ground then each following section only has 3 using the last section for the 4th one. Let me know if that makes sense or if I just confused it more. Also feel free to download the google sketchup file and check out the entire desk in a to scale 3D model.

Edit: Here is the download link to the sketchup model of the desk http://www.4shared.c...knoPCparts.html

And to get sketchup just search google sketchup and download it, its only about 38mb and is free.

Edited by Vincent Vascaul, 17 April 2012 - 05:51 PM.


#117 Th3Q

    Member

  • Pip
  • 13 posts
  • LocationIndiana

Posted 17 April 2012 - 05:50 PM

Wow,very nice!!!

#118 Vincent Vascaul

    Member

  • PipPipPipPipPipPipPip
  • 858 posts
  • LocationEverett, Wa

Posted 19 April 2012 - 10:42 PM

Some updated Sketchup pictures, I will soon start the hunt for sponsors.

Posted Image

Posted Image

Posted Image

Some of the PC cabinet (please remember the entire cabinet will be enclosed in aluminup with man and rad cutouts and access points ofr the Xbox 360, PS3 and surround sound head unit.) Also I will be using a square grid rubber coated wire mesh, the expanded metal in the imagies is just a place holder as it was already available.

Posted Image

Posted Image

Posted Image

Posted Image

#119 Chas

    Member

  • PipPipPip
  • 61 posts
  • LocationChicago, IL

Posted 22 April 2012 - 05:53 AM

Vince. On the branding iron and getting it "straight".

Use some scrap 2x4 stock and build a rectangular "form" that you can clamp to the area.
Then just clamp it down over your work area, insert brand and "voila"!

As always. Measure twice, cut (or brand) once.

#120 Alphadeadone

    Member

  • PipPipPip
  • 54 posts
  • LocationNew Zealand

Posted 22 April 2012 - 01:09 PM

Get some good LED lighting from these guys.

http://www.extradmt.com/site

Same ones that was used in the BF3 simulator.

For those that haven't seen it http://youtu.be/eg8Bh5iI2WY


8 user(s) are reading this topic

0 members, 8 guests, 0 anonymous users