#2141
Posted 11 January 2018 - 11:45 AM
#2142
Posted 13 January 2018 - 01:54 PM

Edited by mad kat, 25 January 2018 - 01:36 AM.
#2143
Posted 14 January 2018 - 06:19 PM
#2144
Posted 15 January 2018 - 10:51 AM

#2145
Posted 16 January 2018 - 04:07 PM
#2146
Posted 25 January 2018 - 01:37 AM

#2147
Posted 13 February 2018 - 12:11 PM
Would the cryengine converter work for this?
Also, What files would i need? Just ppc_projectile.cgf and ppc_beam.cgf?
there looks to be a mat_ppc file but i cant seem to find it.
#2148
Posted 16 February 2018 - 11:39 AM
The converter will get you the geometry and basic material info. Using the cryengine importer will create node groups for it. The beam geometry will need a custom material created for it as well, since it's significantly different that physical geometry.
What tool are you trying to load the geometry into? The converter tool creates a Collada format, which is widely supported.
#2149
Posted 17 February 2018 - 01:38 AM
#2150
Posted 18 February 2018 - 01:06 PM
Im just trying to edit some colors, if i could get even get a material created to overlay it with a diffuse tint id be happy.
#2151
Posted 21 February 2018 - 08:48 AM
 XkrX Dragoon, on 18 February 2018 - 01:06 PM, said:
Im just trying to edit some colors, if i could get even get a material created to overlay it with a diffuse tint id be happy.
The tools were designed around using Blender. To edit the colors, you'll have to modify the DDS files (or convert to tif) and then modify the models to use the new images. It's... complicated. There is a lot of work to making custom materials.
#2152
Posted 21 February 2018 - 08:51 AM
 TK421reporting, on 17 February 2018 - 01:38 AM, said:
Trading of files (especially ones converted to .stl) is generally frowned upon. We're operating only at PGI's goodwill, and I really don't want to do anything to jeopardize that.
In the original post, there is a link to a video about how to convert the mech to a printable object that I highly recommend, made by Jacob Soloman. Between the 3 videos, you should have all the info you need to create your own printed models!
#2153
Posted 22 February 2018 - 06:06 AM
 Heffay, on 21 February 2018 - 08:48 AM, said:
The tools were designed around using Blender. To edit the colors, you'll have to modify the DDS files (or convert to tif) and then modify the models to use the new images. It's... complicated. There is a lot of work to making custom materials.
Ahhhhhh, okay thank you for your help
#2154
Posted 22 February 2018 - 07:05 PM
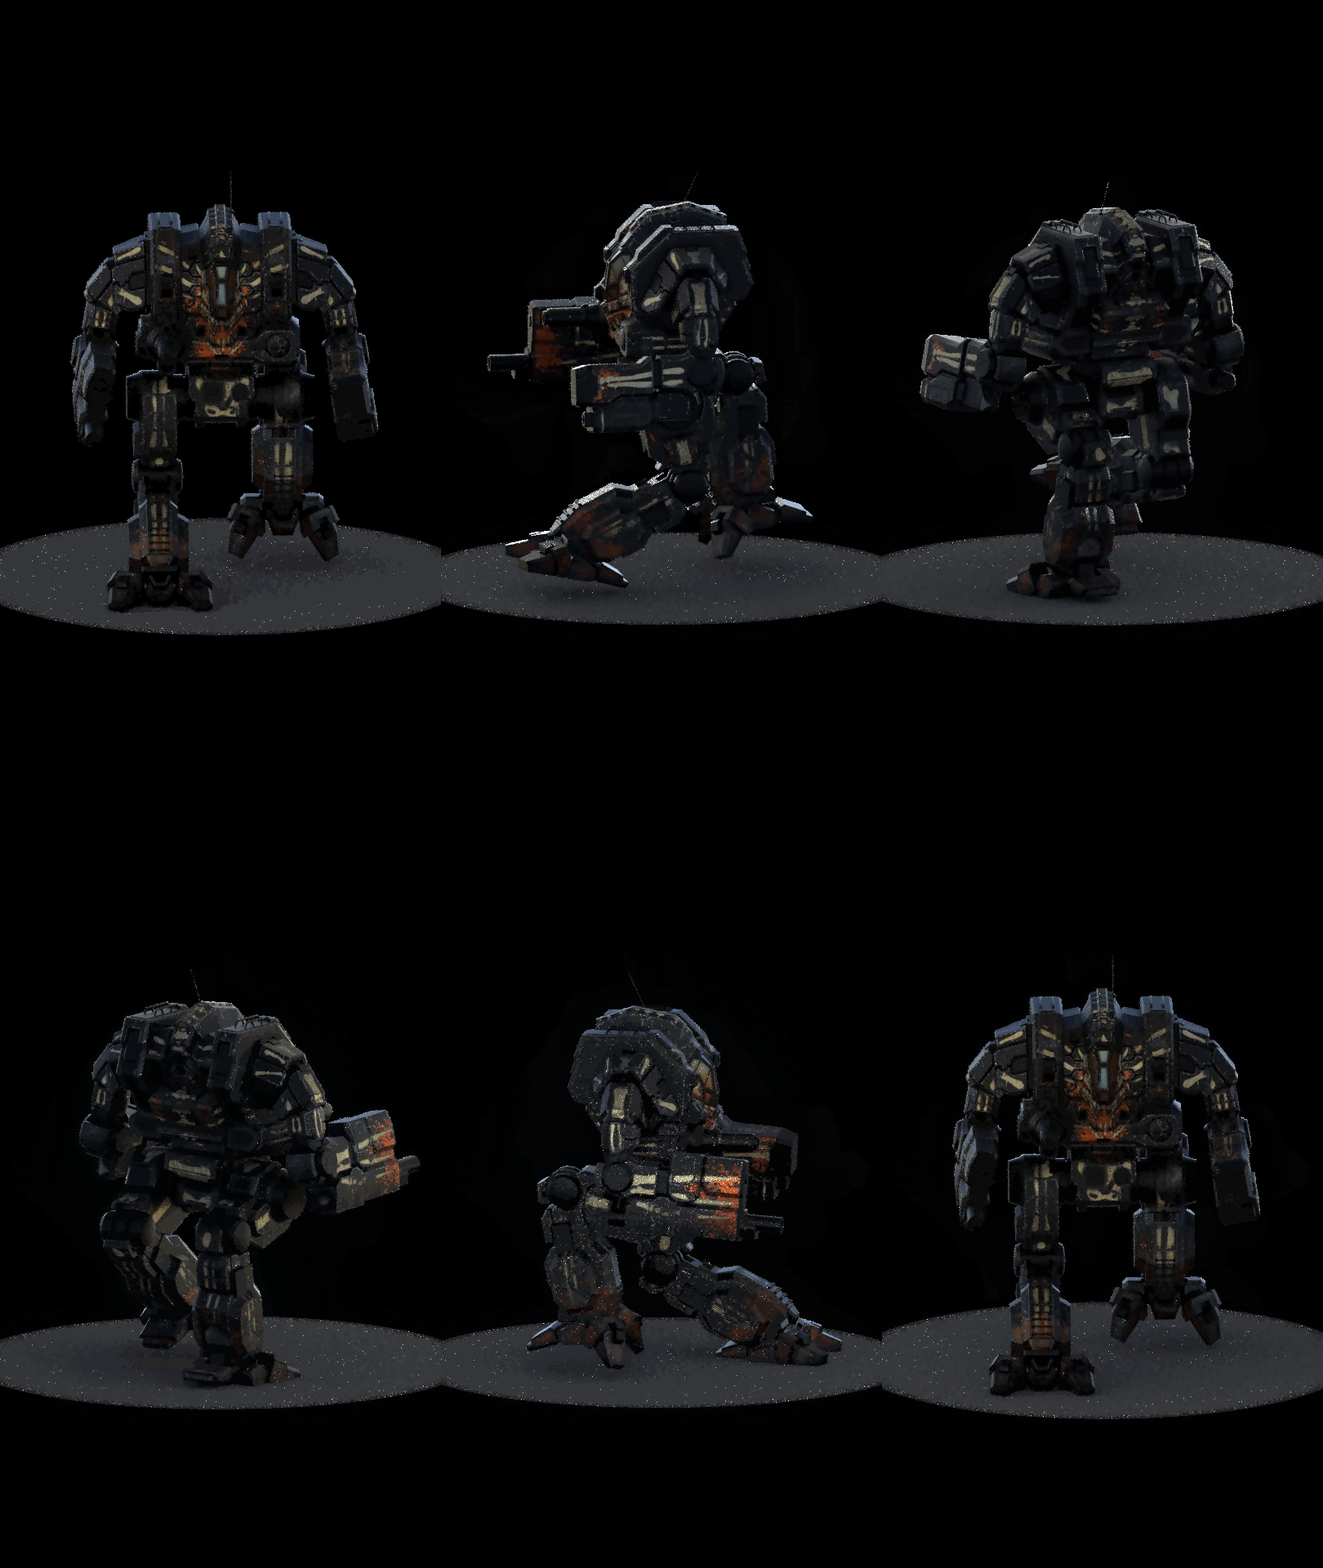
cockpit, body, variant, generic.
When I am finished with it, Ill post it here.


#2155
Posted 24 February 2018 - 11:38 PM
 Heffay, on 21 February 2018 - 08:51 AM, said:
Trading of files (especially ones converted to .stl) is generally frowned upon. We're operating only at PGI's goodwill, and I really don't want to do anything to jeopardize that.
In the original post, there is a link to a video about how to convert the mech to a printable object that I highly recommend, made by Jacob Soloman. Between the 3 videos, you should have all the info you need to create your own printed models!
i know im terrible and lazy! hard way it is
#2156
Posted 25 February 2018 - 03:44 AM
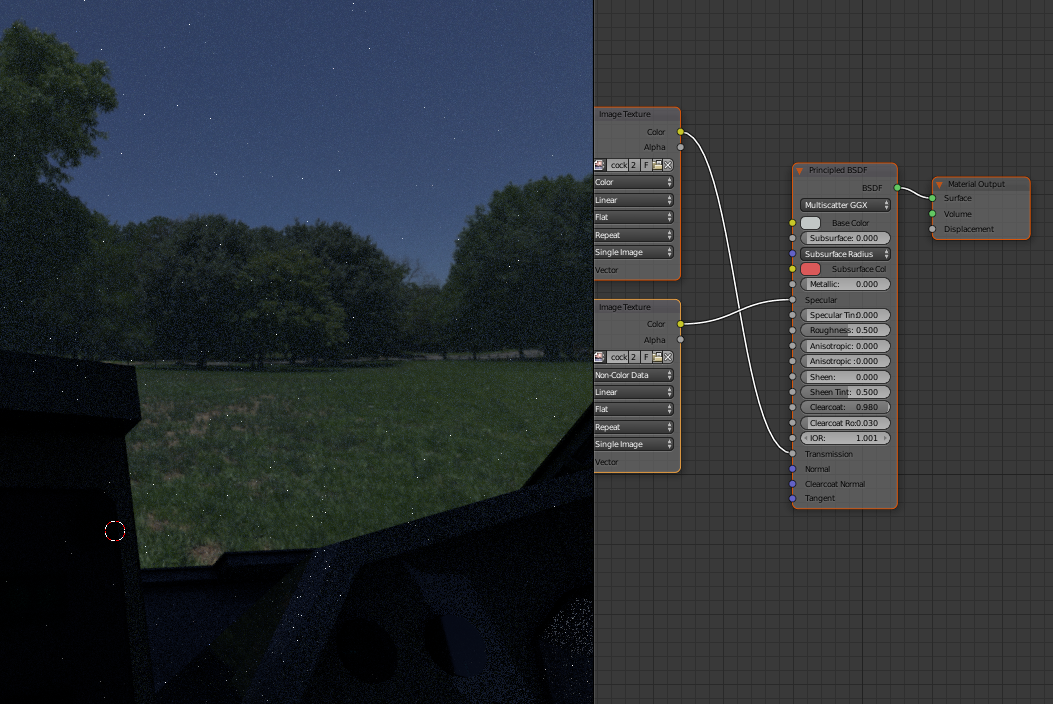
Either way, the issue I have now is not being able to locate the weapon skins, at all.
The Laser Glasses are pitch black and the LMGs looks like a displaced texture.
Looked about in the thread but couldn't find anything, someone had better luck than me and can point me towards their location?
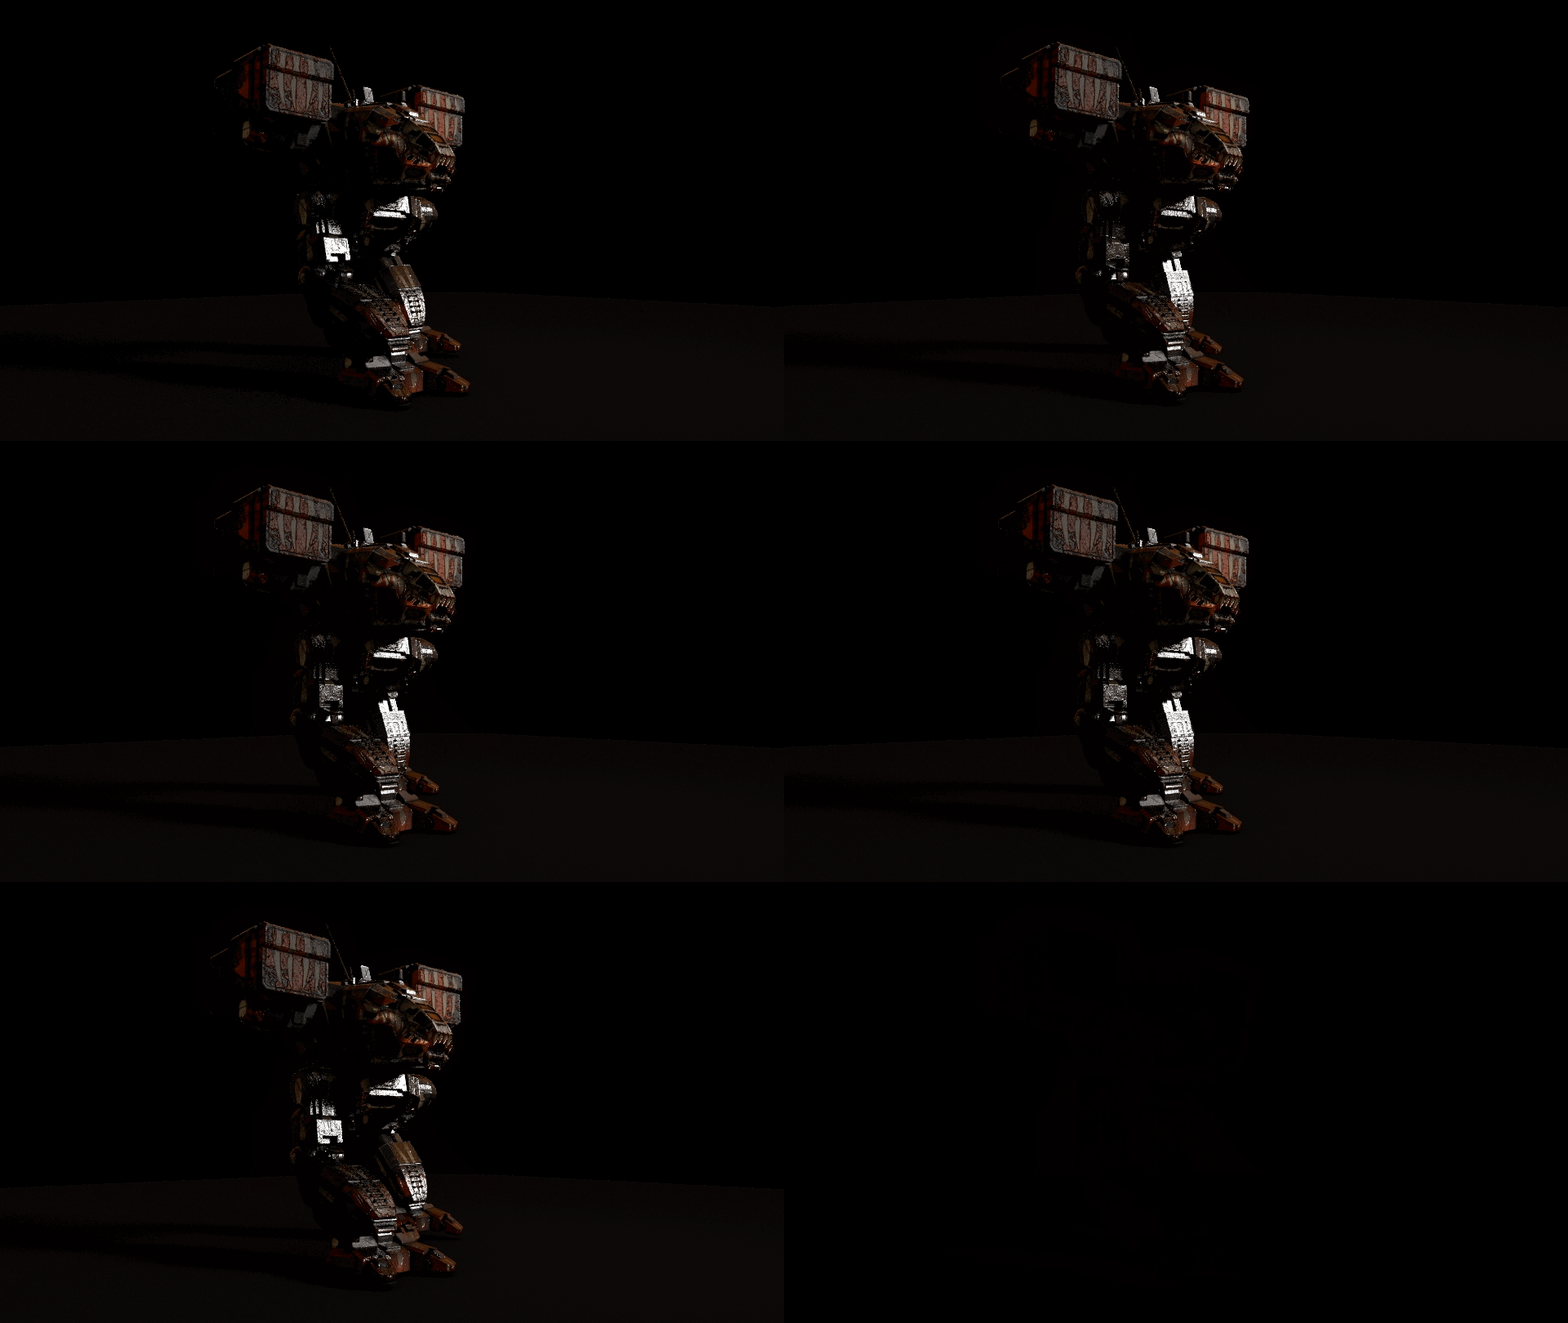
Edit: Made these tests, edited the material package to make it easier to implement textures for light emission, and the light strength.
Dropbox link to renders
Edited by Naqser, 25 February 2018 - 12:07 PM.
#2157
Posted 01 March 2018 - 09:47 AM
Download the file and give it a go.
I included the Atlas in the blend file so you can have instant gratification.
FEATURES
This Material shader dubbed the MWO Ultra Uber Shader, allows for input of all texture map files... Body, variant, window & generic on one screen. The three color channels for the camo can be designated as metallic (not paint but metal), dialectric (paint), luminus for a glow effect or passthrough if you want to attach a separate material to that channel (car paint etc.), and attributes for each channel can be adjusted individually.
All adjustments to the settings will update globally across all objects.
Once setup correctly, there will be no need to change settings between screens, everything can be done using this all inclusive setup.... Oh, and yes, you can add glow to your cocpit glass too... For those of us that miss the atlas' glowing eyes.
Instructions for use are in the blend file.
If you have any questions, give me a yell, I'd be more than happy to help with anything.
http://www.filehosti...DER%201.0.blend
#2158
Posted 01 March 2018 - 01:10 PM
edit: Is there another place you can upload the file? The place you have it linked is asking for an email address.
Edited by Heffay, 01 March 2018 - 01:13 PM.
#2159
Posted 01 March 2018 - 01:21 PM
Got a suggestion for a place?
Edited by TheSkiDog, 01 March 2018 - 01:27 PM.
3 user(s) are reading this topic
0 members, 3 guests, 0 anonymous users


